Welcome to the TV Template editor section!
Be sure to checkout the tutorials page to get the basics demonstrated!
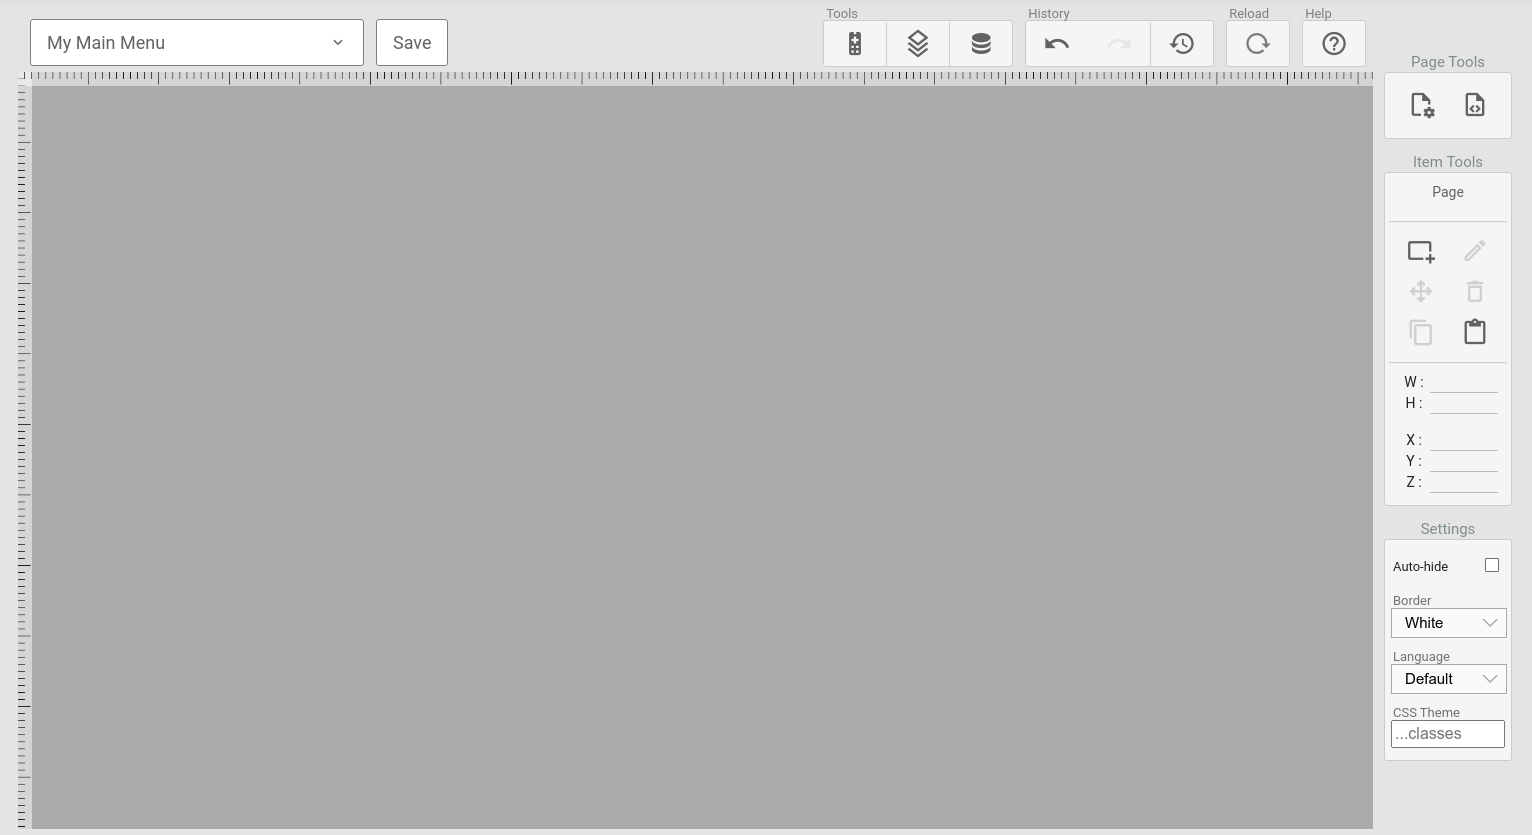
Let's start out by familiarizing ourselves with the editor application basics. This is what the editor looks like when opening a completely empty menu-page.

¶ Editor tools
¶ Top bar
These are the tools available in the editor top bar:
¶ Page browser drop-down
This drop down lets you select the page to load, create new pages, edit page names, edit page categories, move pages, delete pages and create/delete folders,
Read about pages & elements here
¶ Save button
Used to save the current template state.
¶ Tools
There are three tools available in this section:
¶ Navigation helper
A tool that lets you test the basic navigation on your page. Can be used to test your event-handlers and to set an item in the highlighted state.
¶ Item list
Brings up a selectable list of all the elements in the page. Useful if you have invisible elements, or many overlaying elements.
This list also allows you to change the visibility of elements for editing purposes. Making an element invisible by clicking the visibility icon here will NOT make the item invisible on a real screen, neither will this state be saved.
¶ Stylesheet Editor
Brings up the tool for managing and editing the global stylesheets. Read more here.
¶ Data Source Editor
Brings up the tool for editing the static data sources. Read more here.
¶ History
This section provides the undo history tools. Tools are only available if they have data to provide, e.g. undo is not available until there is an actual change to undo.
¶ Undo
Steps back to the last undo-point in the internal changelog.
¶ Redo
Steps forward to the next redo-point in the internal changelog.
¶ Open history list
Opens a list displaying the changelog. Here you can select items to revert to.
¶ Reload
Reloads the current page, reverting all changes.
¶ Help
Opens the documentation related to the editor(this page).
¶ Right hand toolbar
¶ Page Tools
¶ Overall Page Settings
Clicking the cog-wheel icon will open the page-level configuration window. This controls the base CSS, event handlers, default parameters and settings/configuration options of the page.
¶ Source editor
The source editor can be opened by clicking the markup icon. This is a function that allows you to copy and edit the JSON data of the page directly. It should be used with care as it bypasses all the editor tools and might cause the page to malfunction.
¶ Item Tools
This section contains tools for working with menu elements. Most of these tools are also available as direct shortcuts on the selected element overlay.
¶ Create Element
Add new elements by clicking the plus icon.
¶ Element Settings
Click the pencil icon to open the item editor for the currently selected element.
¶ Navigation Helper
Click the navigation icon to open the navigation helper for the currently selected element.
¶ Delete Element
Click the trash bin to delete the currently selected element.
¶ Copy & Paste Elements
The copy and past icons allow you to copy elements and create copies of these. The same action is available by pressing CTRL+c and CTRL+v on the keyboard.
¶ Settings
This section holds settings related to the menu editor experience.
-
Auto Hide
The auto-hide option will enable or disable the auto-hide action of elements on the page. If you enable this option, elements will auto-hide after a given time as configured in the page event-configuration. To edit the content of elements that will be auto-hidden, it's helpful to disable this option. -
Border
Next is the guide-helpers options. You can enable guidelines that will outline elements and display the selected elements horizontal and vertical position in either white or black colors. -
Language
The language-selector lets you control what language should be set when rendering the page. Useful to test translations and different language-based styles. -
CSS Themes
The themeclasses text-field allows you to enter one or more classes to be applied as outer, global classes, in the same way that the Set global CSS theme classes action does. This is to help testing different themes, since the editor will not trigger any actions.
¶ Working with elements
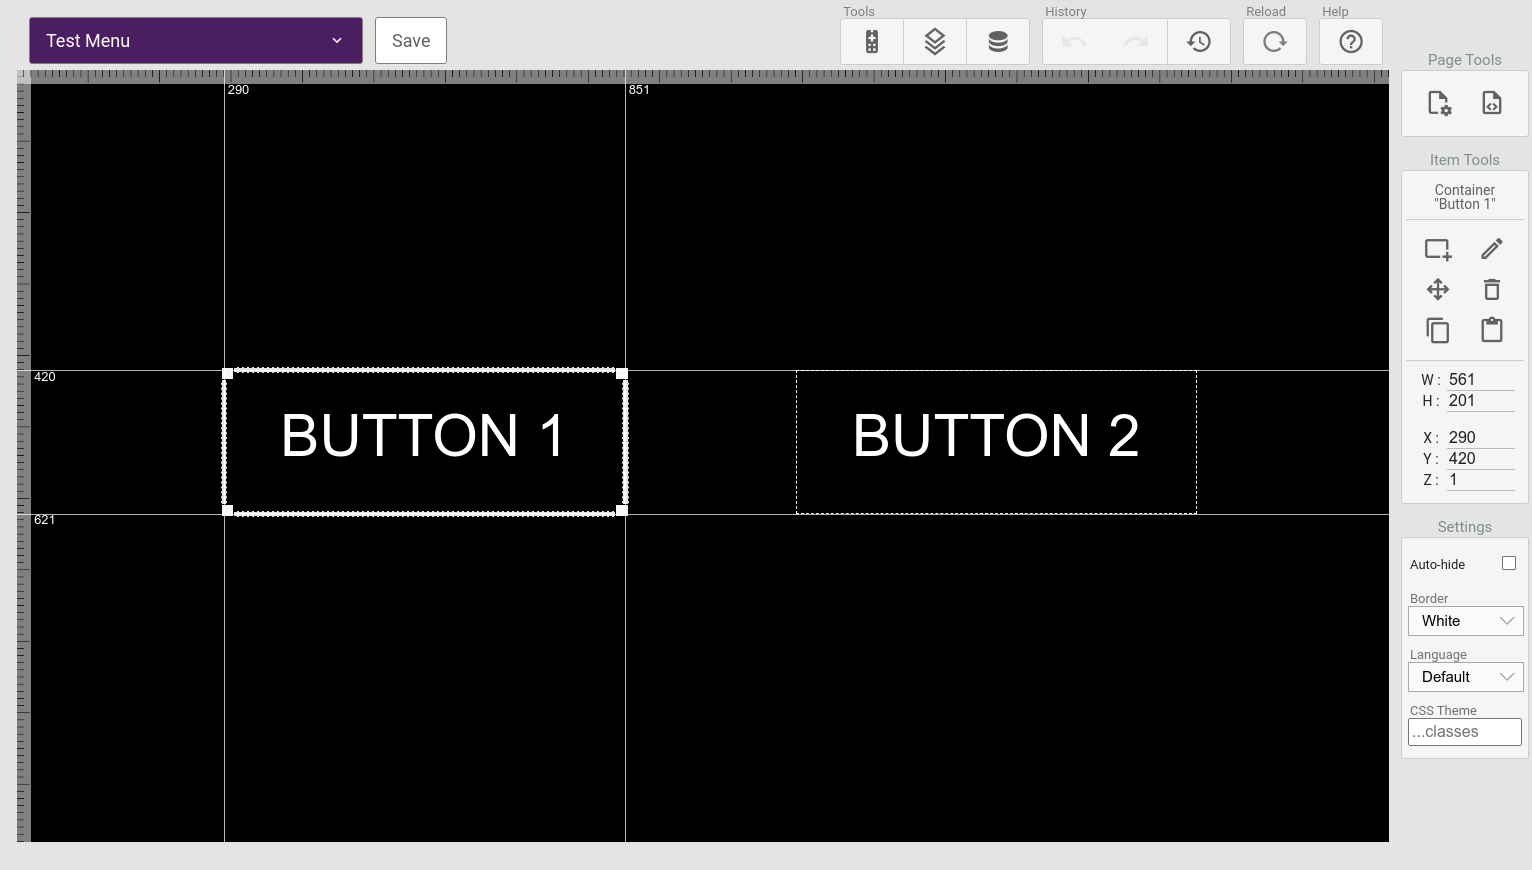
Page elements can be selected by hovering over them and clicking. The target elements you hover over will turn a tint of green until you select them. In all our examples we will have the Border setting set to White to add helper borders on all elements and positioning helpers.
Here is a simple example of a page with two container elements where Button 1 has been selected for editing:

¶ Shortcuts
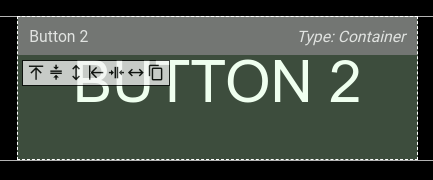
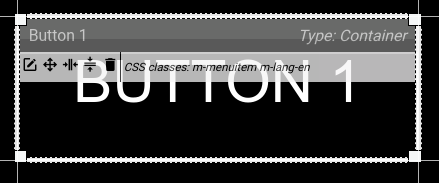
Hovering an element will bring up a set of shortcuts on that element. The shortcuts available depend on whether the element is the selected element or not.
¶ Non selected elements
The shortcuts for non-selected elements mainly deal with aligning position and size of the selected element.

- aligns the top of the element with the top of the selected element.
- aligns the vertical center of the element with the center of the selected element.
- copies the height of the selected element.
- aligns the left with the left of the selected element.
- aligns the horizontal center of the element with the selected element.
- copies the width of the selected element.
- copies the custom CSS classes set on the selected element.
¶ Selected elements

- open the element editor.
- open the navigation eventhandler helper for this element.
- center align element on page vertically
- center align element on page horizontally
- delete the element.