¶ ProDVX Android Signage SoC installation
There are special sections relating to the following screens:
- APPC-10X-Series
- ++
The general section covers any supported screen except those listed above.
¶ Downloading latest APK
- Make sure the USB-stick is formatted as FAT32. Other formats such as NTFS may not be recognized by the screen.
- Download the latest Philips/ProDVX file from https://downloads.digsig.tv on your computer.
- Copy the file to a USB-stick.
¶ Upgrading the android application
You do not need to uninstall the old version first. Installing the new APK will update the existing application.
- Download the latest APK
- Follow "Installing the APK" instructions below.
¶ Installing the APK
- Insert the USB-stick on the back of the display.
- Press the circle icon on the navigation bar at the bottom of the screen to make sure you are at the home page.
- Use a finger and swipe up from the bottom of the screen to open up the app drawer.
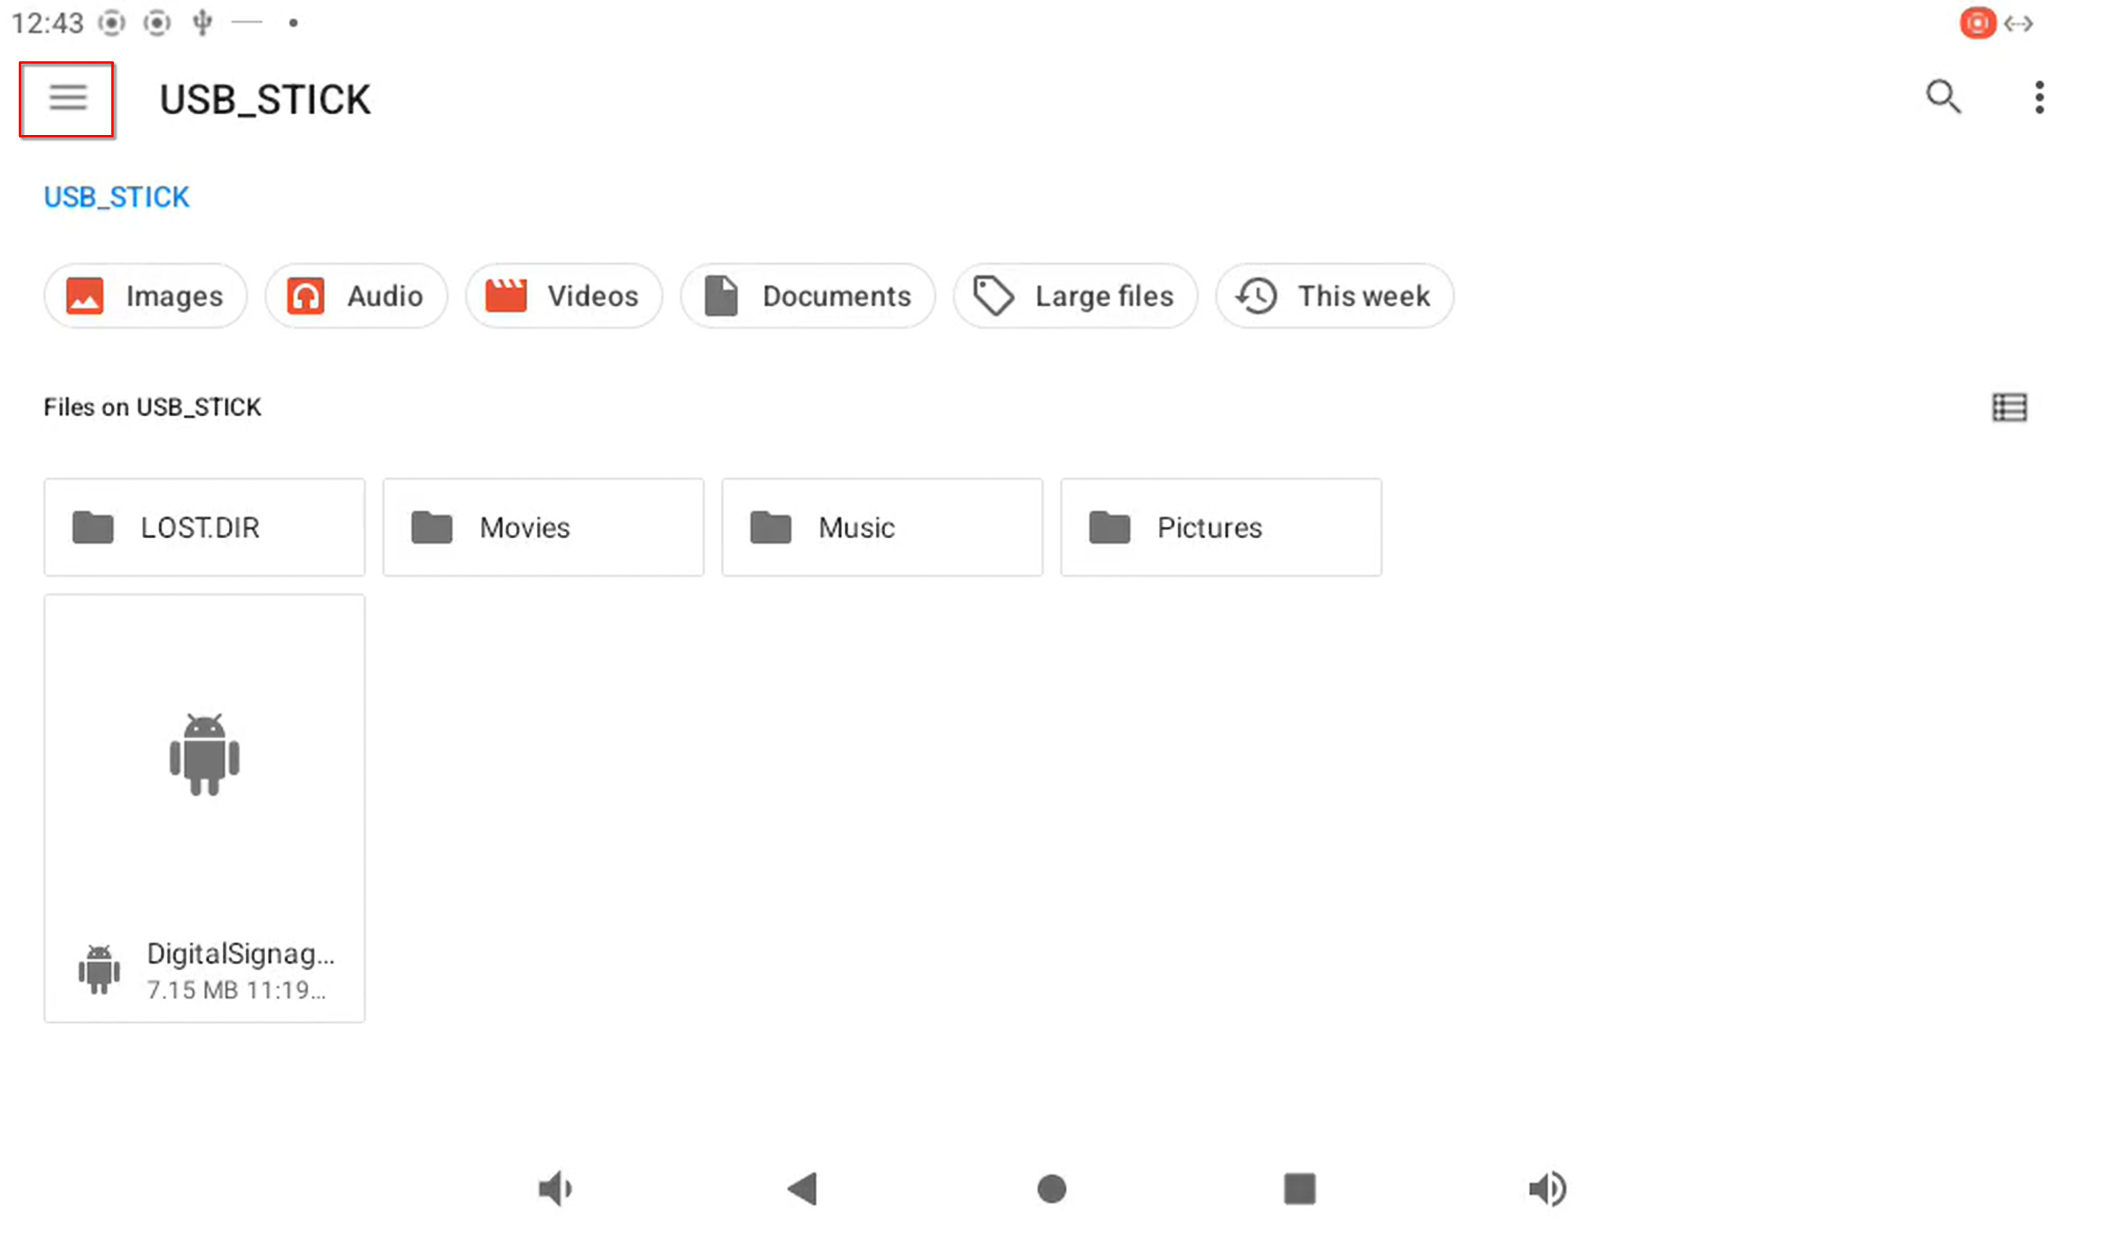
- Open the file browser application "Files".
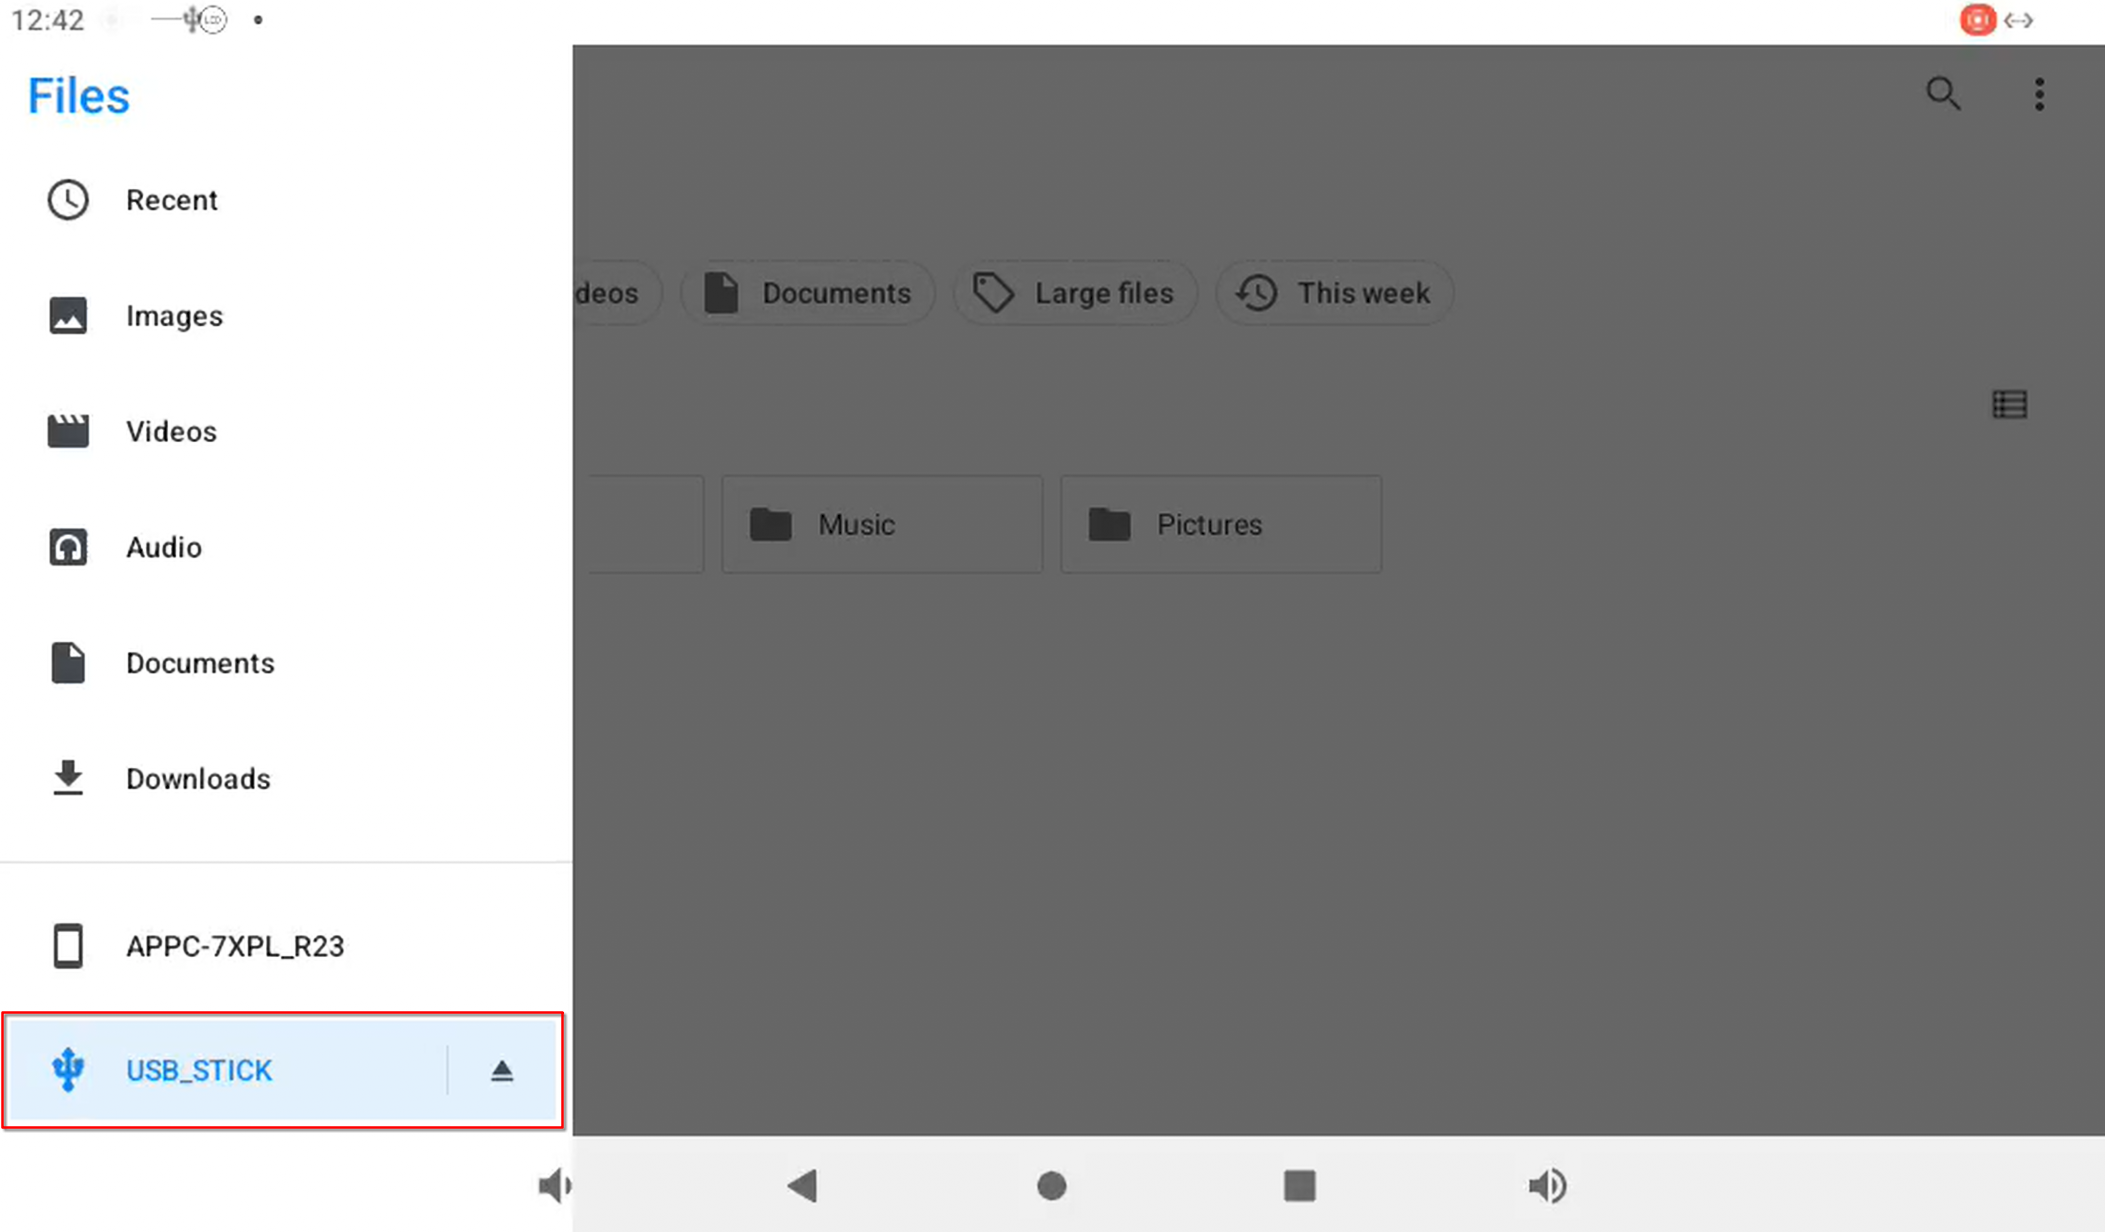
- Select the USB.
- On smaller screens you may need to select the "hamburger" menu in the top right to see the USB.
- Select the apk.
- A warning should pop up. Press continue.
- Press install.
- When installation is complete, a pop up with done or open should appear. Press done.
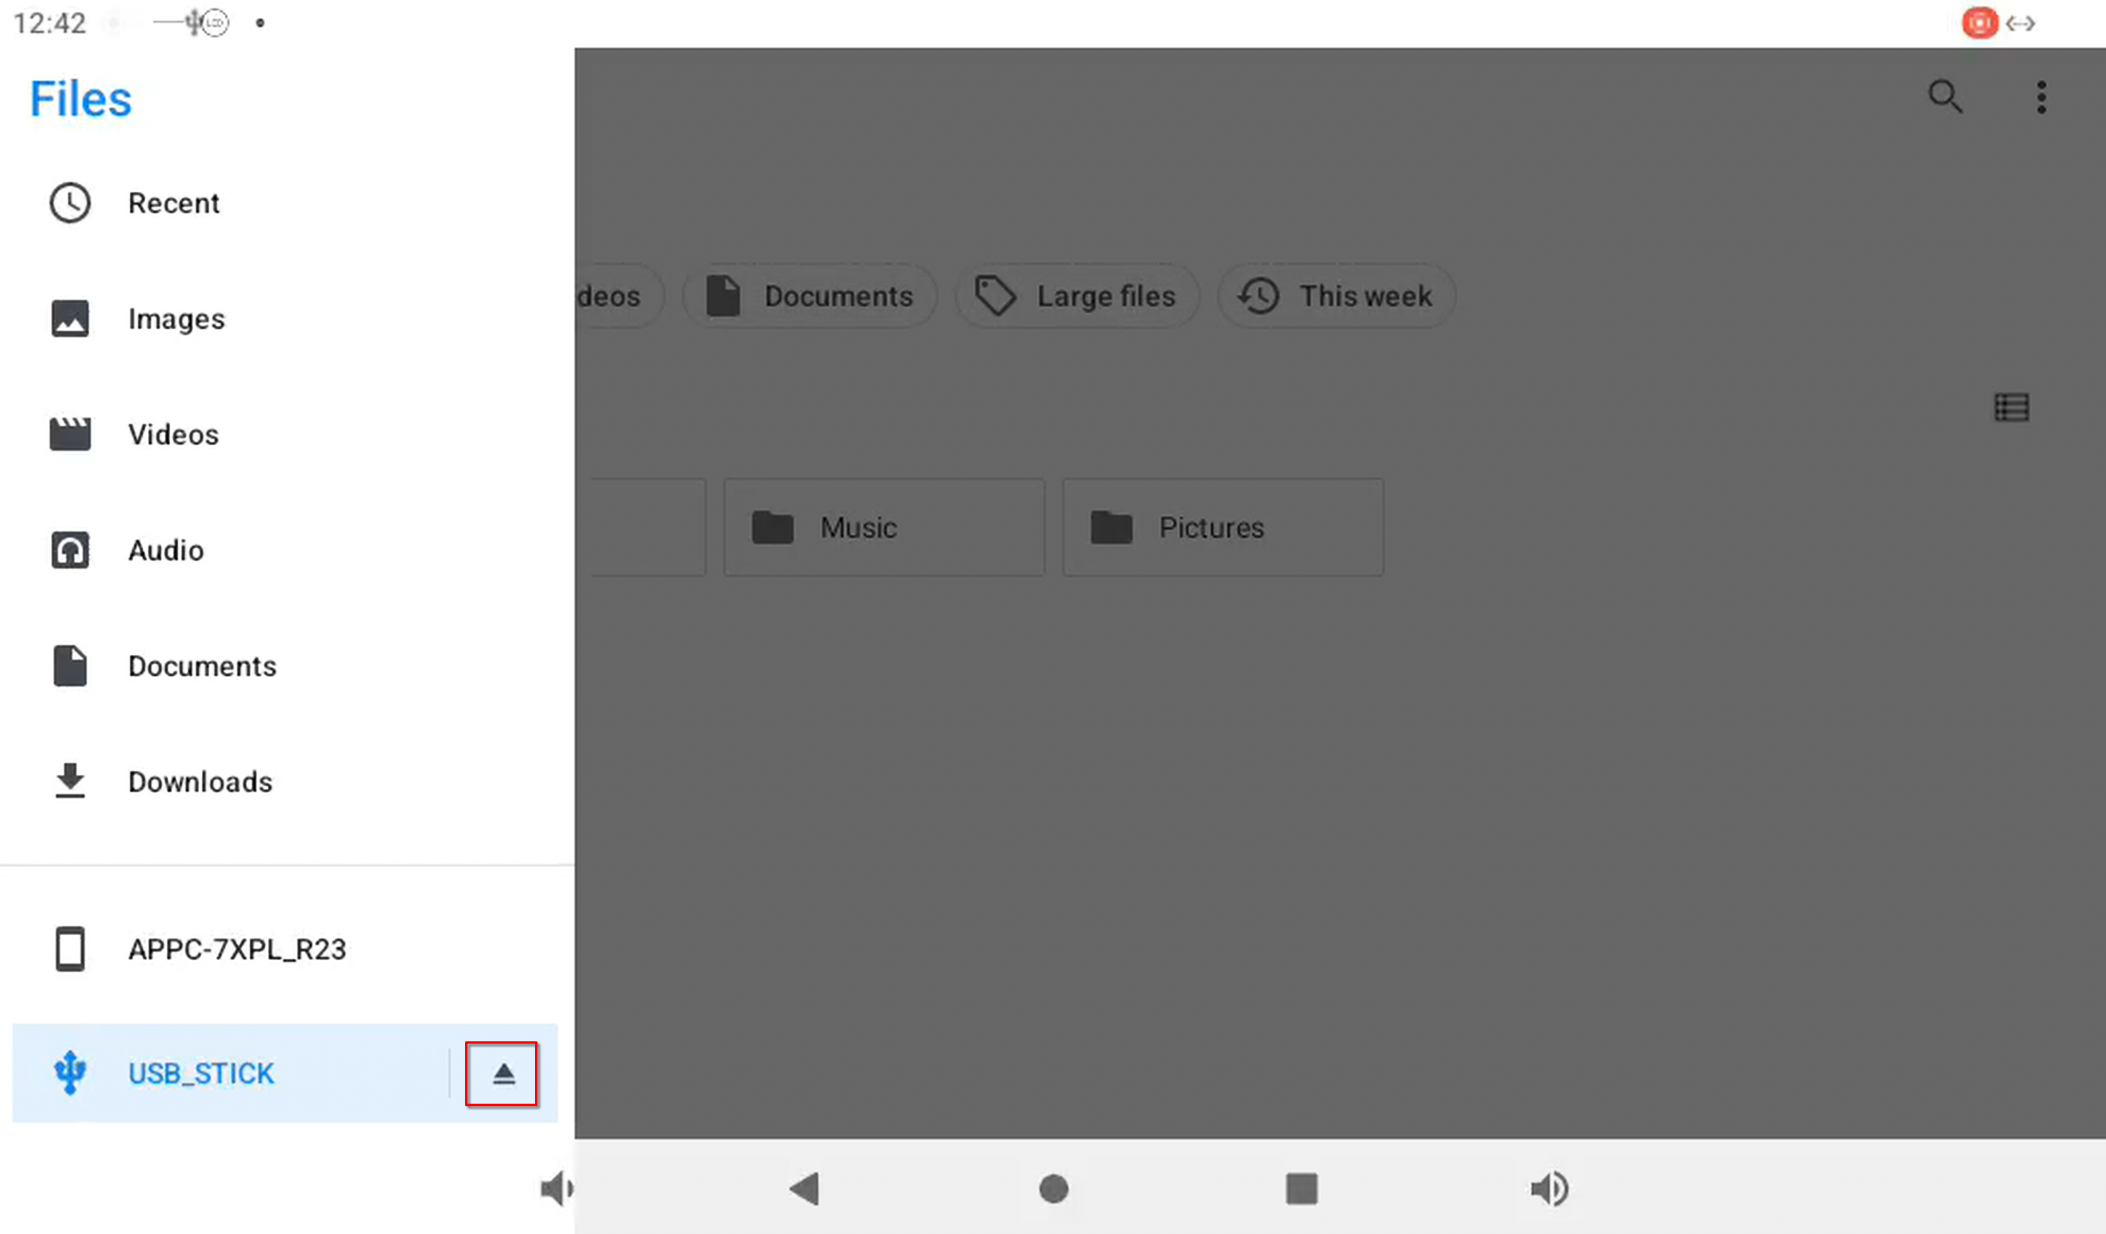
- To safely eject the memory card, press the eject symbol next to the USB in the "Files" application.
- Press the circle icon on the navigation bar at the bottom of the screen to make sure you are at the home page.
- Use a finger and swipe up from the bottom of the screen to open up the app drawer.
- Open the AutoStart application.
- Press start app.
- Select Digital Signage.
¶ Opening the Digital Signage Application
- Press the circle icon on the navigation bar at the bottom of the screen to make sure you are at the home page.
- Use a finger and swipe up from the bottom of the screen to open up the app drawer.
- Select the Digital Signage application.
NOTE
The first time the Digital Signage application is run, a pop up saying "Let app always run in bakckground" will appear. Press Allow.
¶ General
¶ Open settings
Using a finger, drag down from the top of the screen, to expand the Android Notifications menu. Drag it one more time to extend it further and touch the cogwheel icon to open Settings menu.
¶ Ethernet
Use the LAN port to connect the display to your network.
¶ WiFi
- Open Settings and go to Network & Internet
- Press Wi-Fi
- Select the network you wish to use and supply password
¶ How to do a factory reset
- Display must be powered on
- Enter the Settings menu
- Select "System"
- Select/expand "Advanced"
- Select "Reset Options"
- Select "Erase all data (factory reset)"
- Do a normal installation of the screen
¶ General settings
Turning off system sounds
Go to settings -> Sound -> Turn off Screen locking sounds and Touch sounds.
Turning off keyboard sounds
Go to settings -> System -> Languages & input -> Virtual keyboard -> Android Keyboard -> Preferences -> Sound on keypress
¶ Nice to know
¶ Changing network type
- Enter the Android Settings
- Select - Network
- Select Network Type
- Wired
- Connect
- Wireless
- Select SSID
- Enter Password
- Wired
- Exit menu