¶ Customization Guideline for the Radisson RED Theme
This guide provide you with assistance on how you can modify the 2024 versions of the various Radisson chain themes for each hotel. The screenshots are from the Radisson RED theme, but the instructions apply to the themes for all brands.
¶ Import the theme
Start by importing the theme to your site.

¶ Customize the main menu
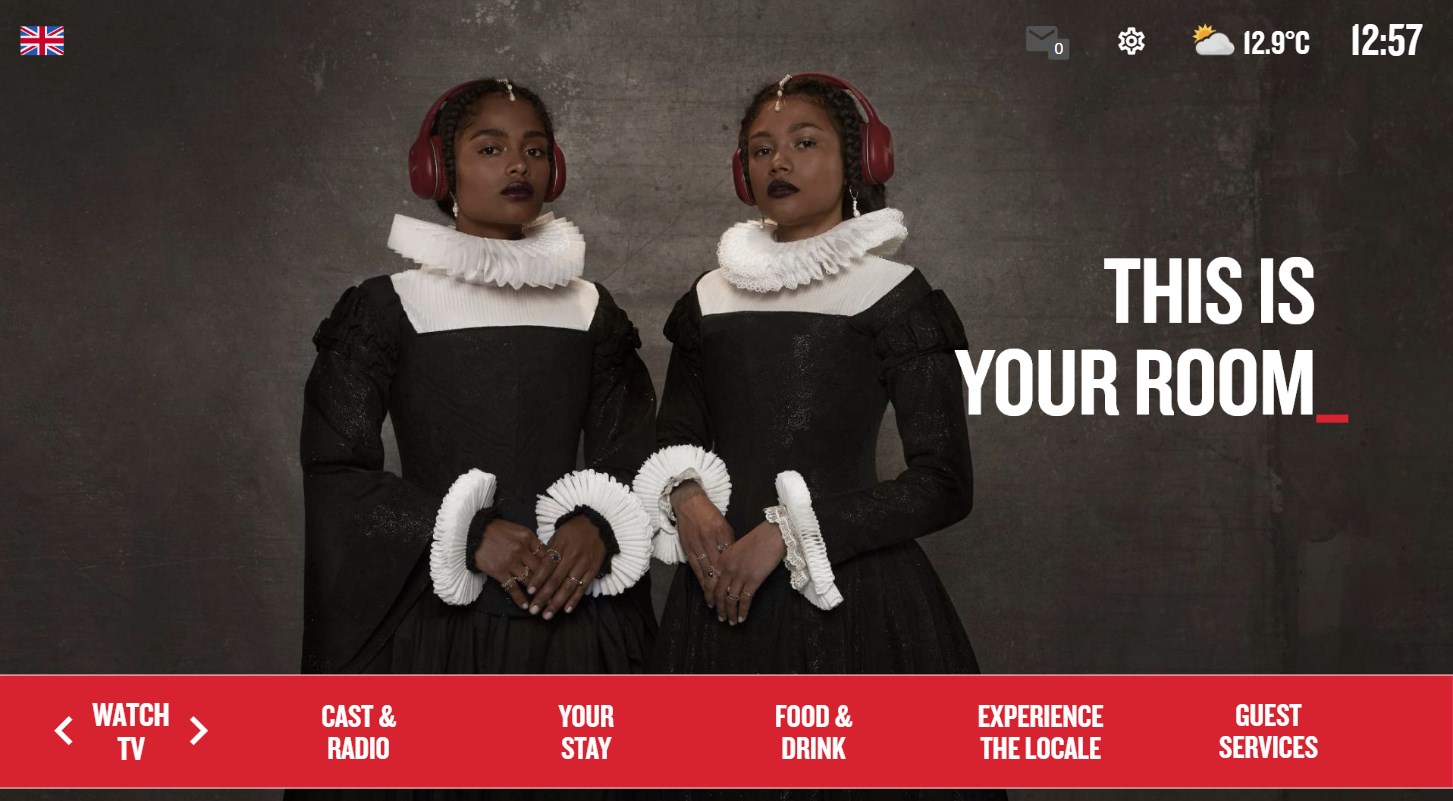
The main menu is defined by Radisson centrally and is not meant ot be altered locally. If you want to do modifications anyway, contact Support if you need assistance.
¶ Customize a sub menu
The content in the list menu in the sub menus can be customized.
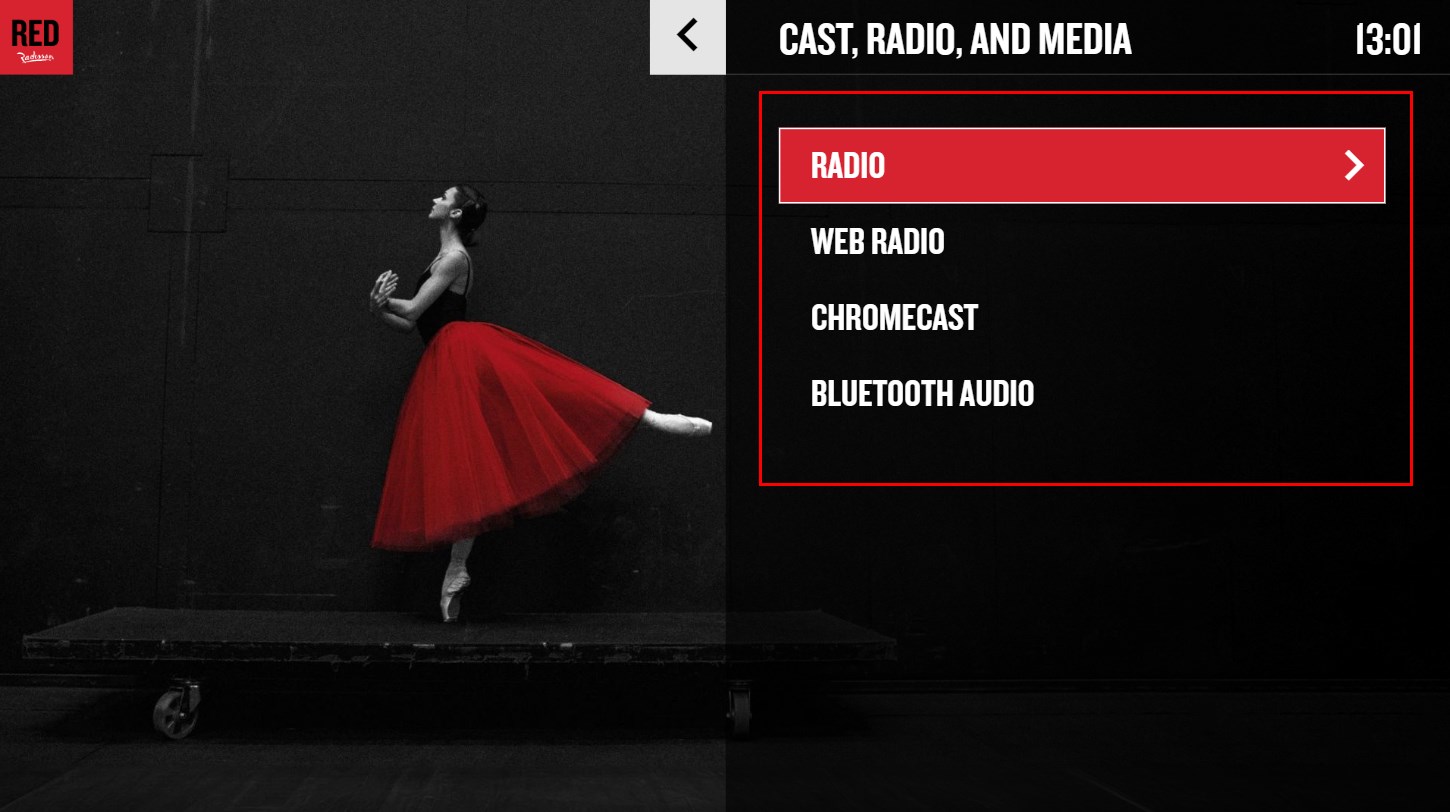
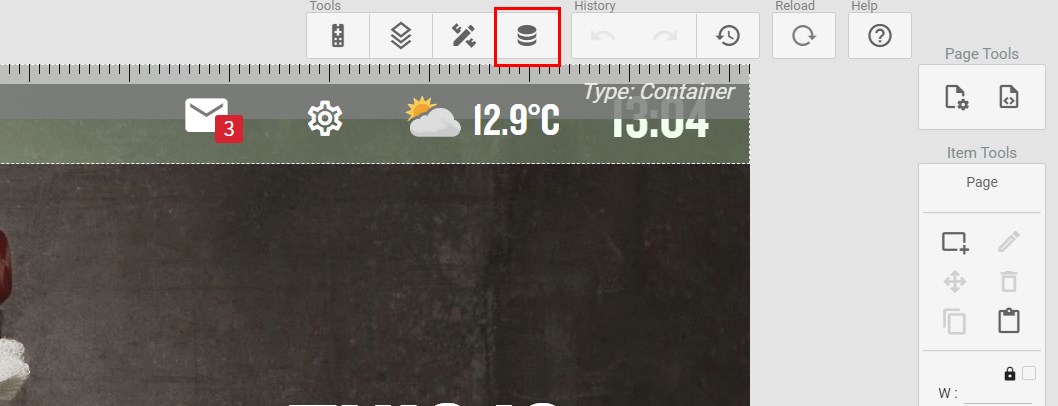
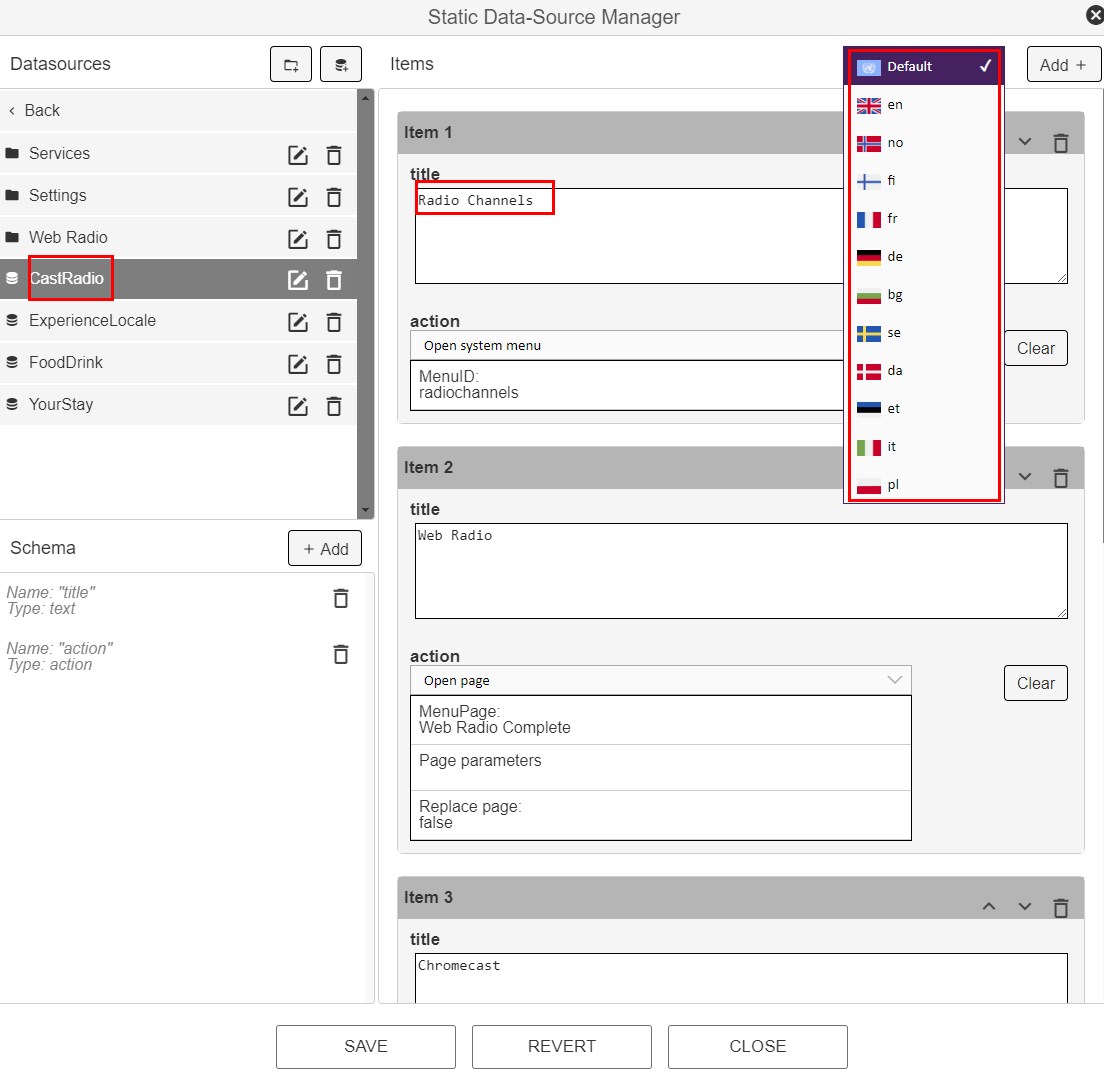
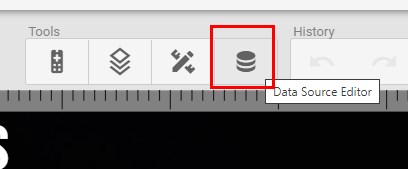
To change the items showing in the list element on the right side of the sub menu, open the Static Data-Source Manager, and find the datasource matching the submenu you are customizing. The "title" field is what is showing in each list item, see picture below. Translations can be added using the drop down menu.
¶ Removing a page/item
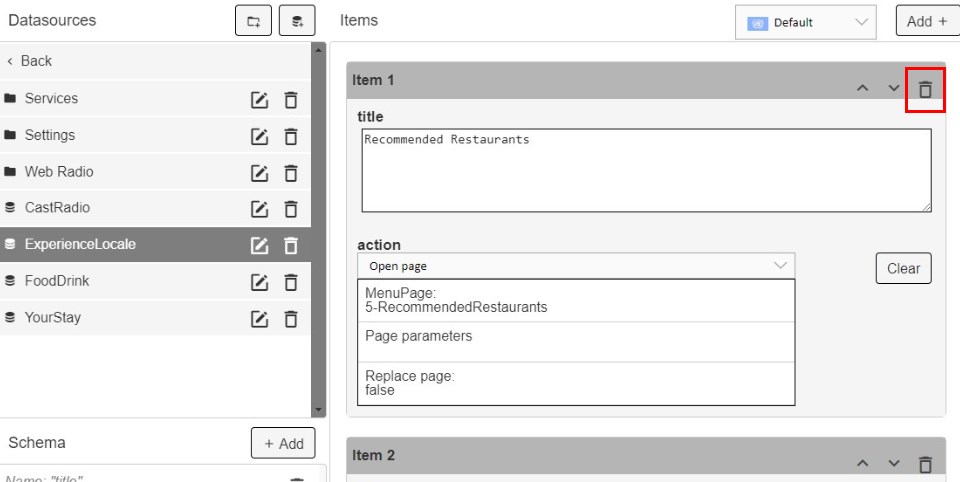
To remove a page/item within a sub menu, you simply use the recycle bin on the item itself:
¶ Adding various pages/items
Depending on what kind of page/item you want to add to the sub menu, the workflow is a bit different for each.
¶ Add a new info page
To add a new info page, you must first create the new info page. This is described in the next main section of this guide.
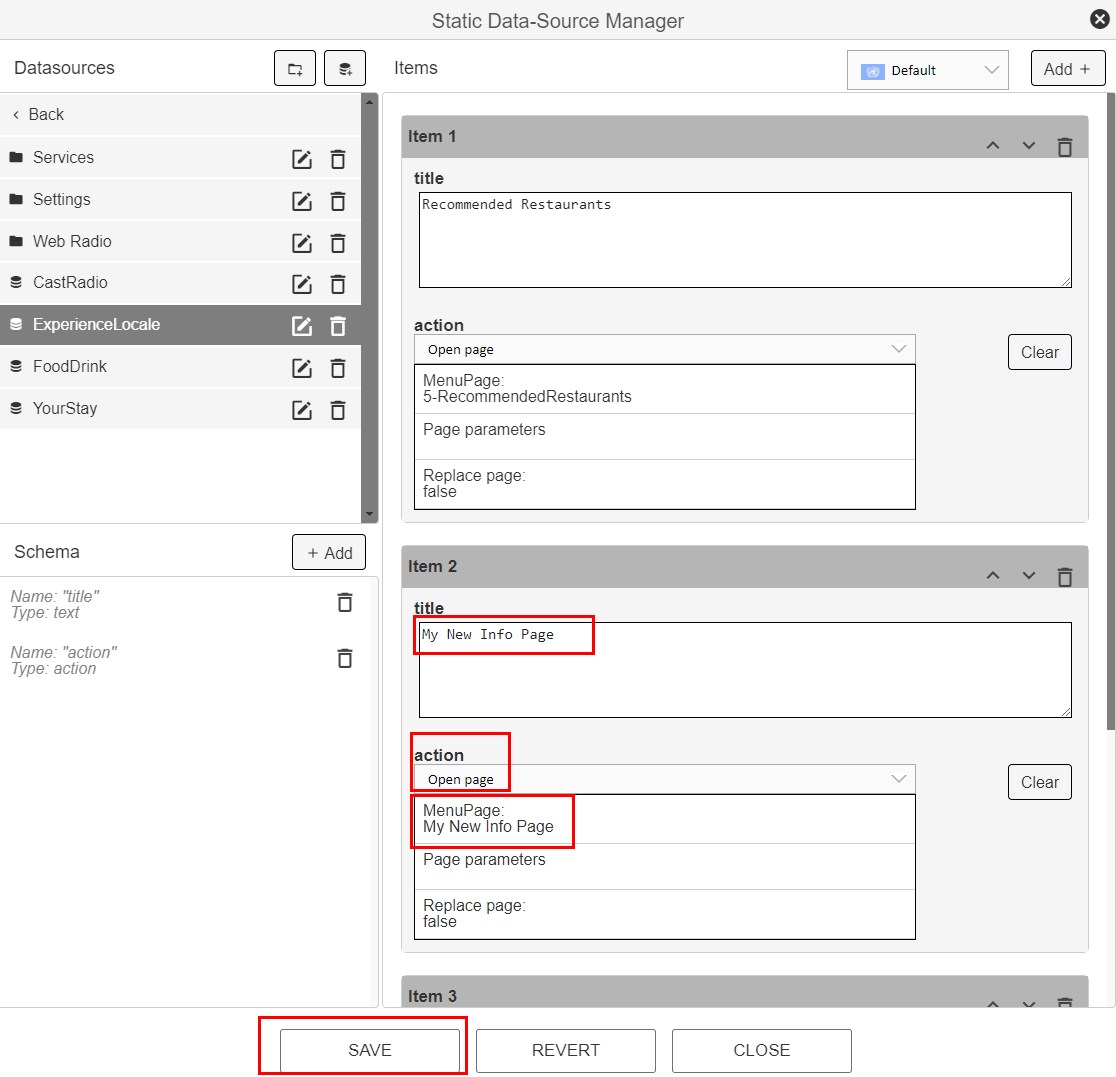
When adding the new info page to the submenu, first create a new item within the data source. Then you use the "action" field in the data source. Set the action to "Open page" and link to the new info page:
¶ Add a Smart-TV application
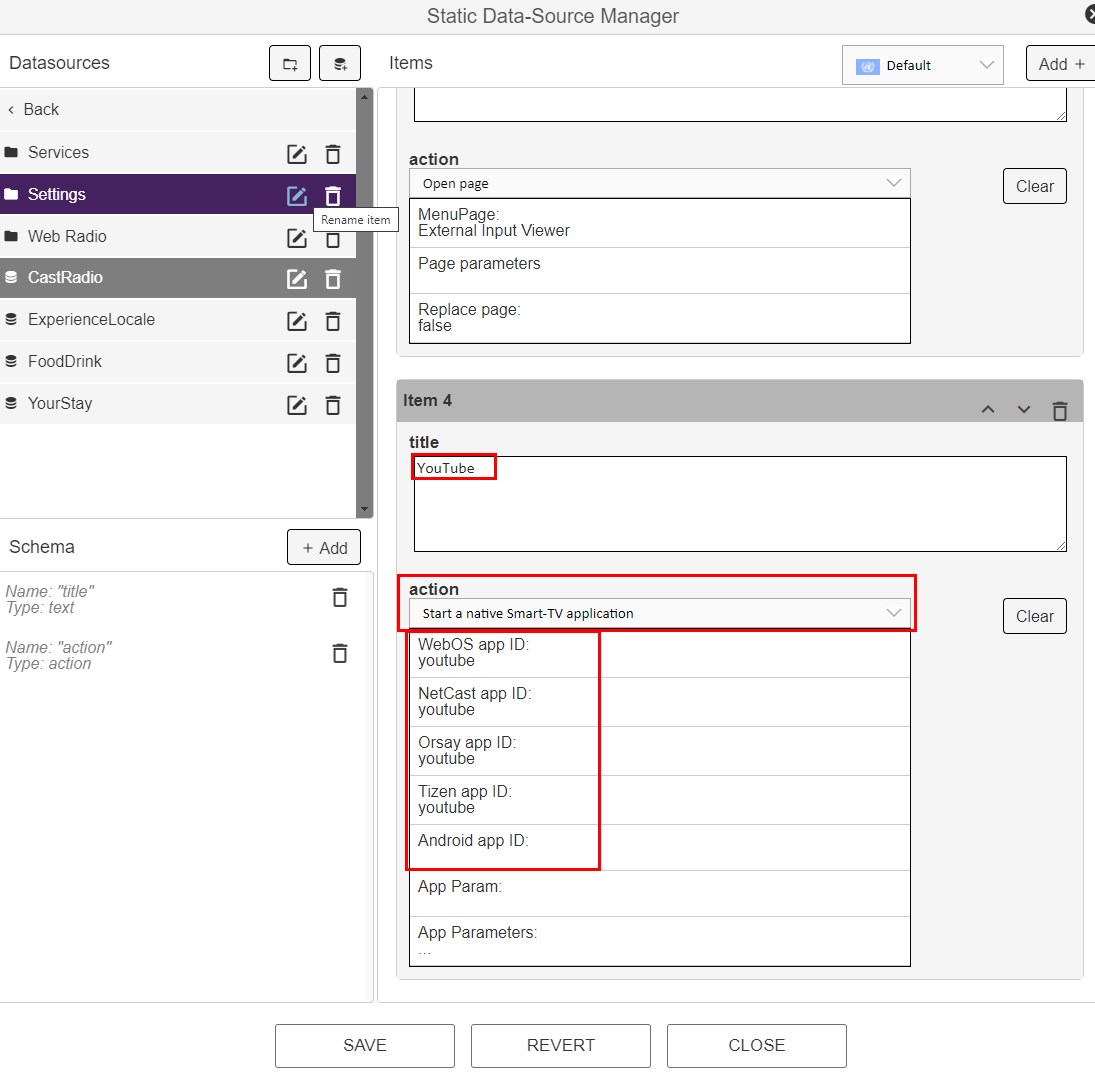
To add a new Smart-TV application, first add a new item in the data source. Then, use the action "Start a native Smart-TV application" and add the correct app ID for the application. The list of app IDs can be found here.
¶ Add other items/page types
To add other items/page types, please contact Support.
¶ Create a new info page
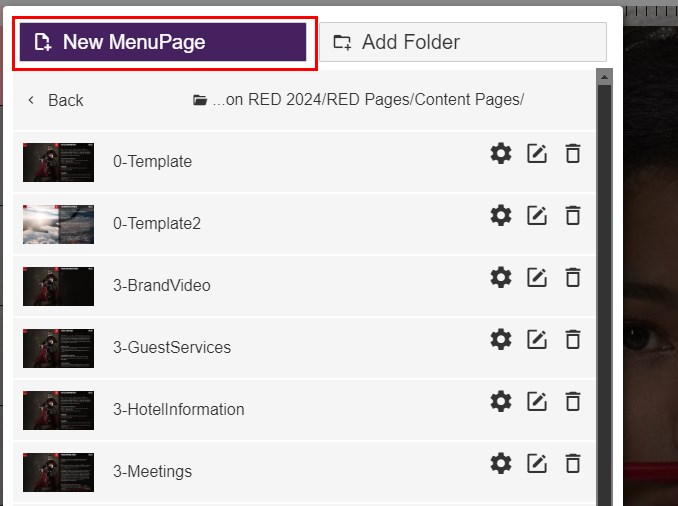
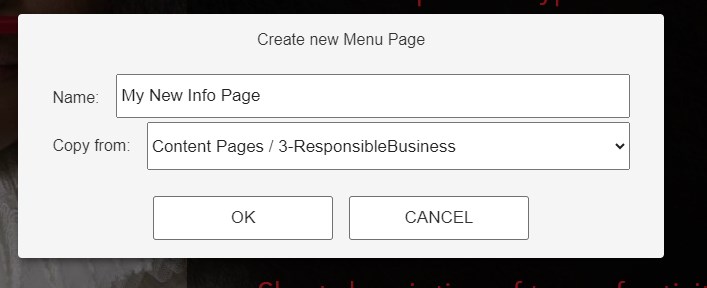
To add a new info page, create a copy of one of the existing ones, being in the style of the one you want to create. The info pages reside in the "Content Pages" folder:
¶ Change the header
To adjust the header of the new info page, double click the header container and adjust the title under "Normal Content". Use the flags to add translations to other languages:

¶ Change the info text
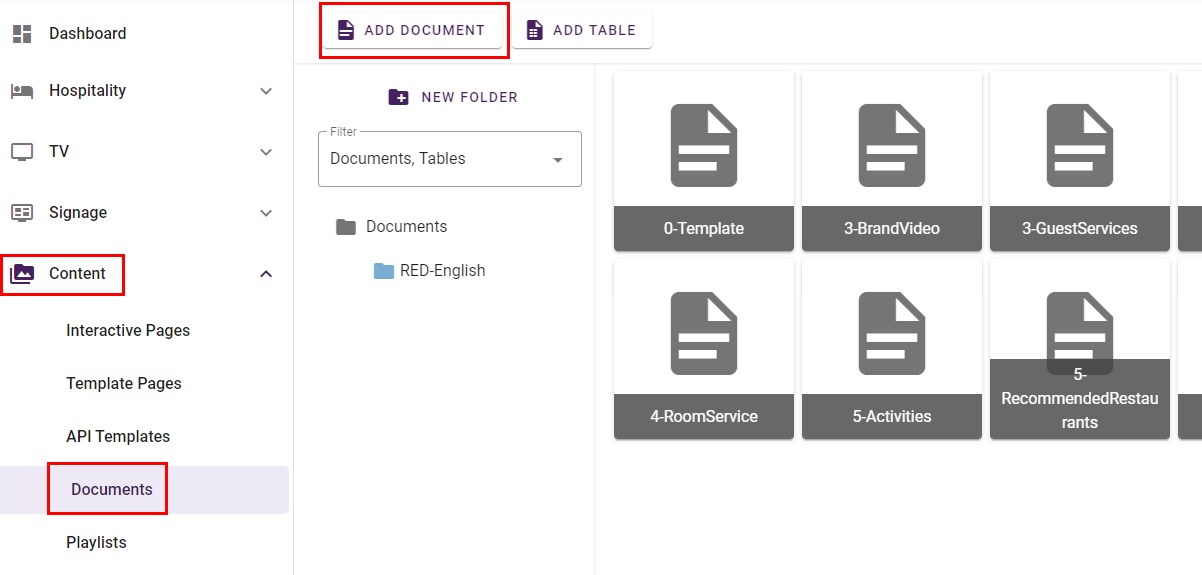
The info text is sourced from a document. So start by creating a new document.
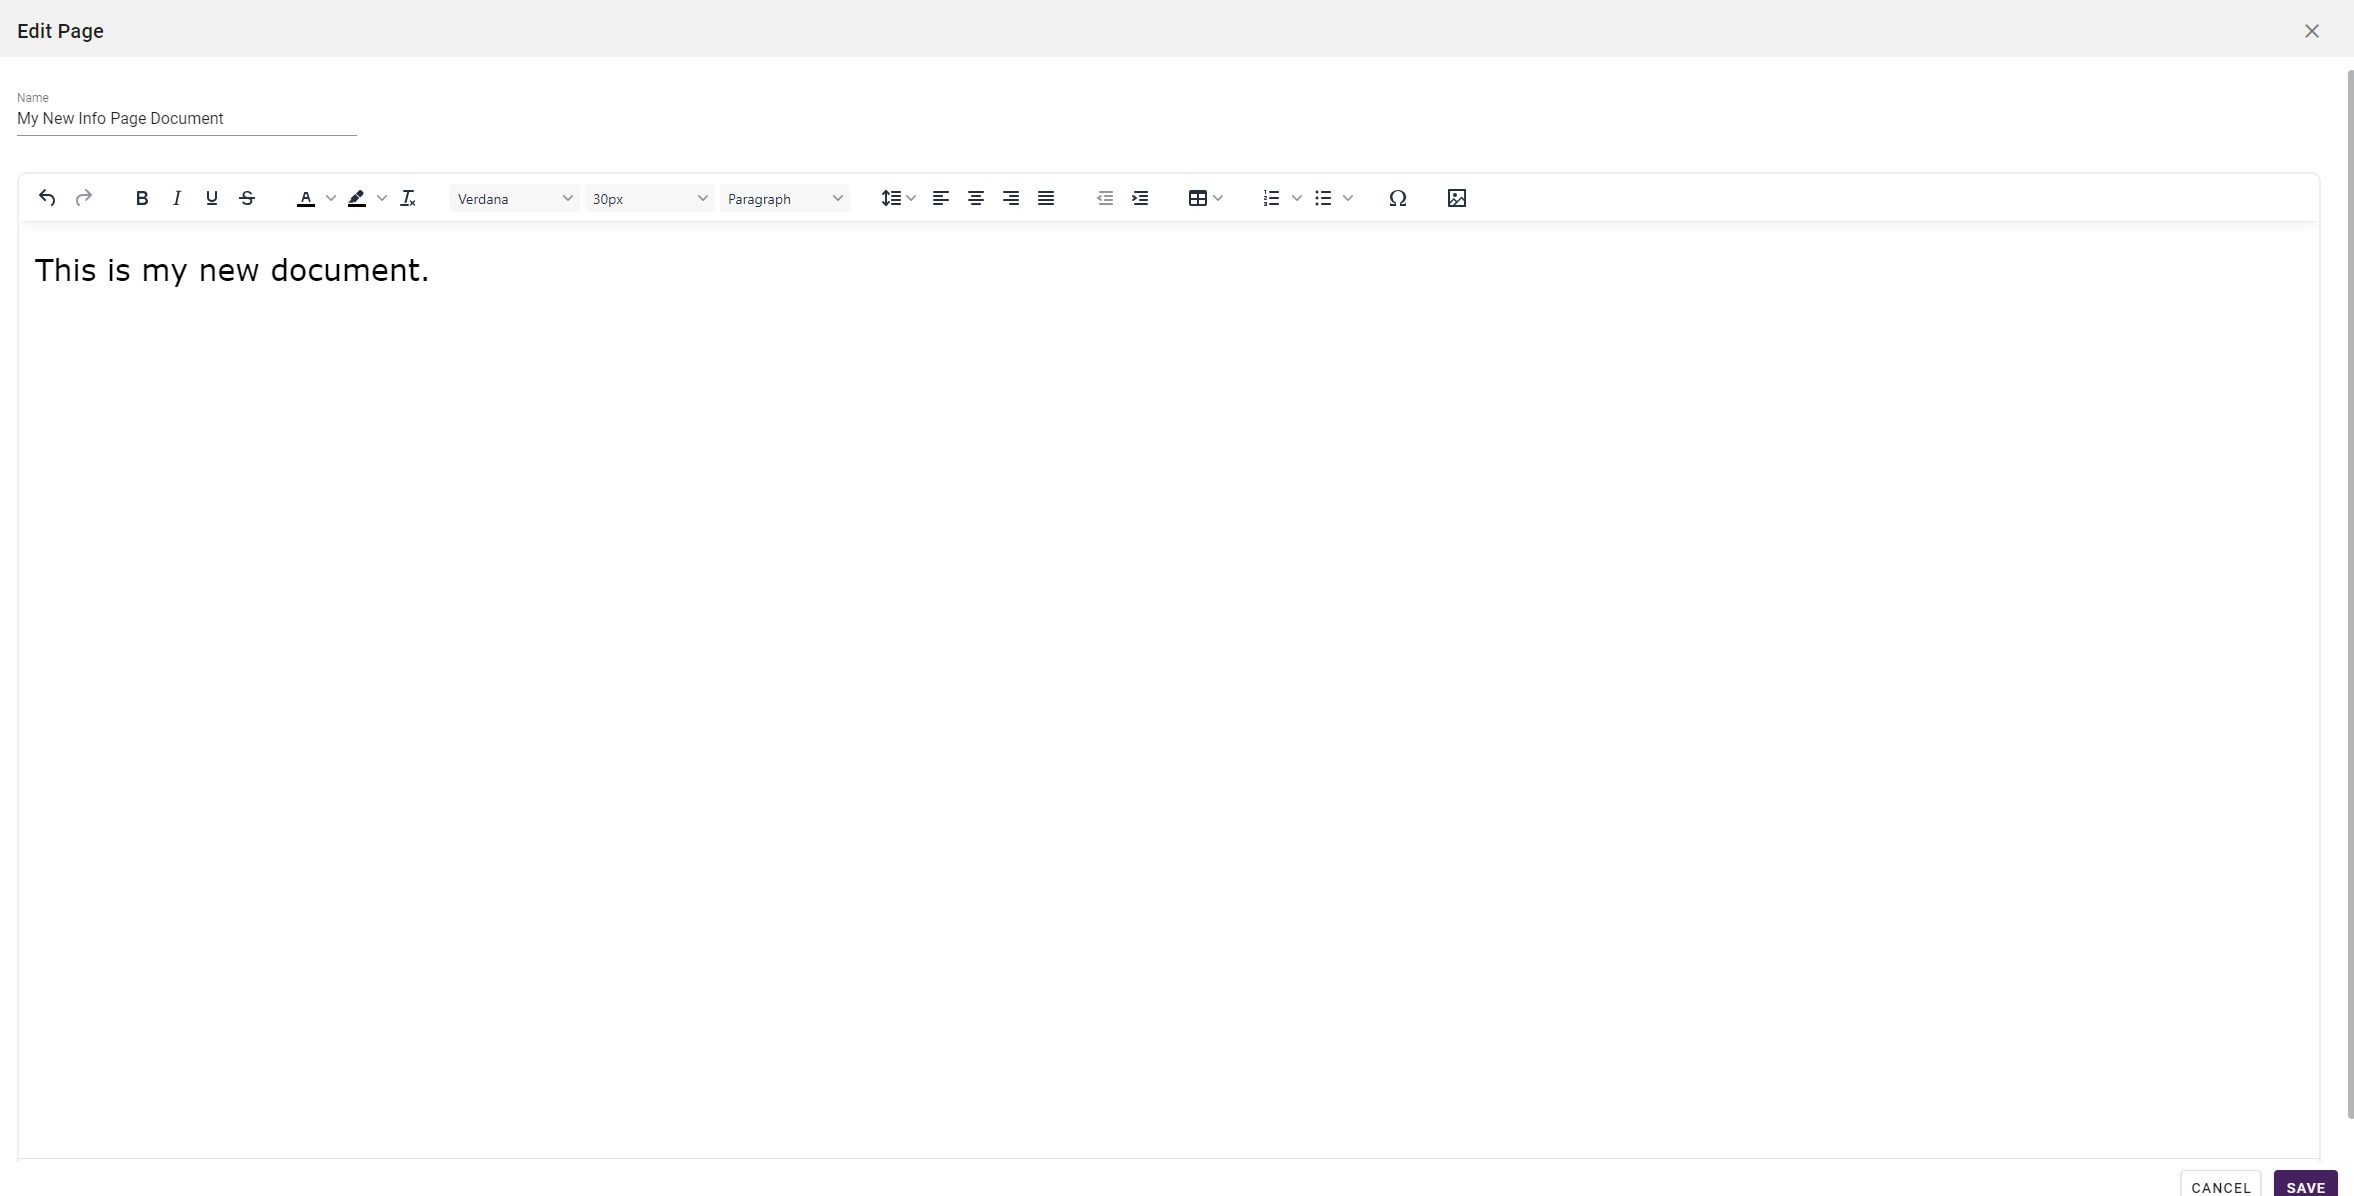
You could copy/paste text from another document as a start for your new document if you want.
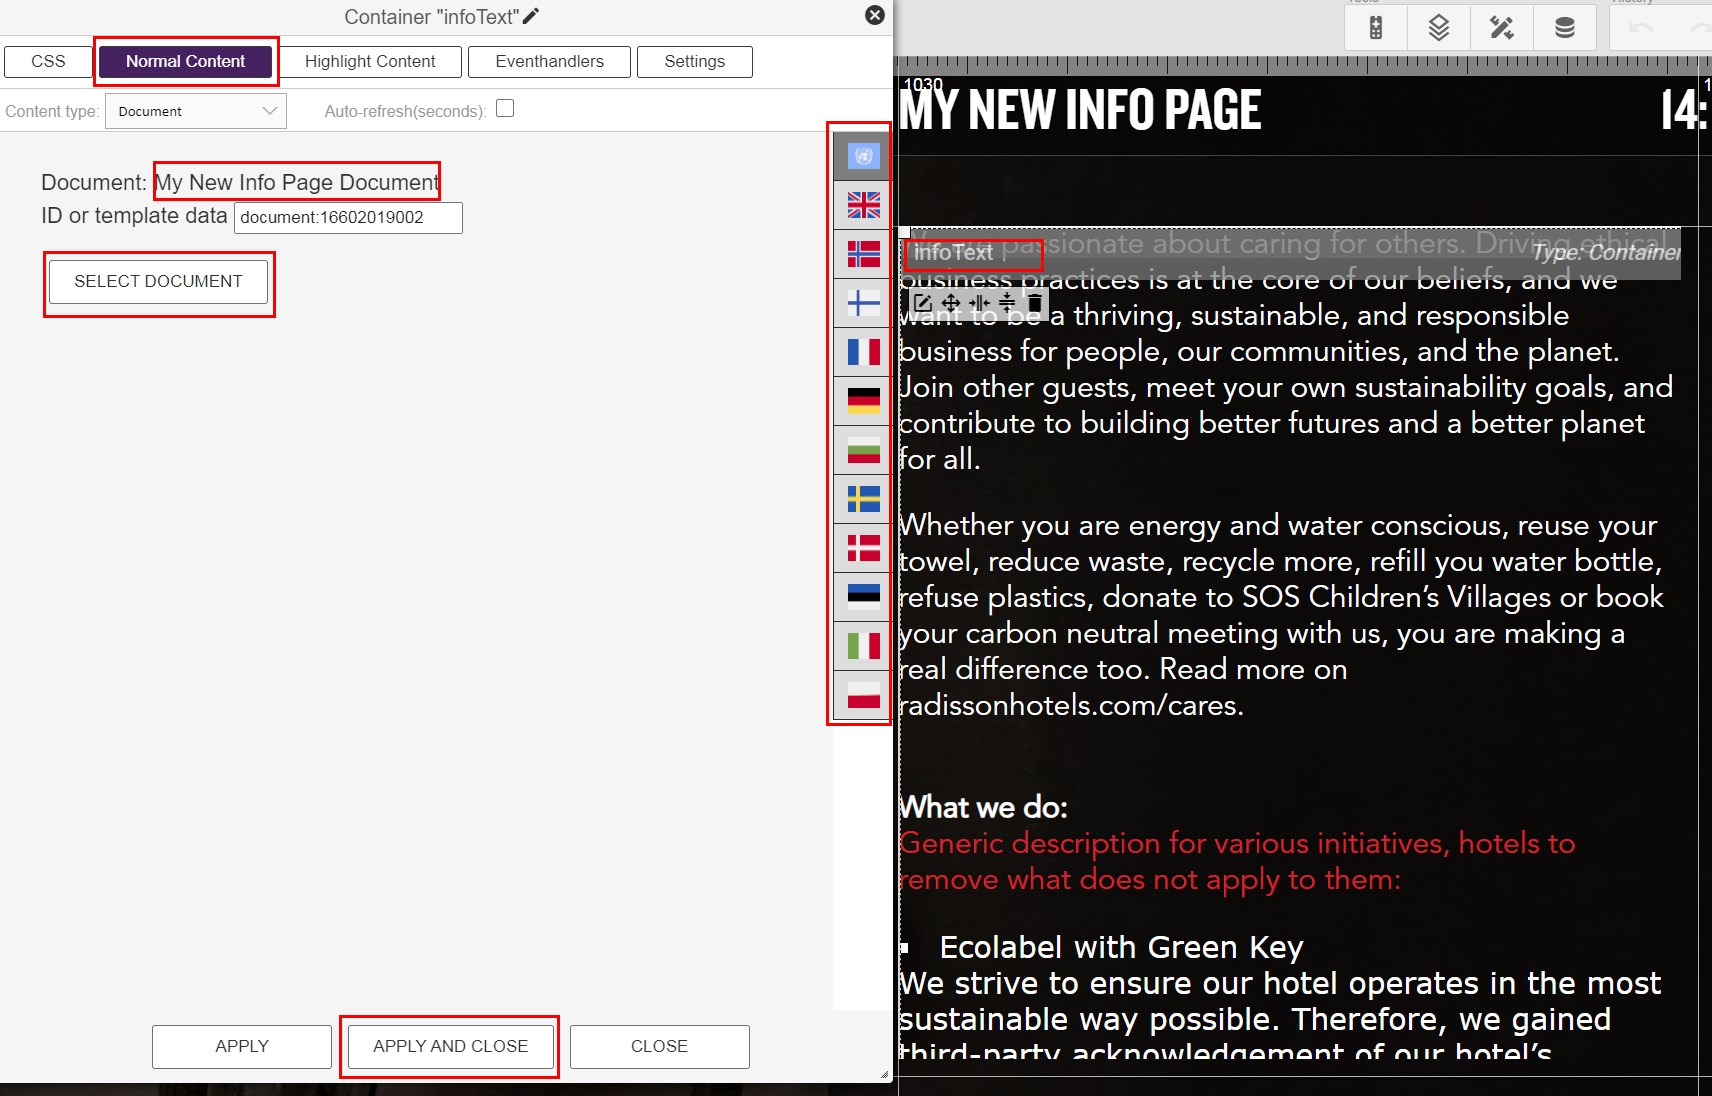
To add the content of the new document into the new info page, you double-click the "infoText" window on the new info page.
Under "Normal Content", select the new document you have created. Use the flags to add documents on other languages. Then press "Apply and Close".
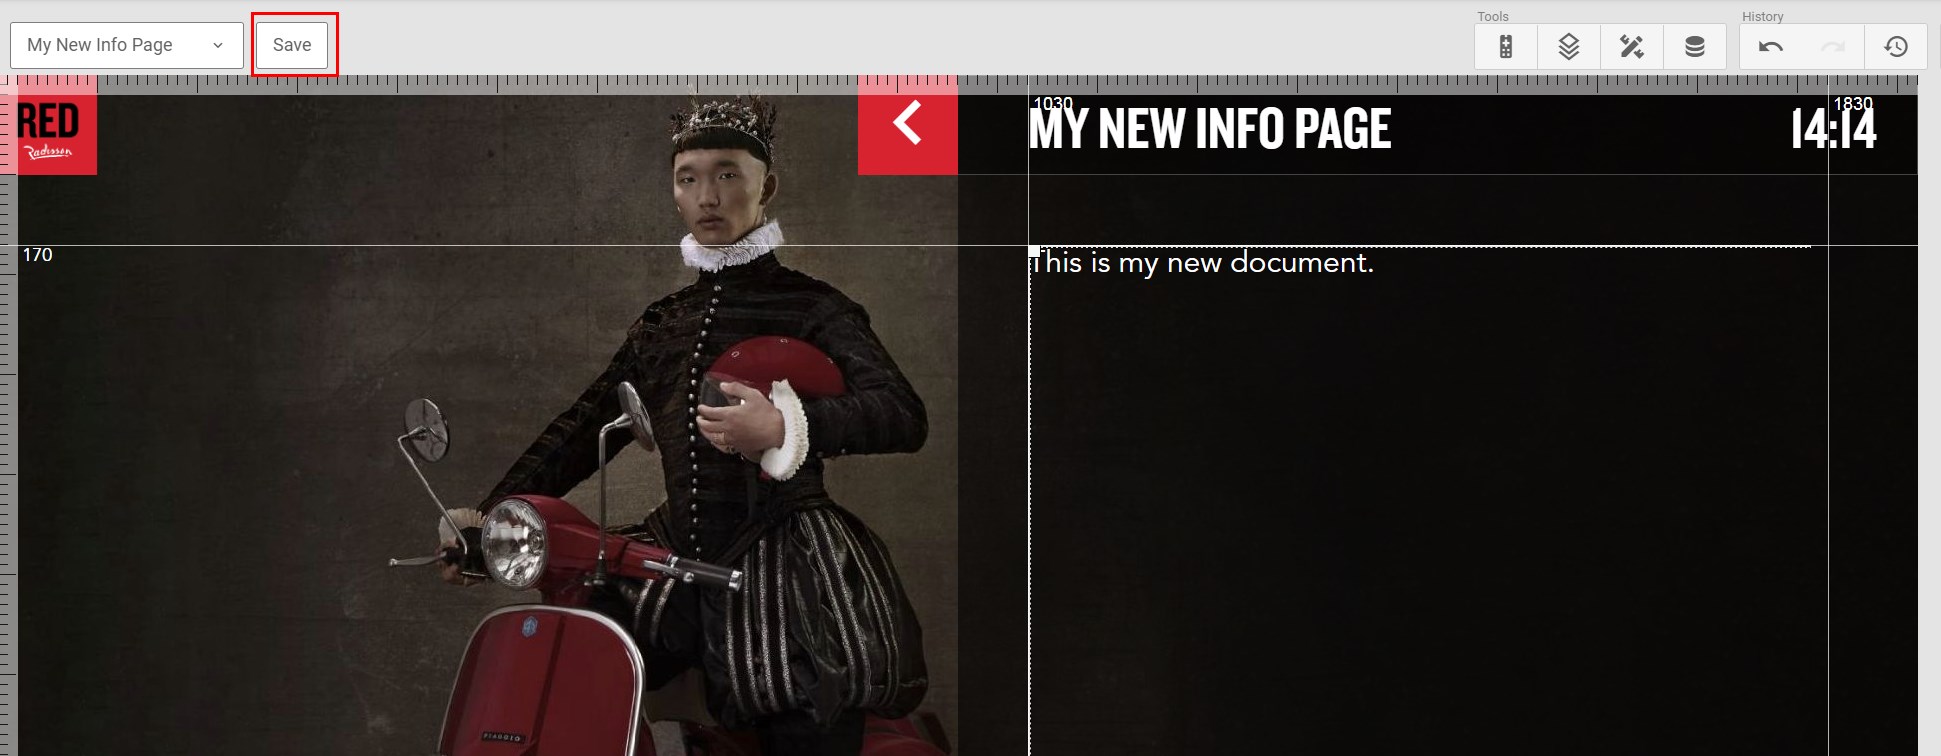
You should now see the content of the new document on your new info page. Remember to save the page.
¶ Configure the Wake-Up service
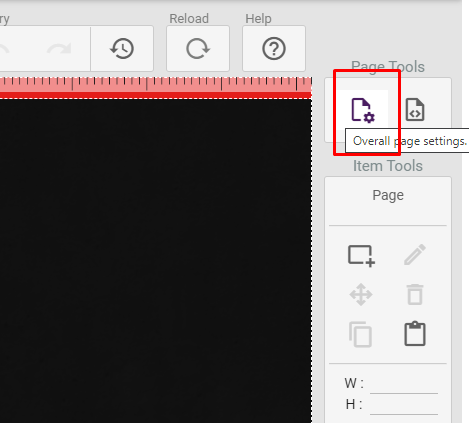
To configure the wake-up service for each hotel, open the "Wake Up Alarm Page 1" page and then the "Overall page settings":
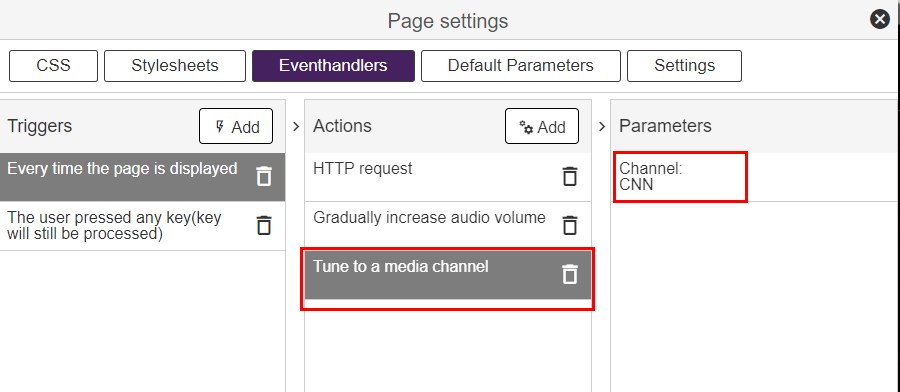
In the eventhandler for "Every time the page is displayed, set the correct media source to play in the background on the wake-up. The audio settings can also be adjusted here.
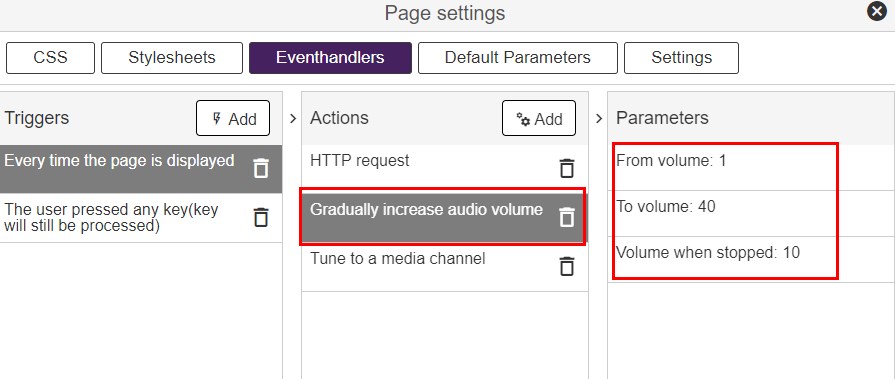
Do the same procedure of defining the media channel on "Wake Up Alarm Page 2" (On this page there is no audio config).
Remember to test that the wake-up is working properly.
¶ Adjust the weather location
¶ Weather on the main page
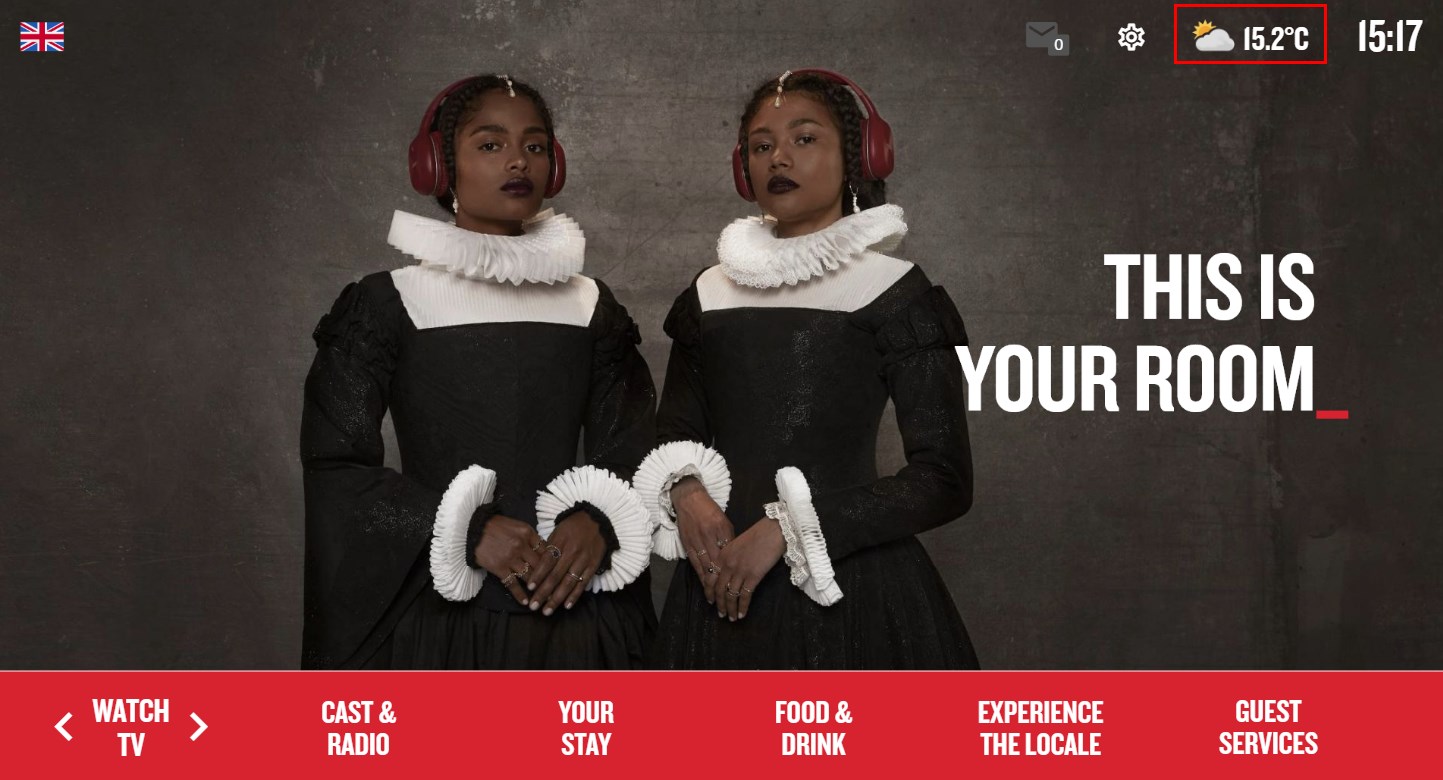
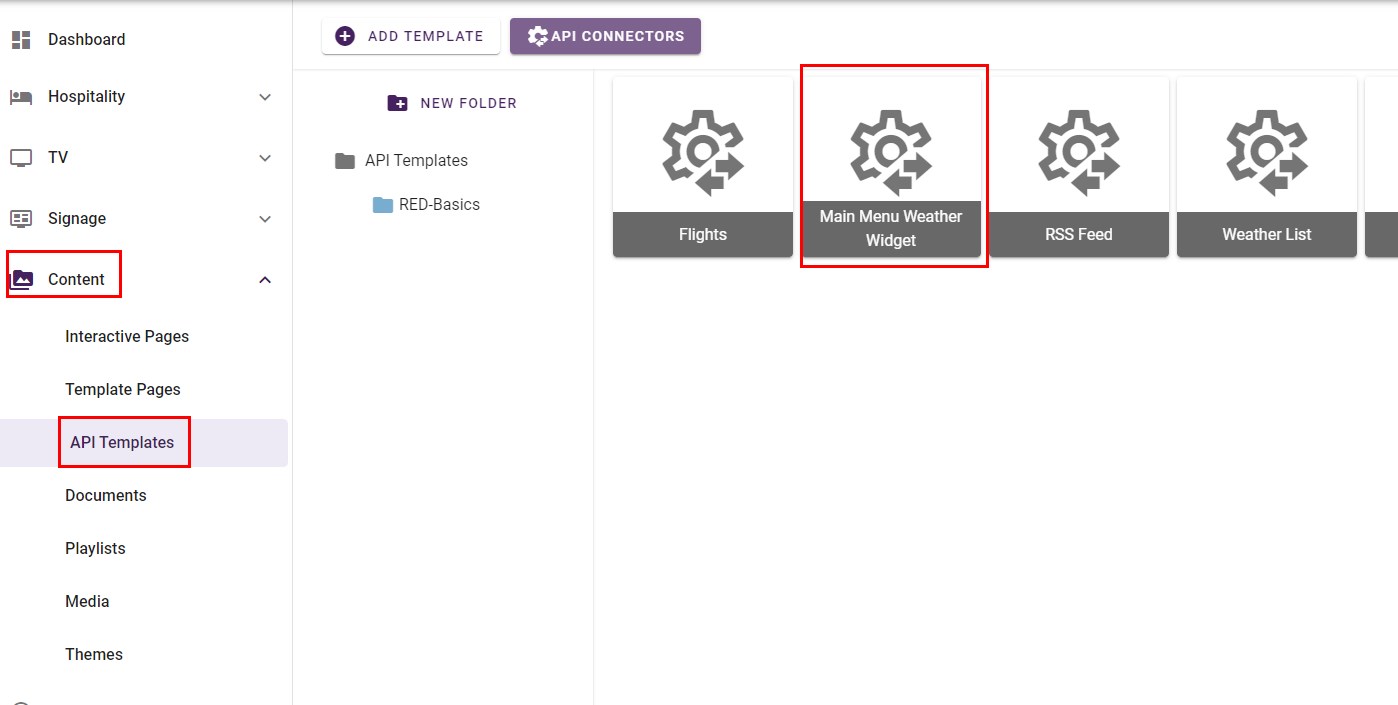
To change the location of the weather widget on the main menu page, open the template "Main Menu Weather Widget".
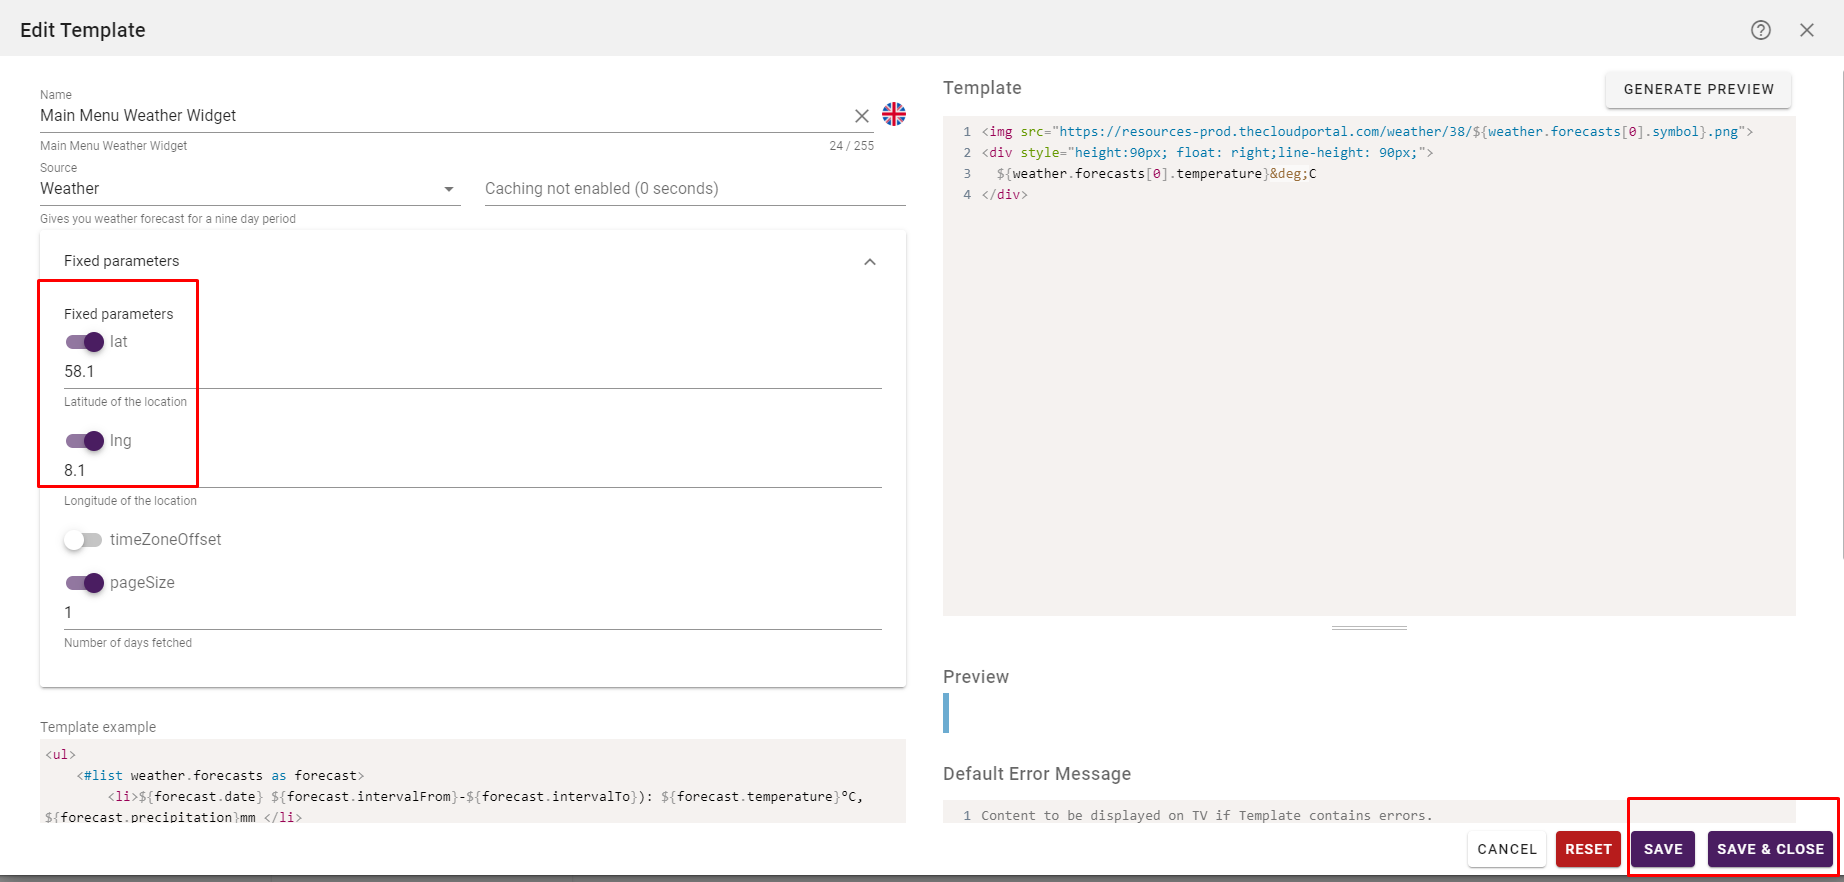
Inside the "Fixed paramaters", the latitude and longitude of the location can be set.
¶ Weather locations within the Guest Services submenu
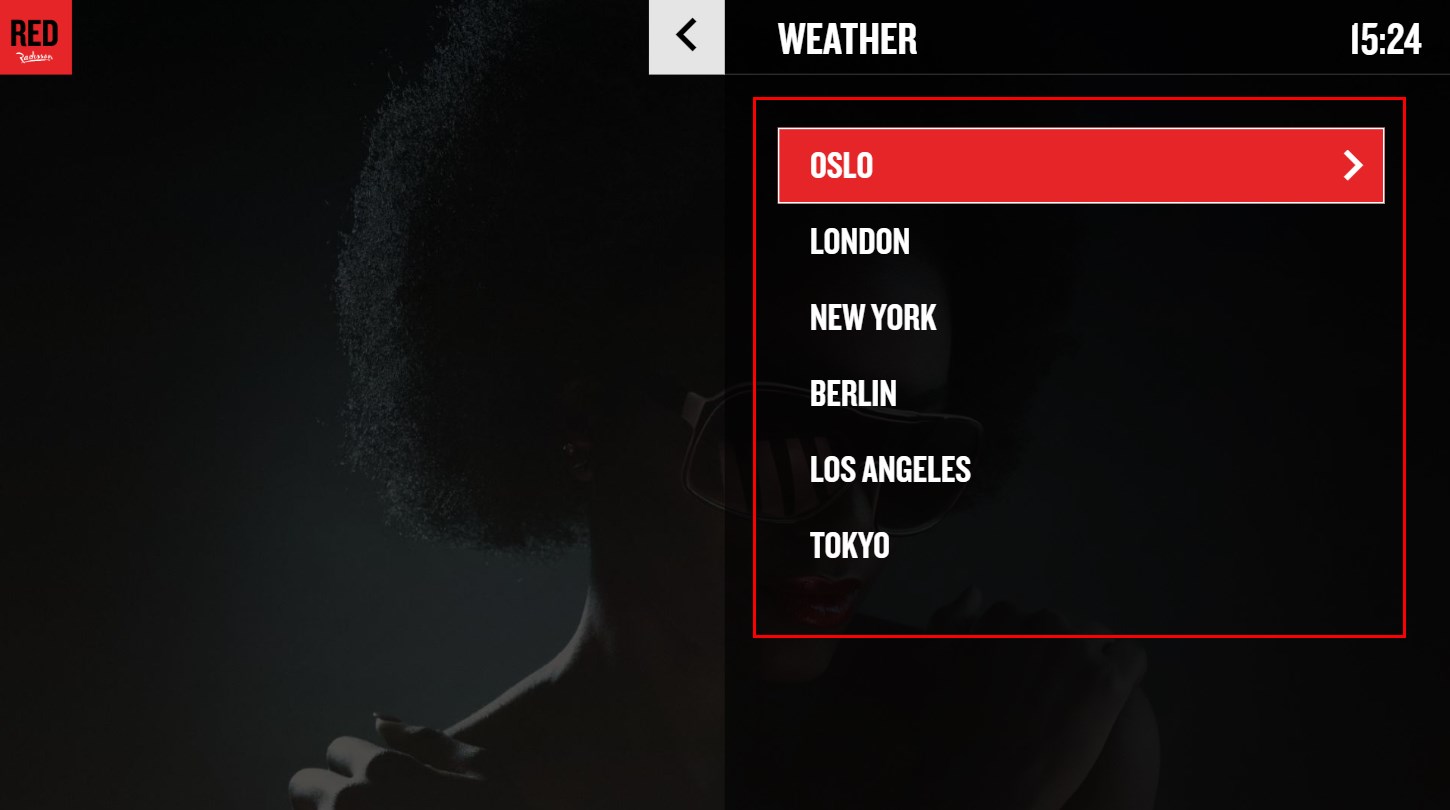
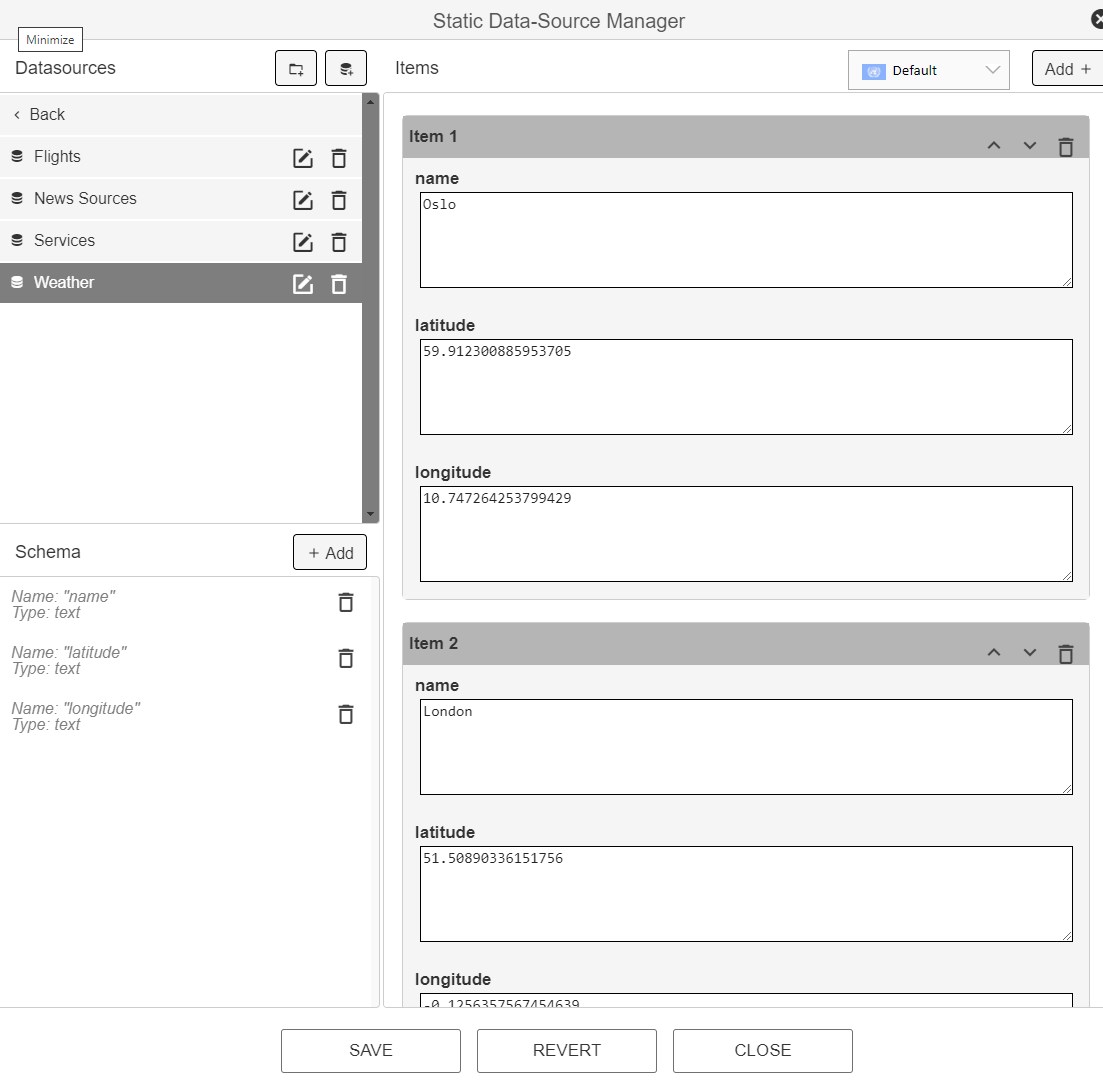
To add or remove locations to the weather list, open the "Weather" data source within the "Services" folder. Configure the name/latitude/longitude for each location:
¶ Configure News feeds
You can configure the News feeds showing in the News menu:

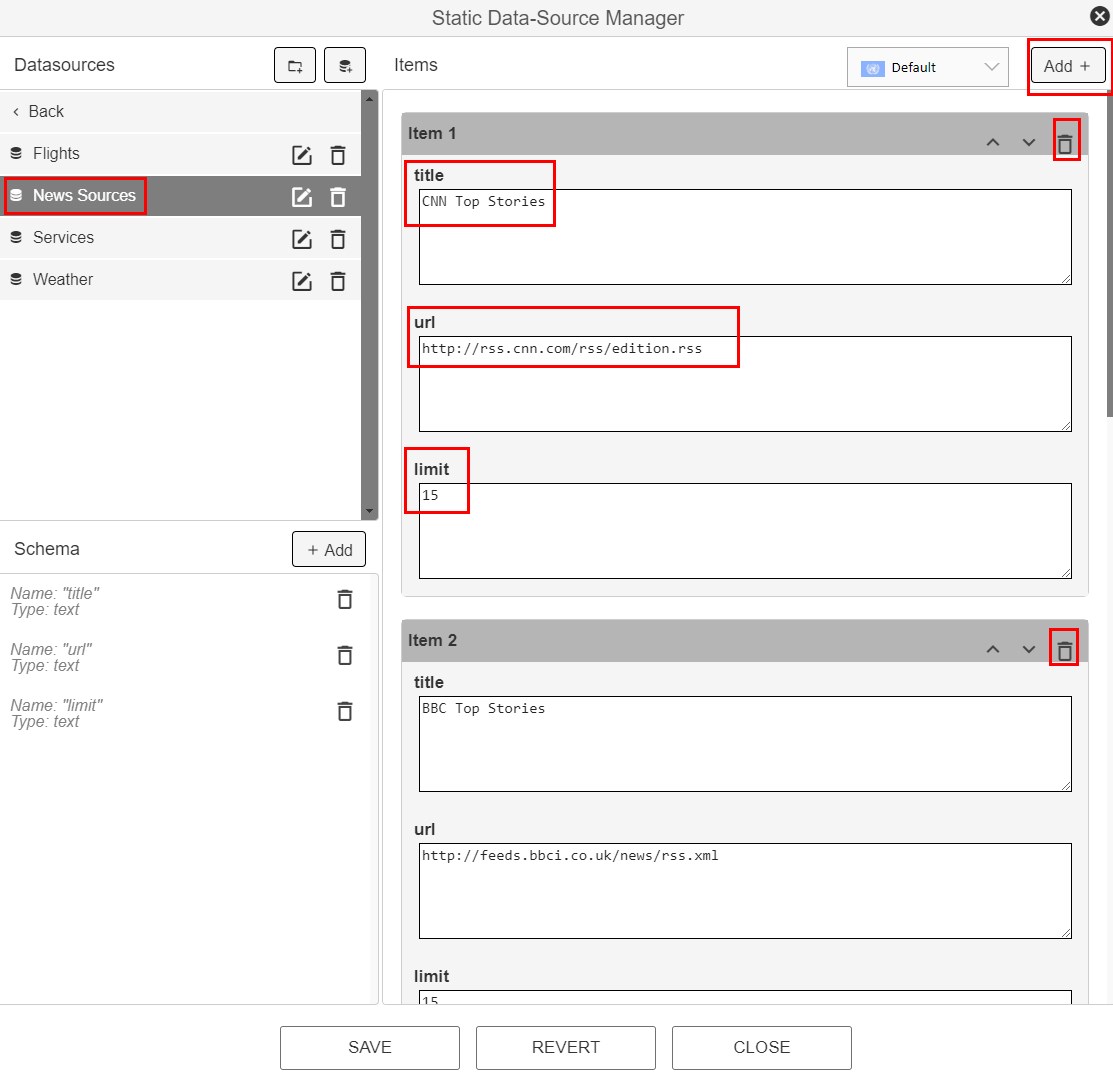
The News sources are configured in the data source called "News Sources". Here you can add sources to the list by using the "Add" button. You can delete items by using the recycle bin button. Add title, url and limit=15 for each item, as shown below:
¶ Configure flight locations
The Radisson RED theme has a flight template included.
The list of locations is configured from the data source called "Flights". Here you modify the items to contain the name(s) and the IATA code(s) you want to include.:
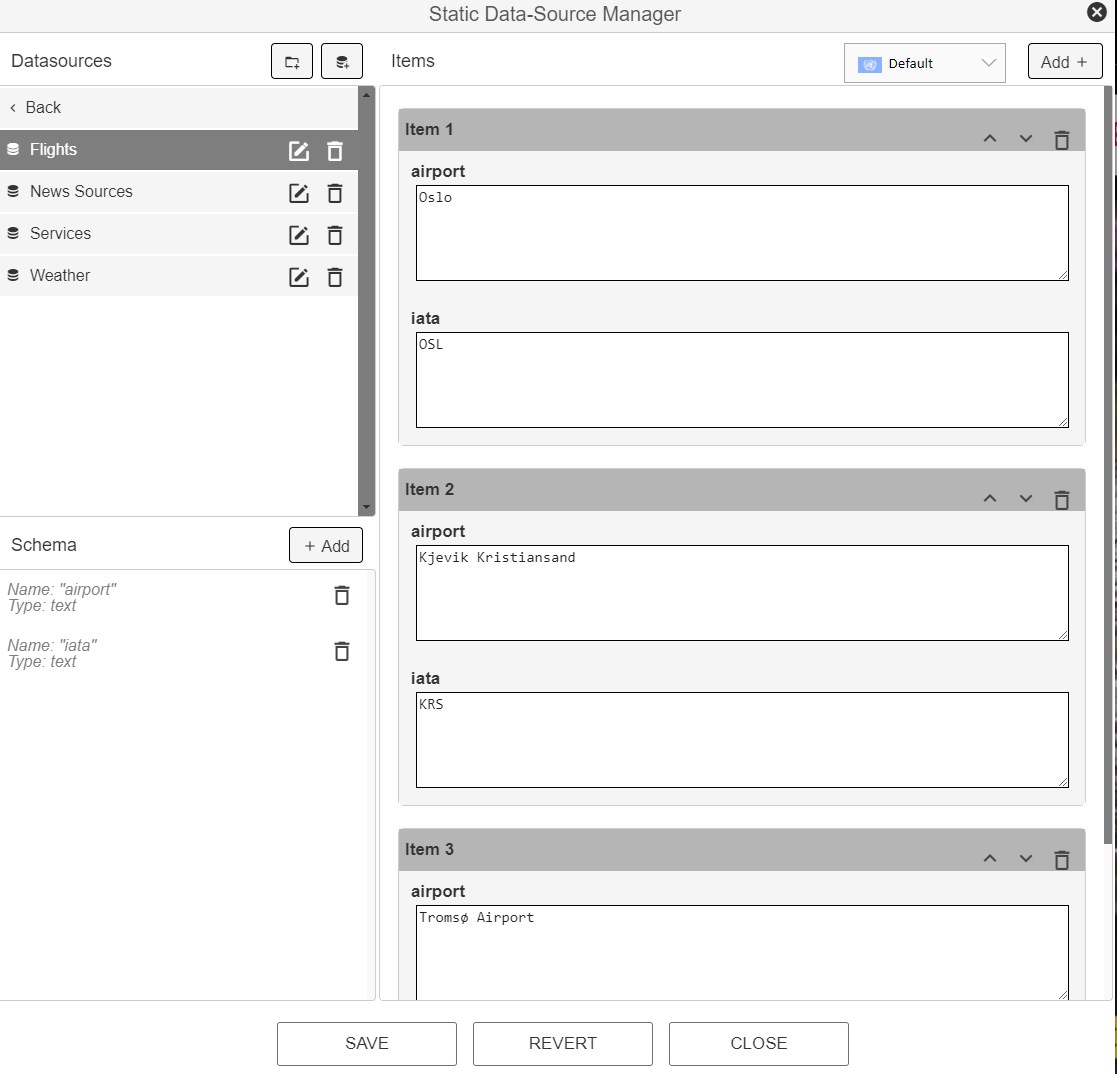
This should be the only step needed to set configure the list of airports shown. Remember that the flight service requires a separate license.
¶ Set up web radio categories
The Radisson RED theme includes a web radio service with a few default categories:
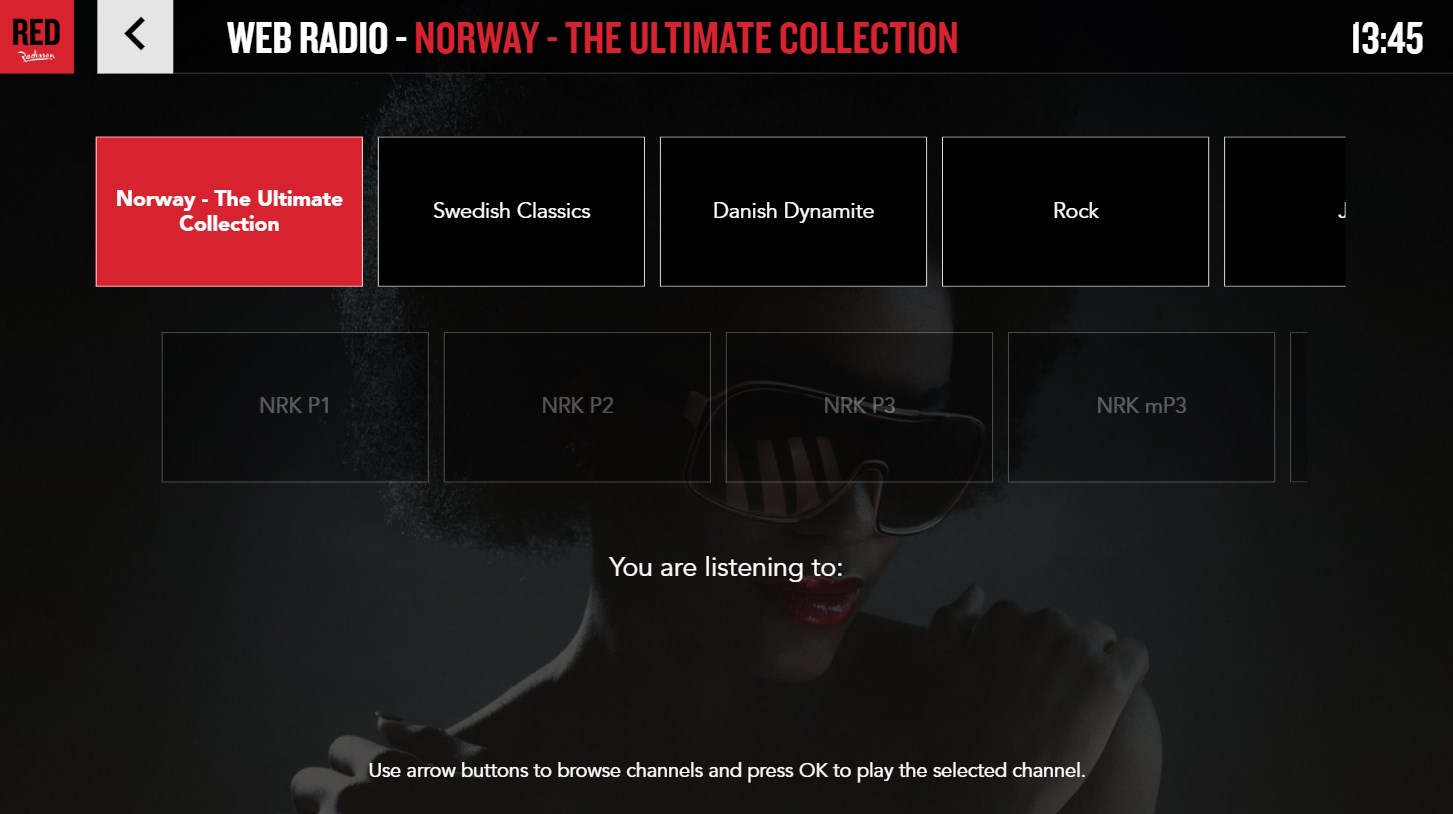
The default categories can be modified or deleted, and new categories can be added.
¶ Define a new web radio category
The various web radio categories are defined in different data sources. As an example, we look at the data source "Web Radio Norway":
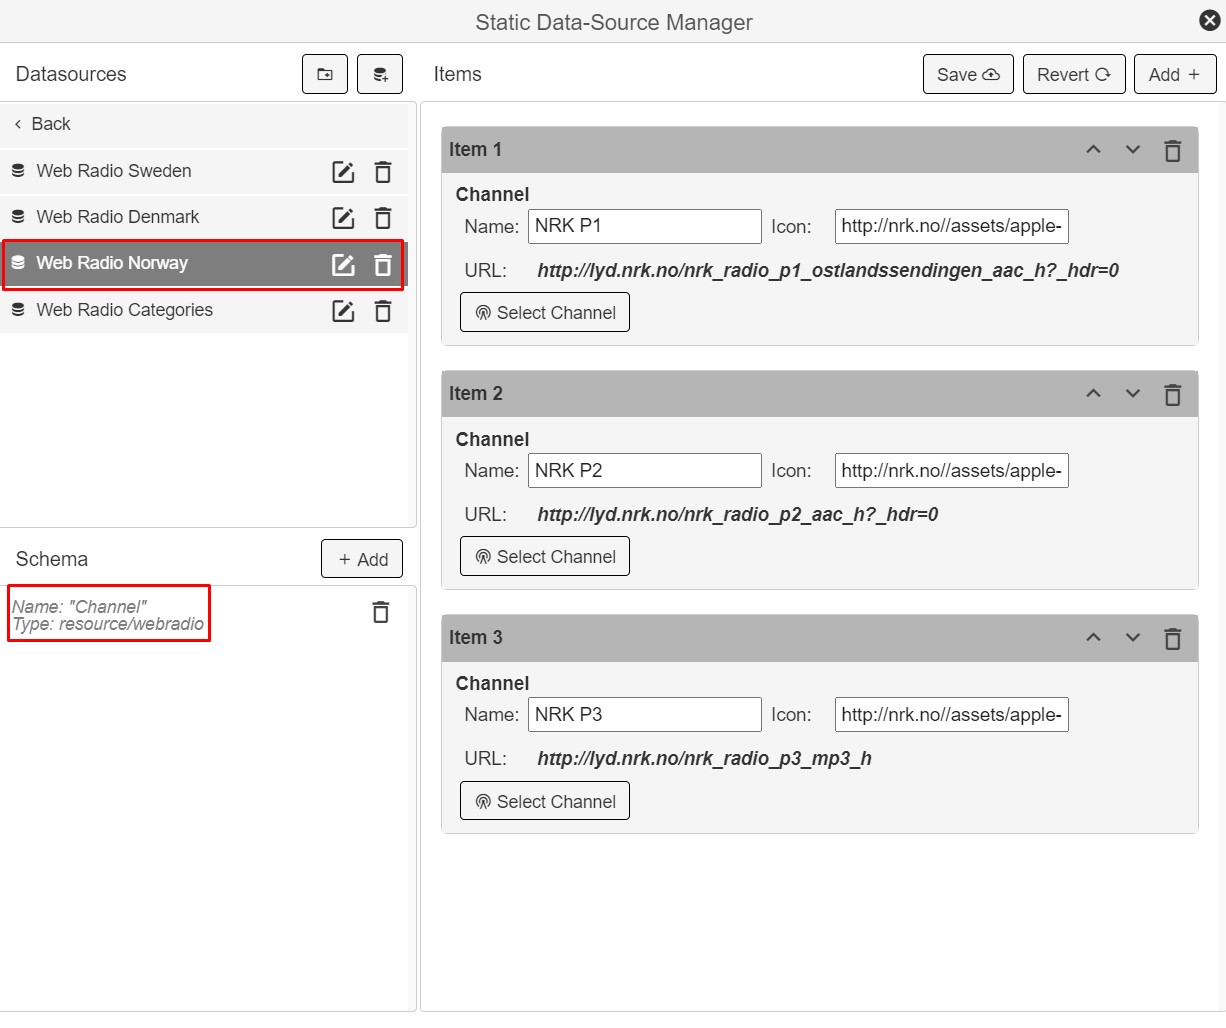
The data source has a schema which consists of only 1 entry of "resource/webradio" type, see the red square in the image above. The entry is given the name "Channel". Then items are added, one per channel in the category.
So, if a new category is to be set up, first create a new data source:

Then give the data source a name:
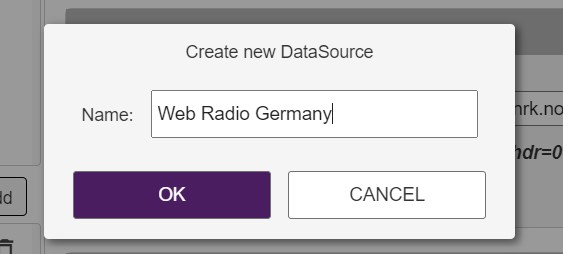
Then open the new data source and add an entry of "Web Radio Channel" type with the name "Channel":
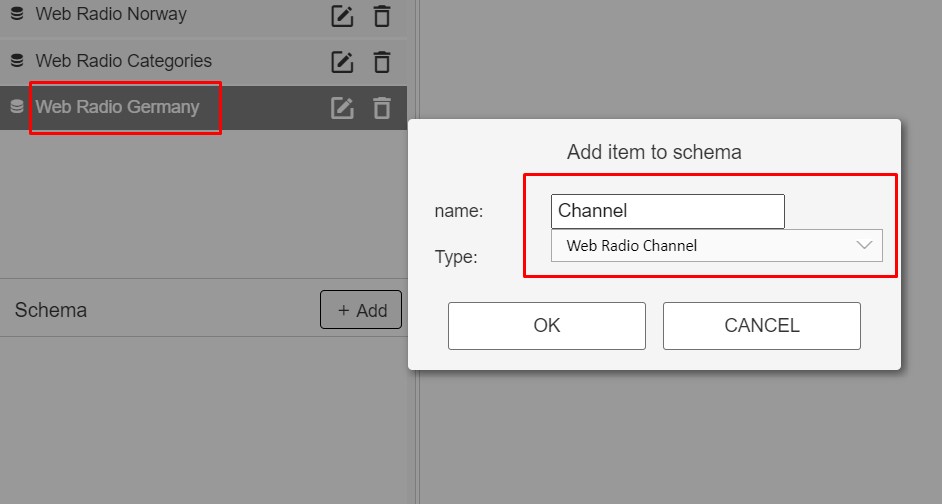
Now, new items can be added, one for each channel in the category:
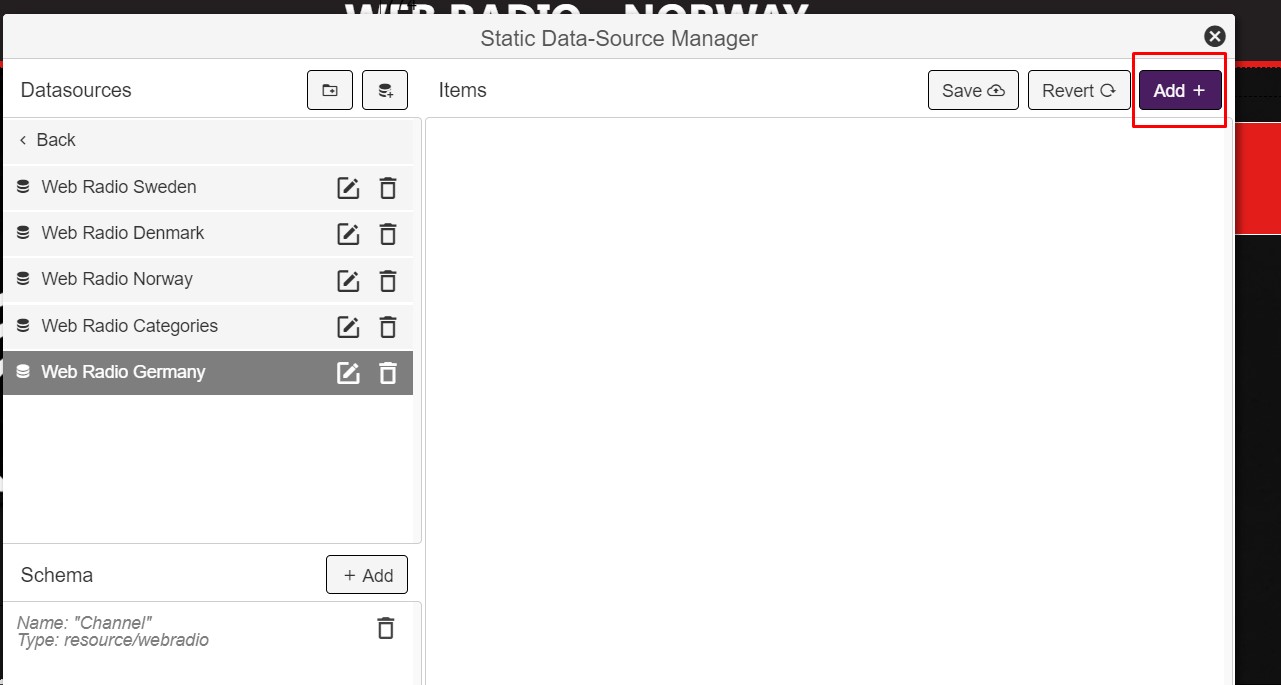
Press the "Select channel" button to search for a channel.
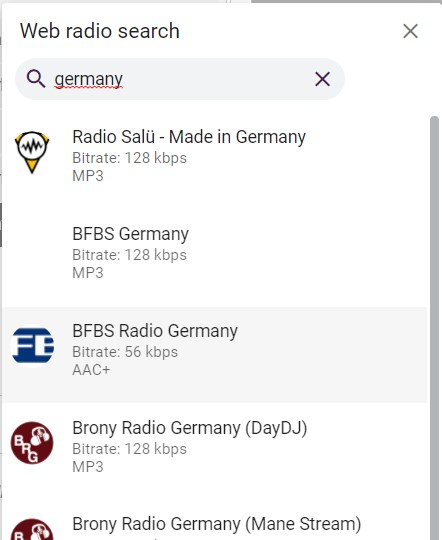
When a channel is selected, the the fields "Name", "Icon" (if available) and "Url" will be filled out in the item:

When you have added the channels you want, press "Save":
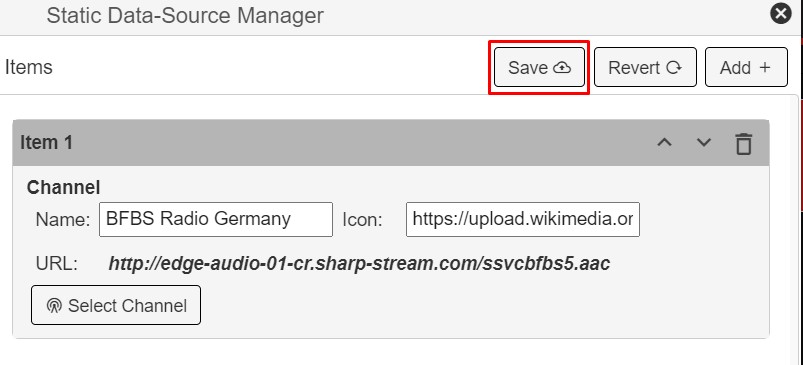
You have now set up a new web radio category. Alternatively, one of the existing data sources can be modified instead of adding a new one.
¶ Add a new web radio category to the list of categories
When you have created a new web radio category, you should add it to the overall list of categories:

This is done within the data source called "Web Radio Categories". Use the "Add" button shown below:

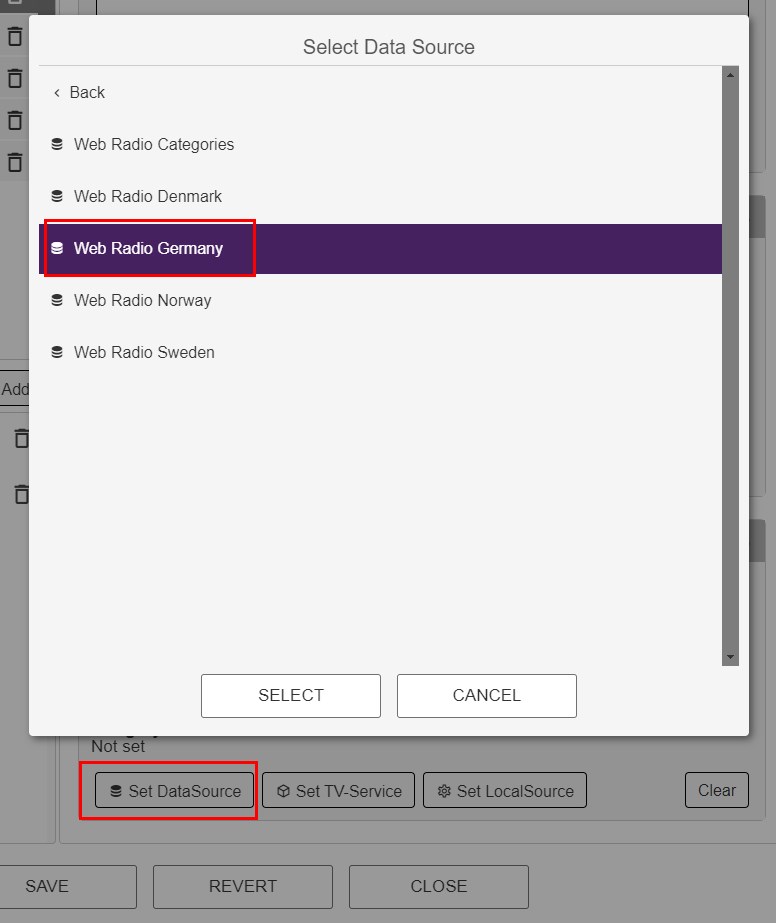
Now you add the title (to be visible on the TV) of the new category. In addition you map up the new data source within the "category" field:


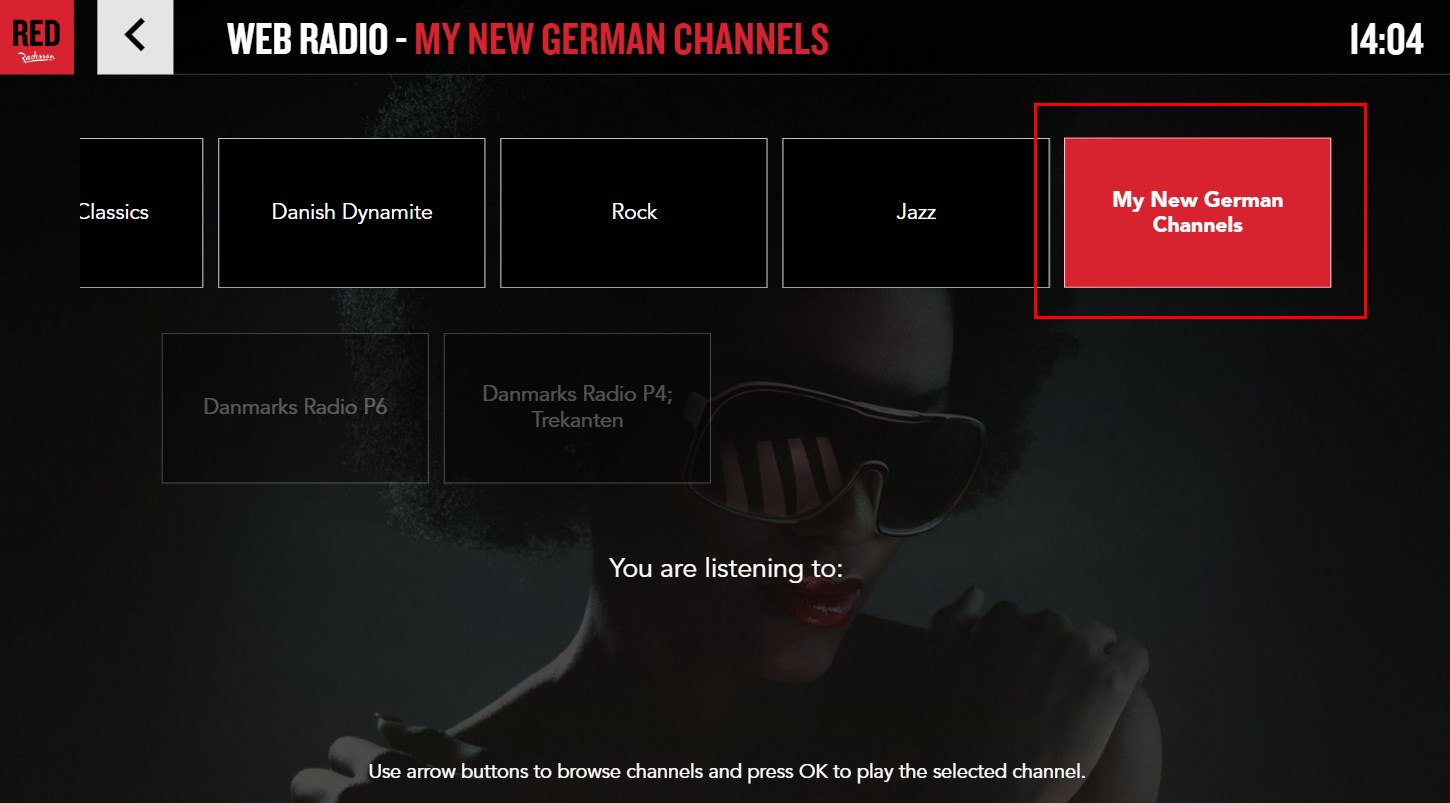
Now, after saving, you can see that the new category is visible in the TV menu:
