¶ Customization Guideline for the Marriott GRE1 theme
This guide provide you with some help on how you can modify the Marriott GRE1 Theme for your specific need.
¶ About the theme
The Marriott GRE1 theme applies to all brands within Marriott unless something else is specified. It has the same layout for all brands. The only brand specific adoption is the background image and the brand logo.
The name and order of the items must be like this:
- Television
- Channel Guide
- Internet TV
- Hotel Services
- Connect My Device (Optional)
- Check Out | View Bill (Optional)
- Settings
IMPORTANT: According to the Marriott GRE standard it is NOT allowed to add any other items to the Main menu or to change the name of them. However, you can change the content of the sub menus if needed.
You can NOT change the colors, logo or background images, they need to follow the brand standard.
EXCEPTIONS: There are 4 brands that is not a part of Marriott GRE standard and they are allowed to change as they need:
Design Hotels, Bulgari, Edition and Four Point Flex
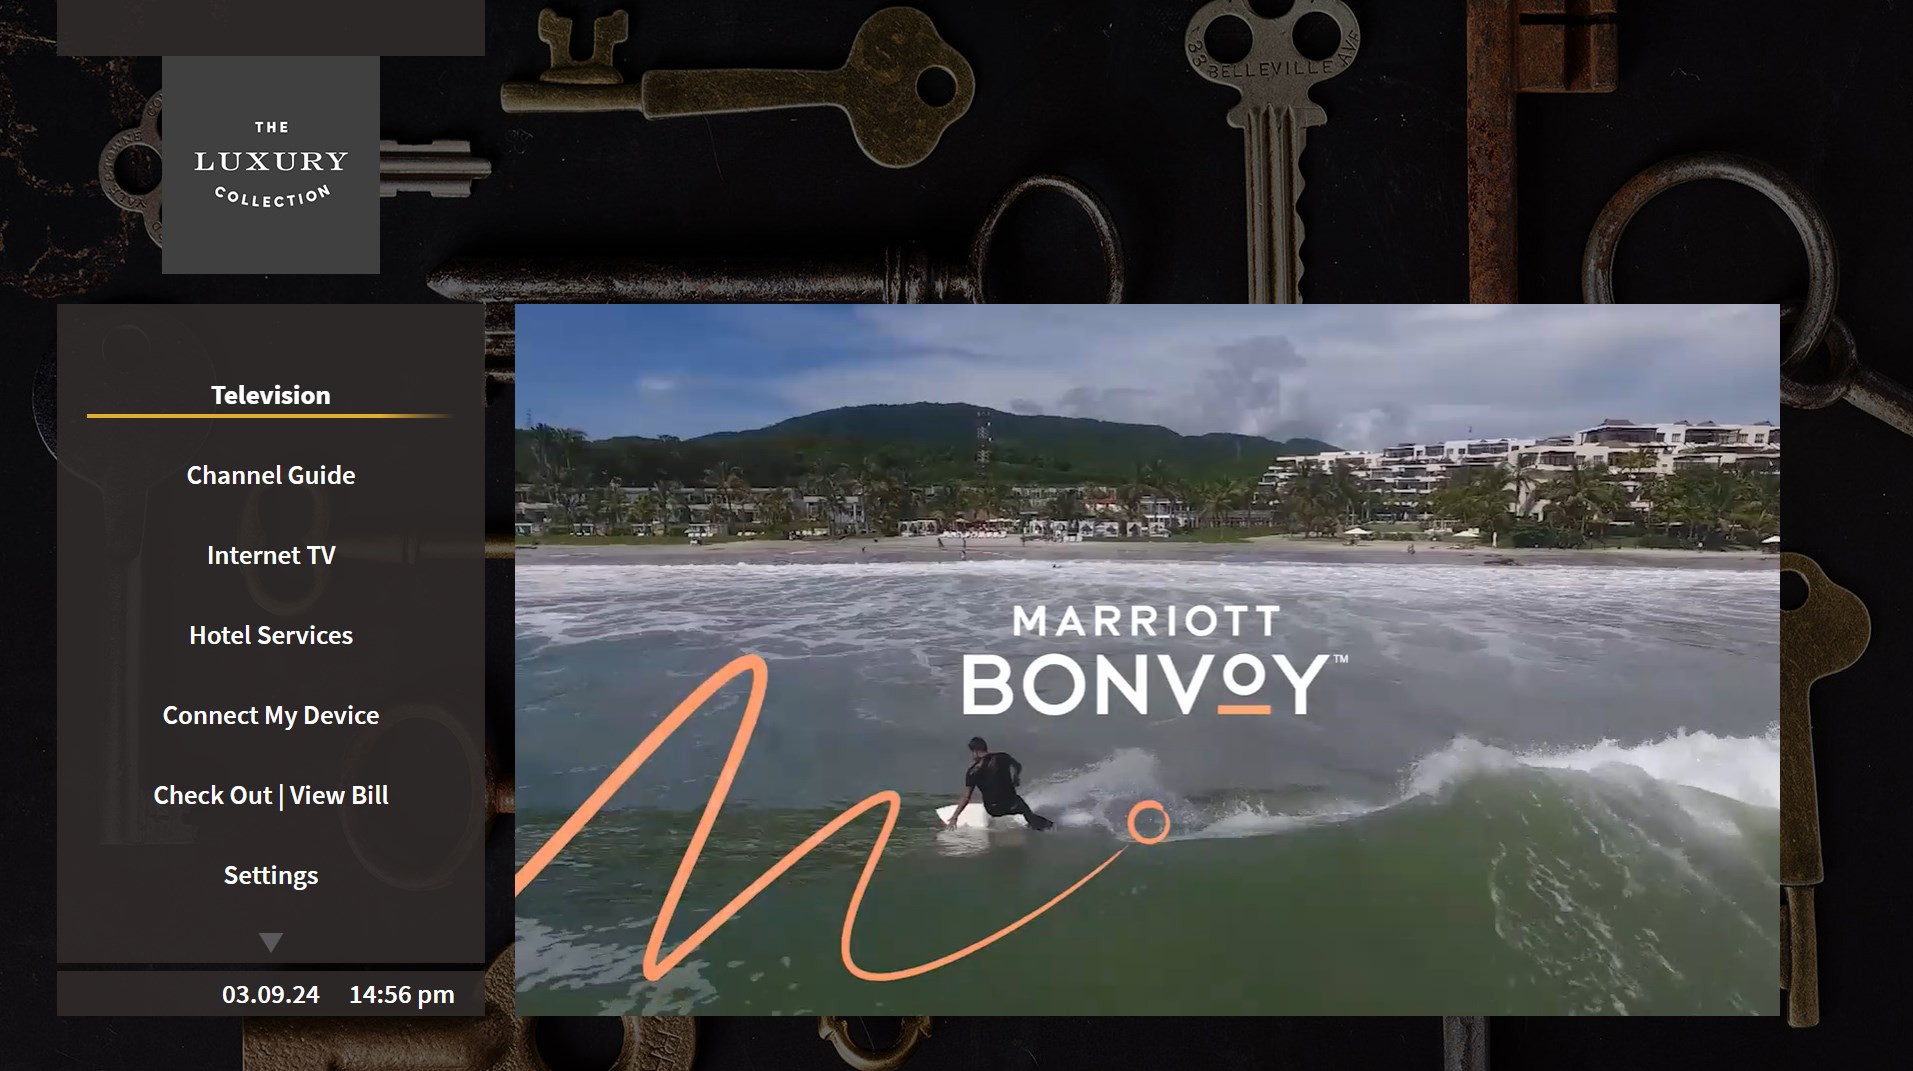
IMPORTANT NOTE 1: Some of the images in the following contains different main menu item names and order. Please disregard this and stay to the names and order above.
IMPORTANT NOTE 2: The Samsung Orsay screens requires some special considerations when it comes to the background on pages that contain embedded video. This is described further down in this guide. If you have further questions on this, contact Support for guidance.
¶ Import the theme
Start by importing the theme to your site.

¶ Global style sheets
The look of the Marriott GRE1 theme is based on the configuration defined in a global style sheet. This means that much of the layout of the menu structure can be modified from the Global CSS manager:
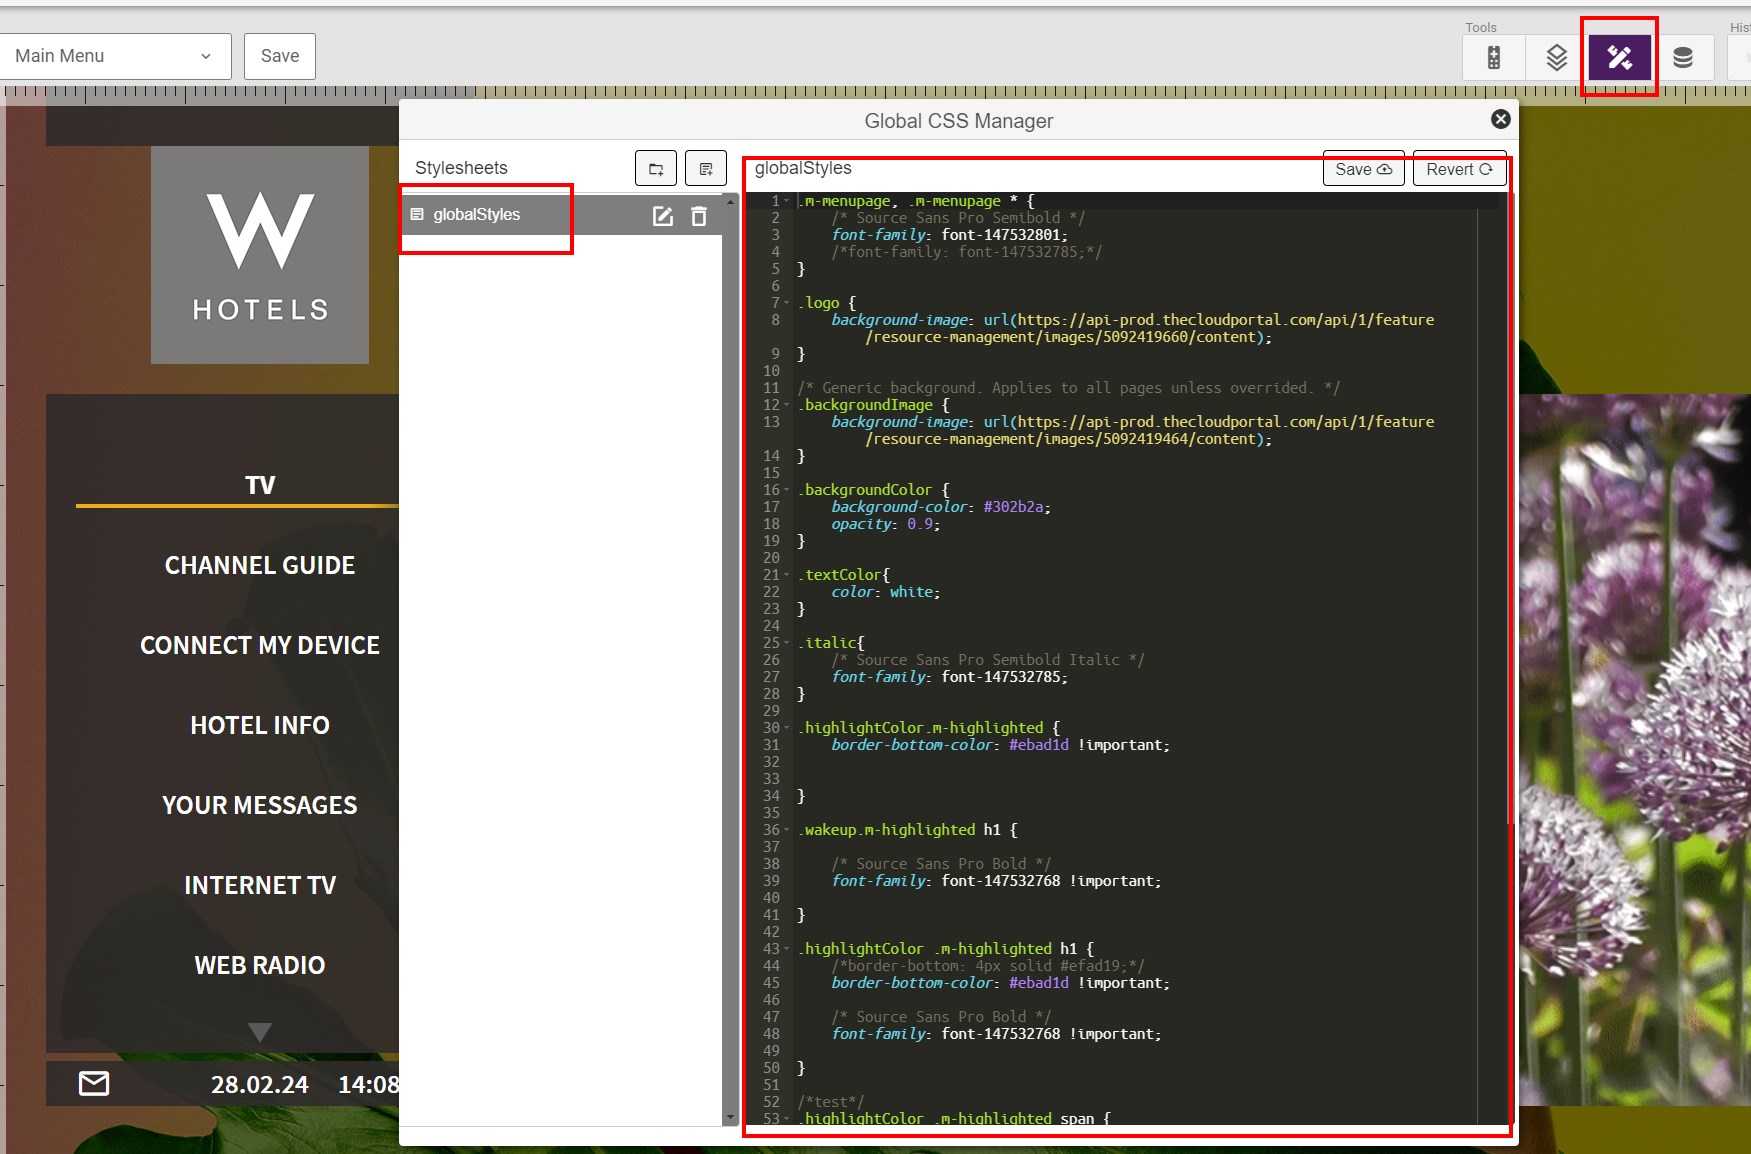
Normally, the only thing that is relevant to change here is the background image and the logo.
¶ Customize the branding of the Marriott GRE1 theme
Each Marriott brand has its own background image and logo that must be configured.
¶ Set the background image
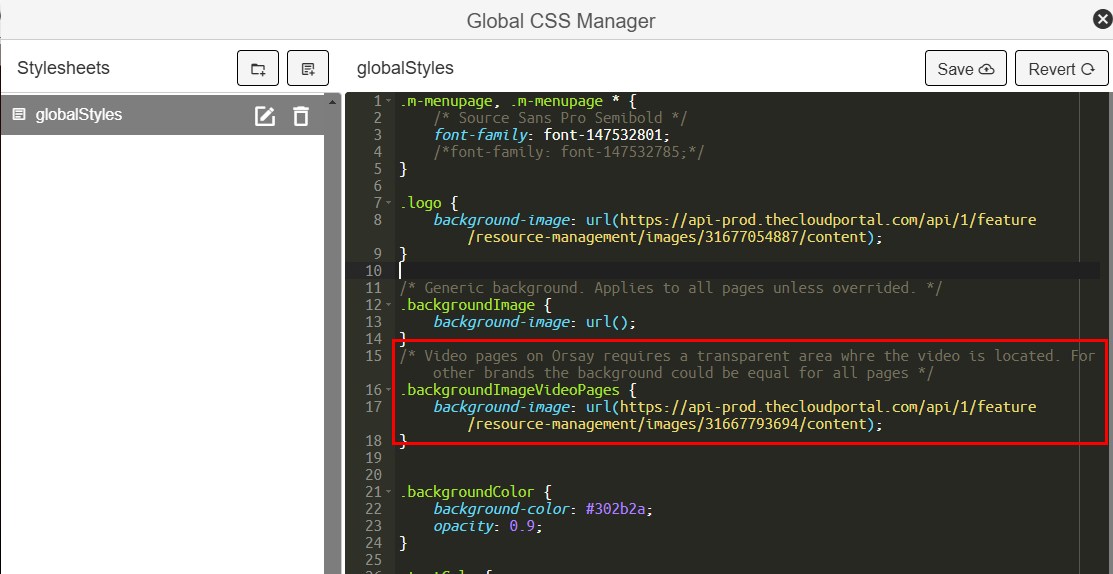
Due to that Orsay screens require a transparent area behind any video container, there are two brand image classes defined: .backgroundImage and .backgroundImageVideoPages.
The .backgroundImage class should point to the standard generic background image for the brand for all screen types.
For Orsay screens the .backgroundImageVideoPages class must point to an image with a transparent area where the video layer is located. (Please contact Support if such an image is not included for the brand in question.) For other screen types this class could point to such an image, but it is not necessary. It could also point to the same image as used in the .backgroundImage class.
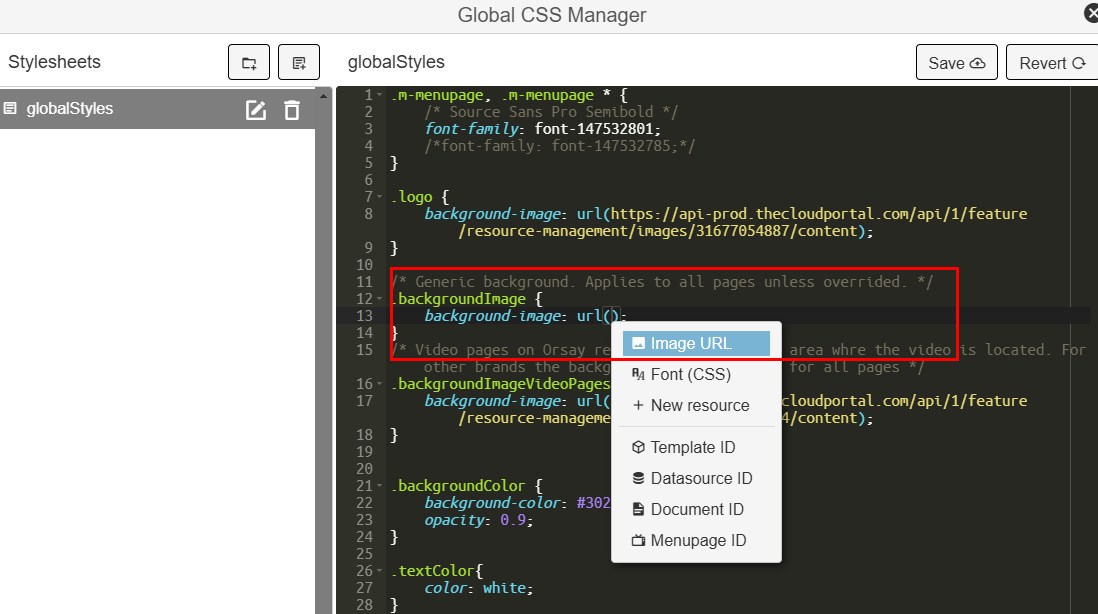
To configure the generic background image, change the url in the .backgroundImage class. Inside the global style sheet, first delete the existing url. Then right-click within the parantheses and select the new image:

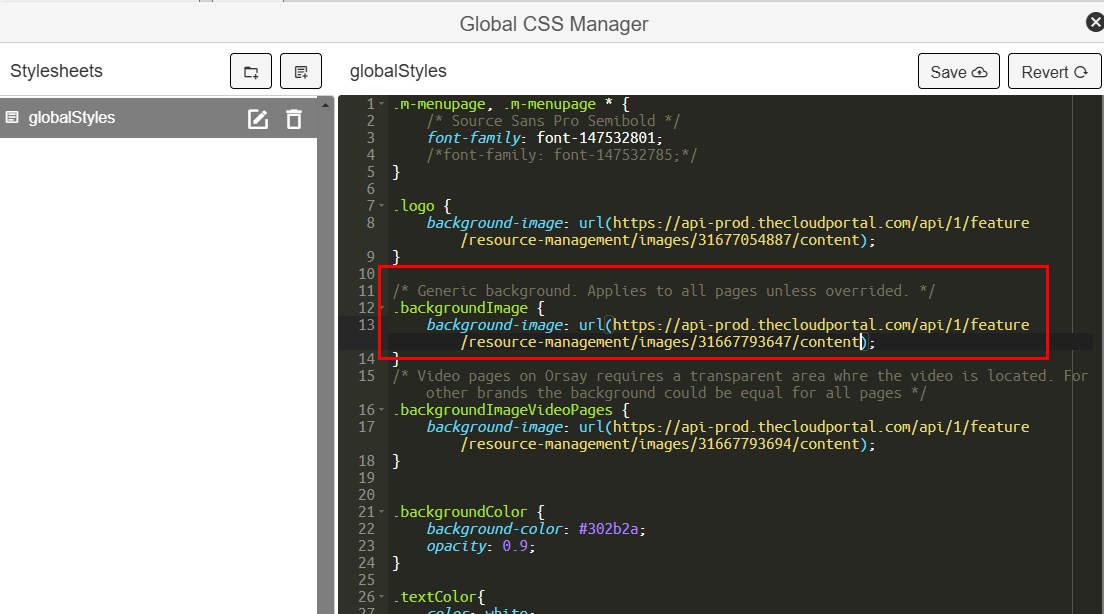
Then repeat the same procedure for the .backgroundImageVideoPages class. For Orsay screen this image must contain a transparent area where the video layer is located. For all other screens, you could use the same image as for the .backgroundImage class.
Remember to save the changes.
¶ Set the brand logo
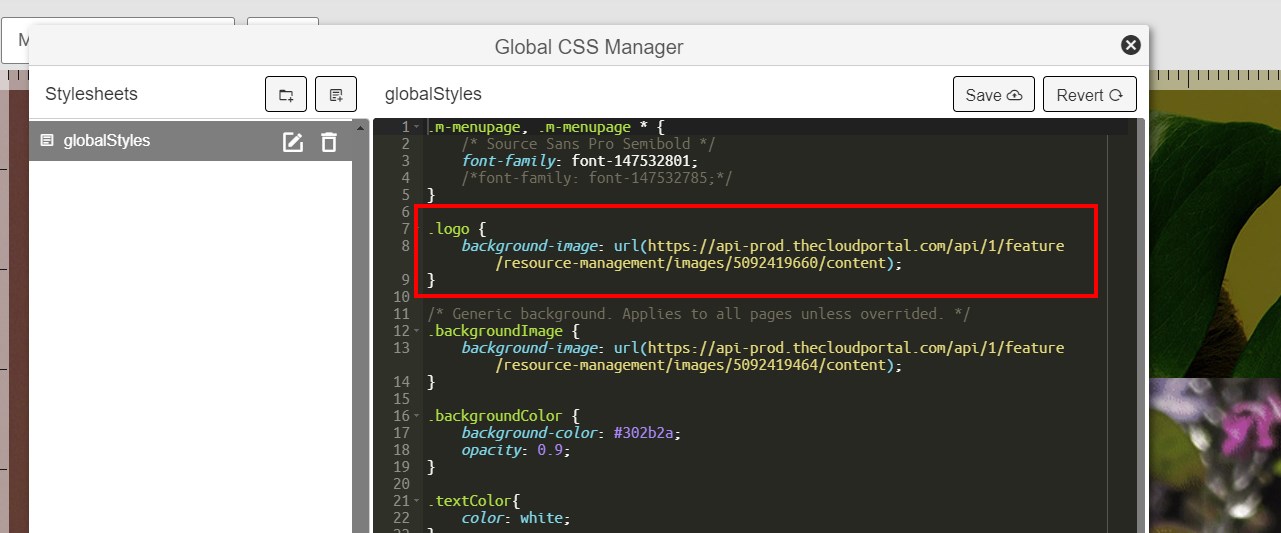
Follow the same procedure as for the background image, but change the logo url instead:
¶ Configure the main menu (Bonvoy) video
The Bonvoy video should play in the menu pages. Ask Support if you are not sure which video that is the correct one.
The correct video must be added to the video element on the following pages:
- Main Menu
- Hotel Services Sub Menu
- Hotel Info Sub Menu
- Check Out/View Bill Sub Menu
- Settings Sub Menu
- System Language Selection
- Step ¼ - Guest Selection (CheckOut)
- Message Inbox
- Guest Selection (View Bill)
- Wake Up List
- Weather Sub Menu
The video is normally played from a Site Agent. When the video has been synced to this Site Agent, press the "Select video" button shown in the image below. A video ID will show in the url window and the actual file name will be shown below.
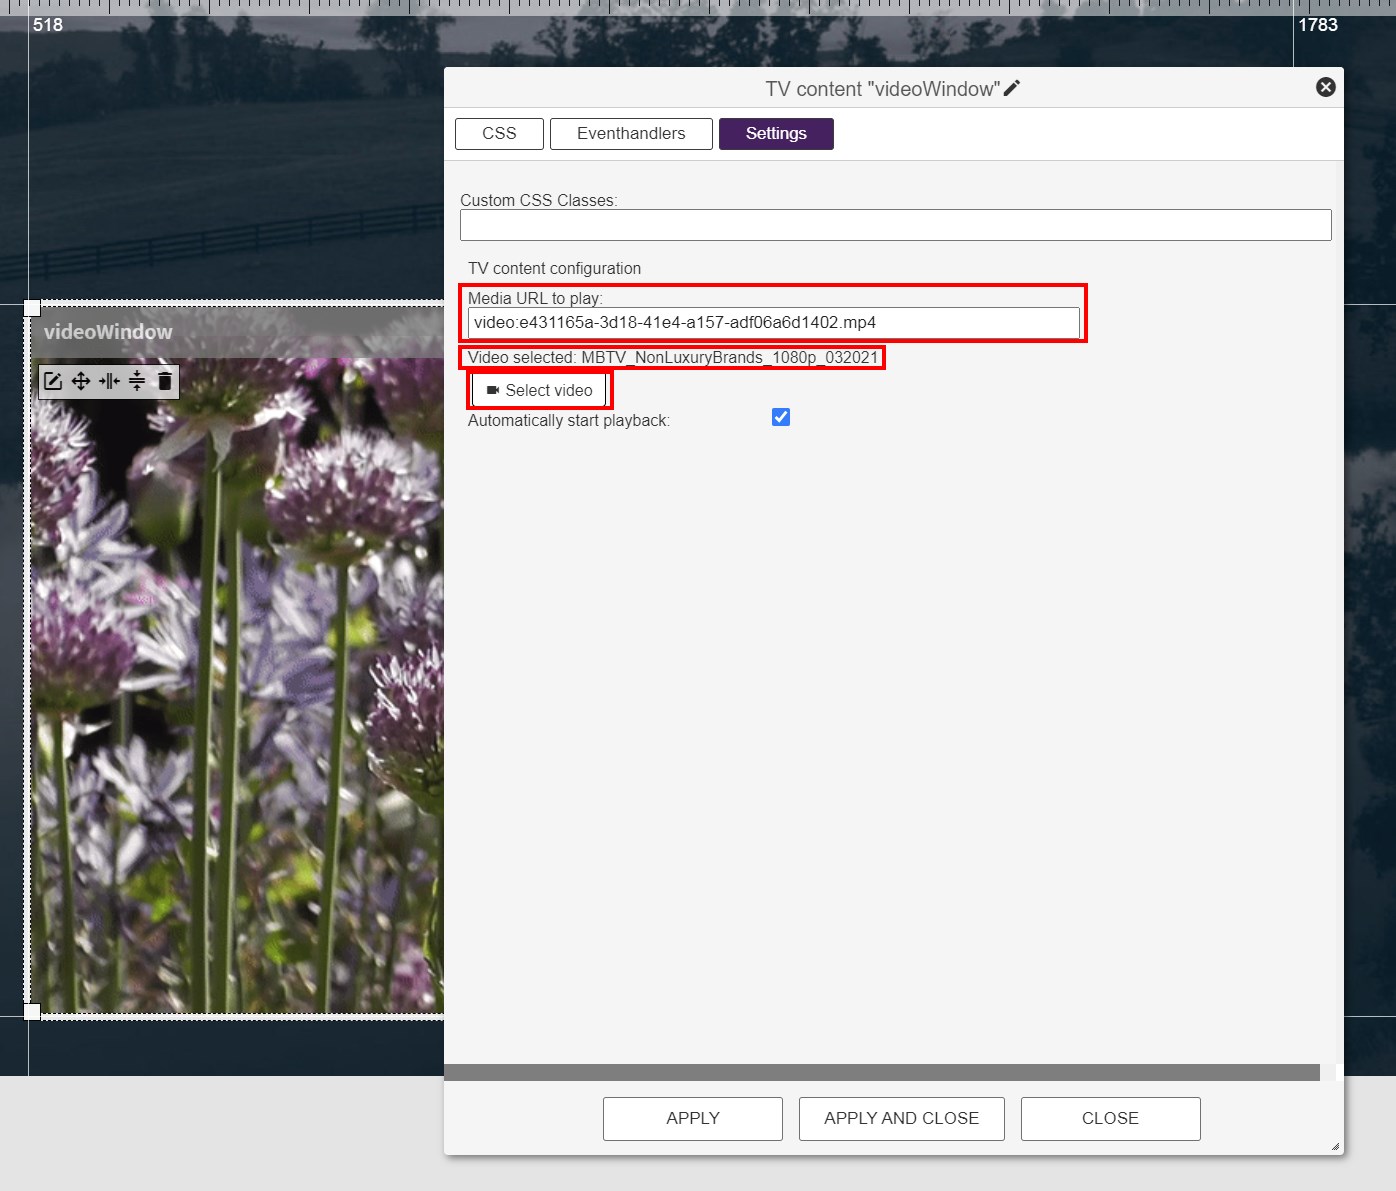
Repeat this exercise on the video element on all the pages mentioned above.
¶ Configure menu elements
All the menu items in the menu pages are defined in data sources.
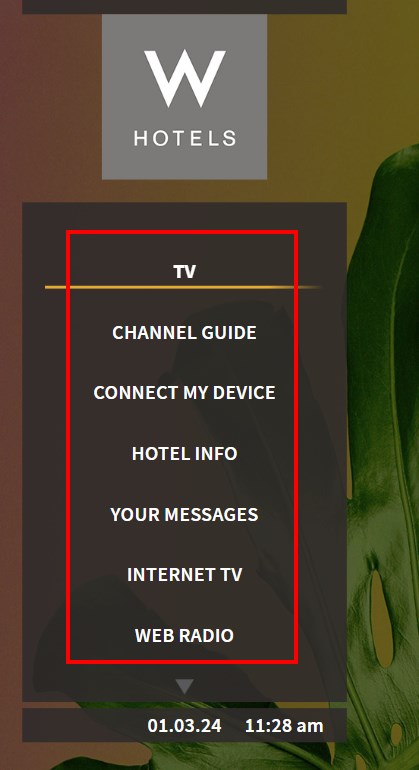
To check which data source that is linked to each page, click menu elements, select the "Settings" pane. Here you can see the name of the data source.
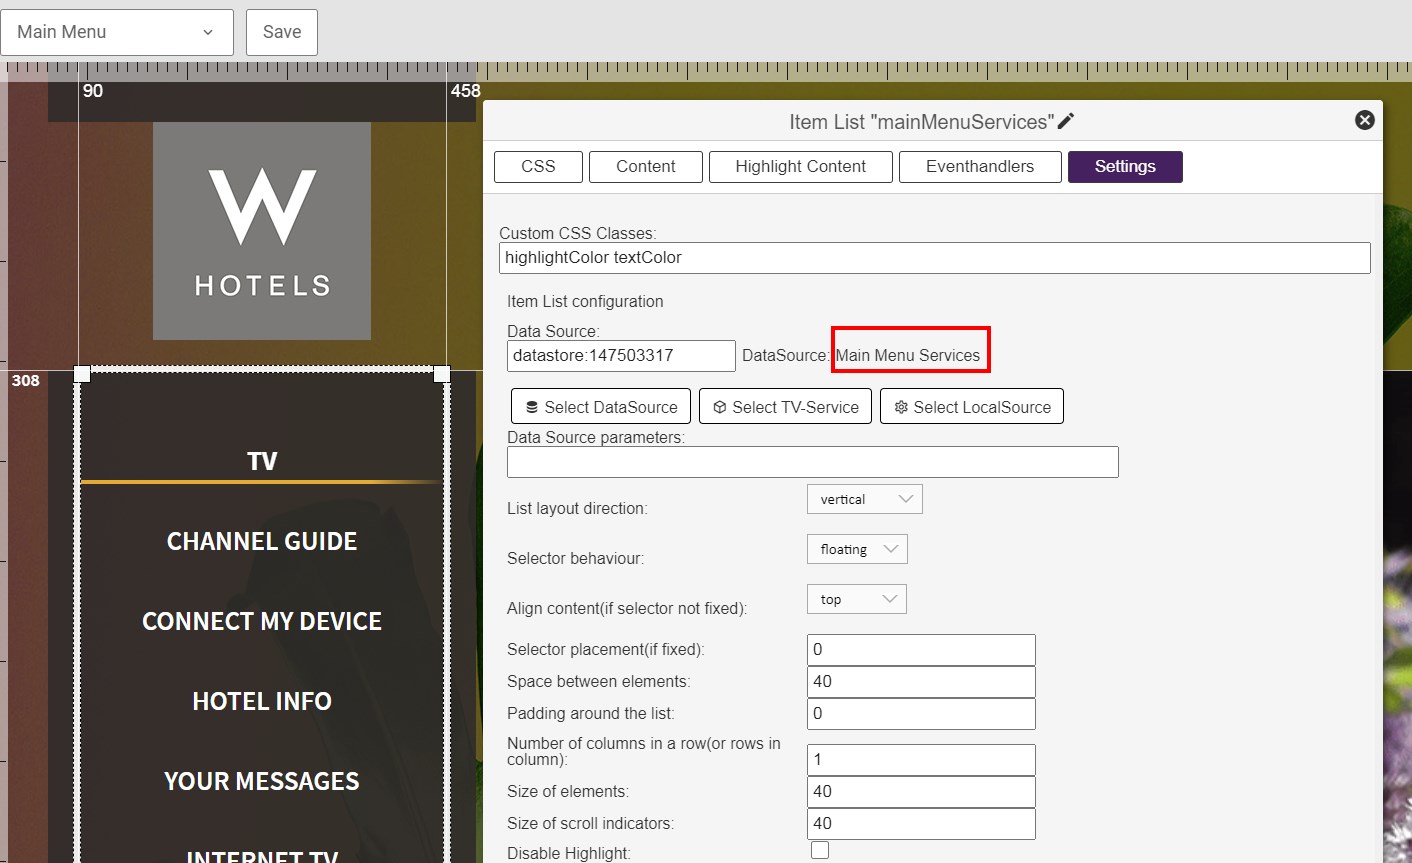
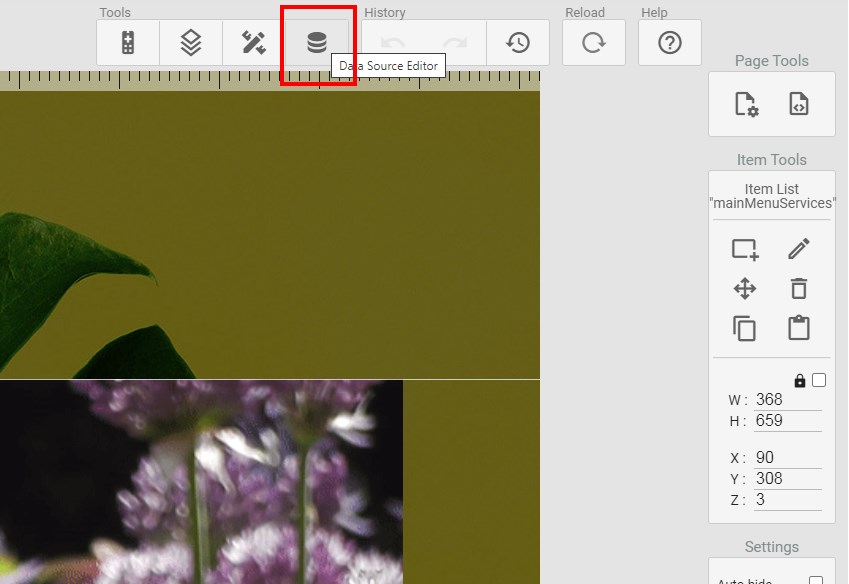
To edit the data source, click the "Data Source Editor" button and open the correct data source:
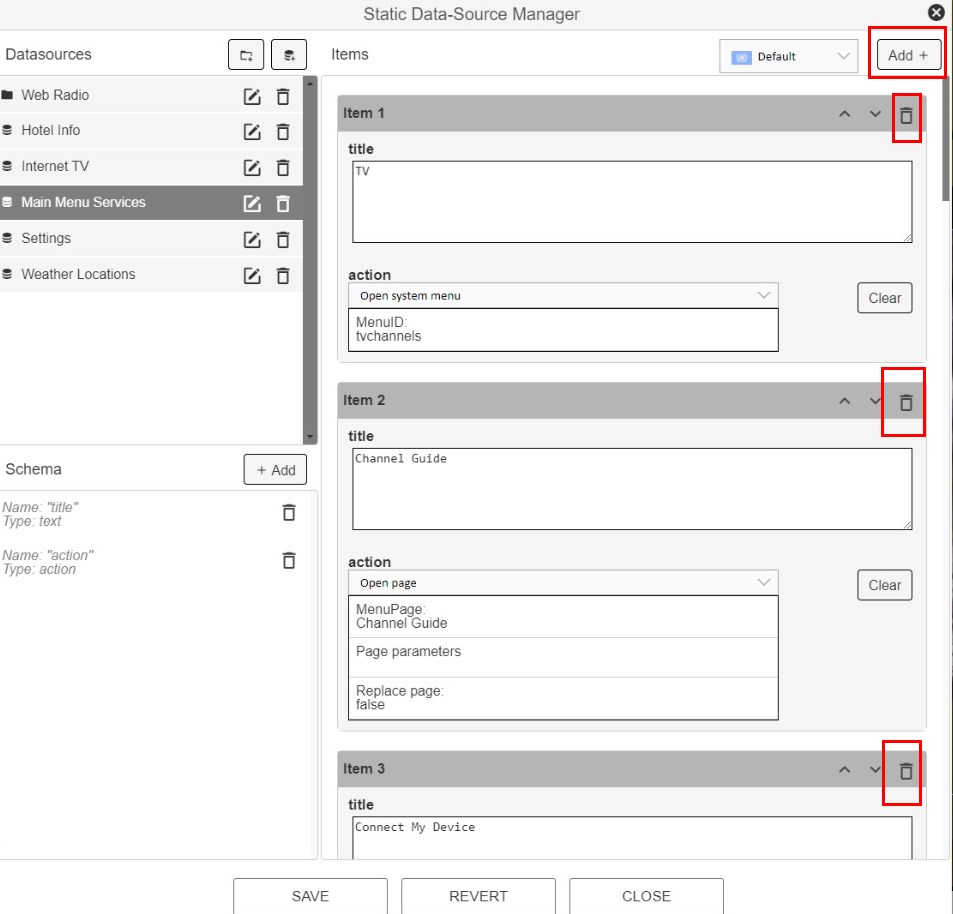
You can add or remove menu items using the Add button or Garbage bin button.
Please contact support if you have more detailed questions on how to edit the data source.
Important note!
The main menu should never deviate from the below setup. Contact Support if you have questions on this matter.
a. Television
b. Channel Guide
c. Internet TV
d. Hotel Services
e. Connect My Device (Optional)
f. Check out | View Bill (Optional)
g. Settings
¶ Set up a new info page
¶ Make a copy of the info page template page
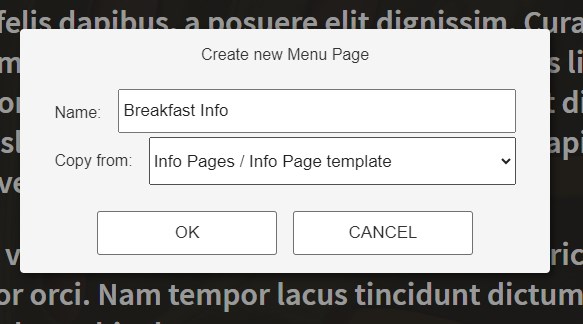
To set up a new info page, start by creating a new page from a copy of the existing info page template:
¶ Add a new document
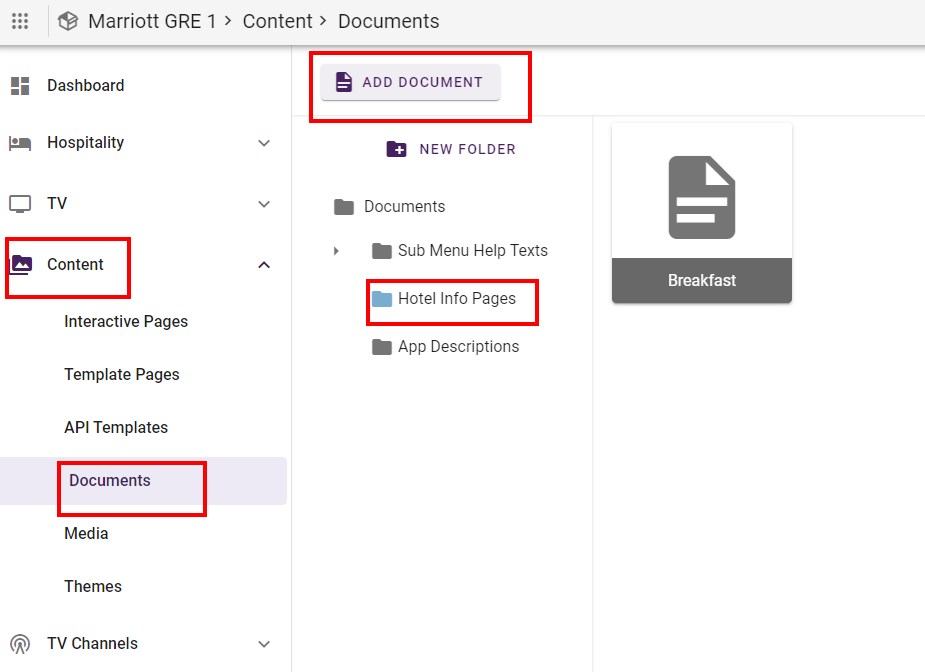
Info pages in the Marriott GRE1 theme are based on Documents. To add a new document, click "Add document" in the Documents section under Content:
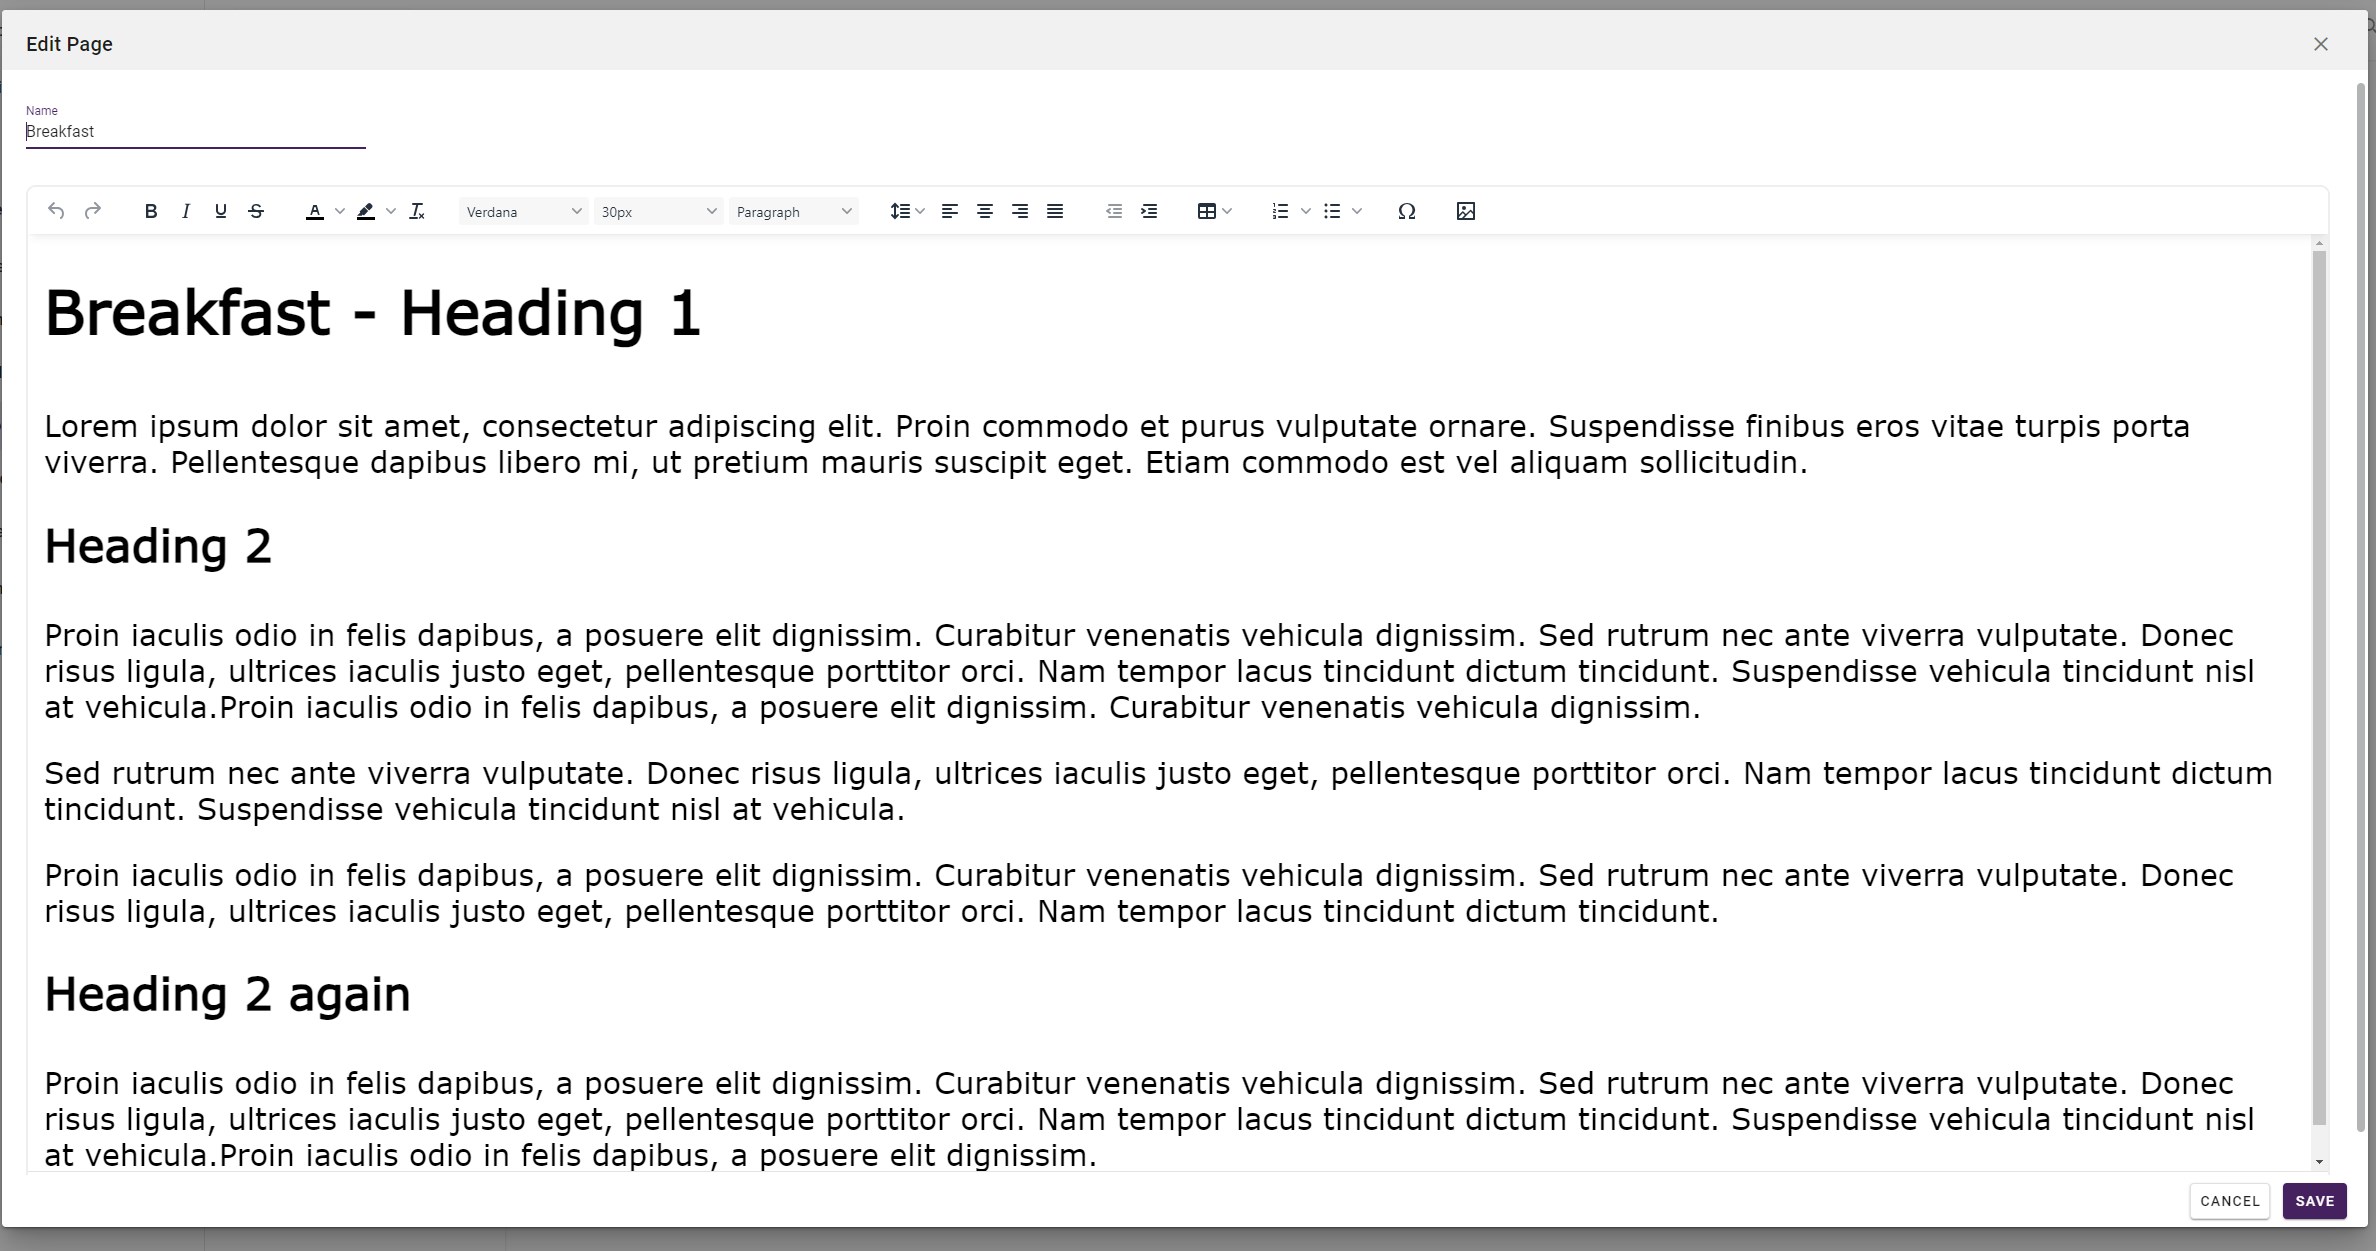
Inside the document, add your text and images. Use Heading 1, Heading 2 and Paragraph for formatting. The text will then get the correct font, size and color inside the menu.
¶ Link the new document to the info page
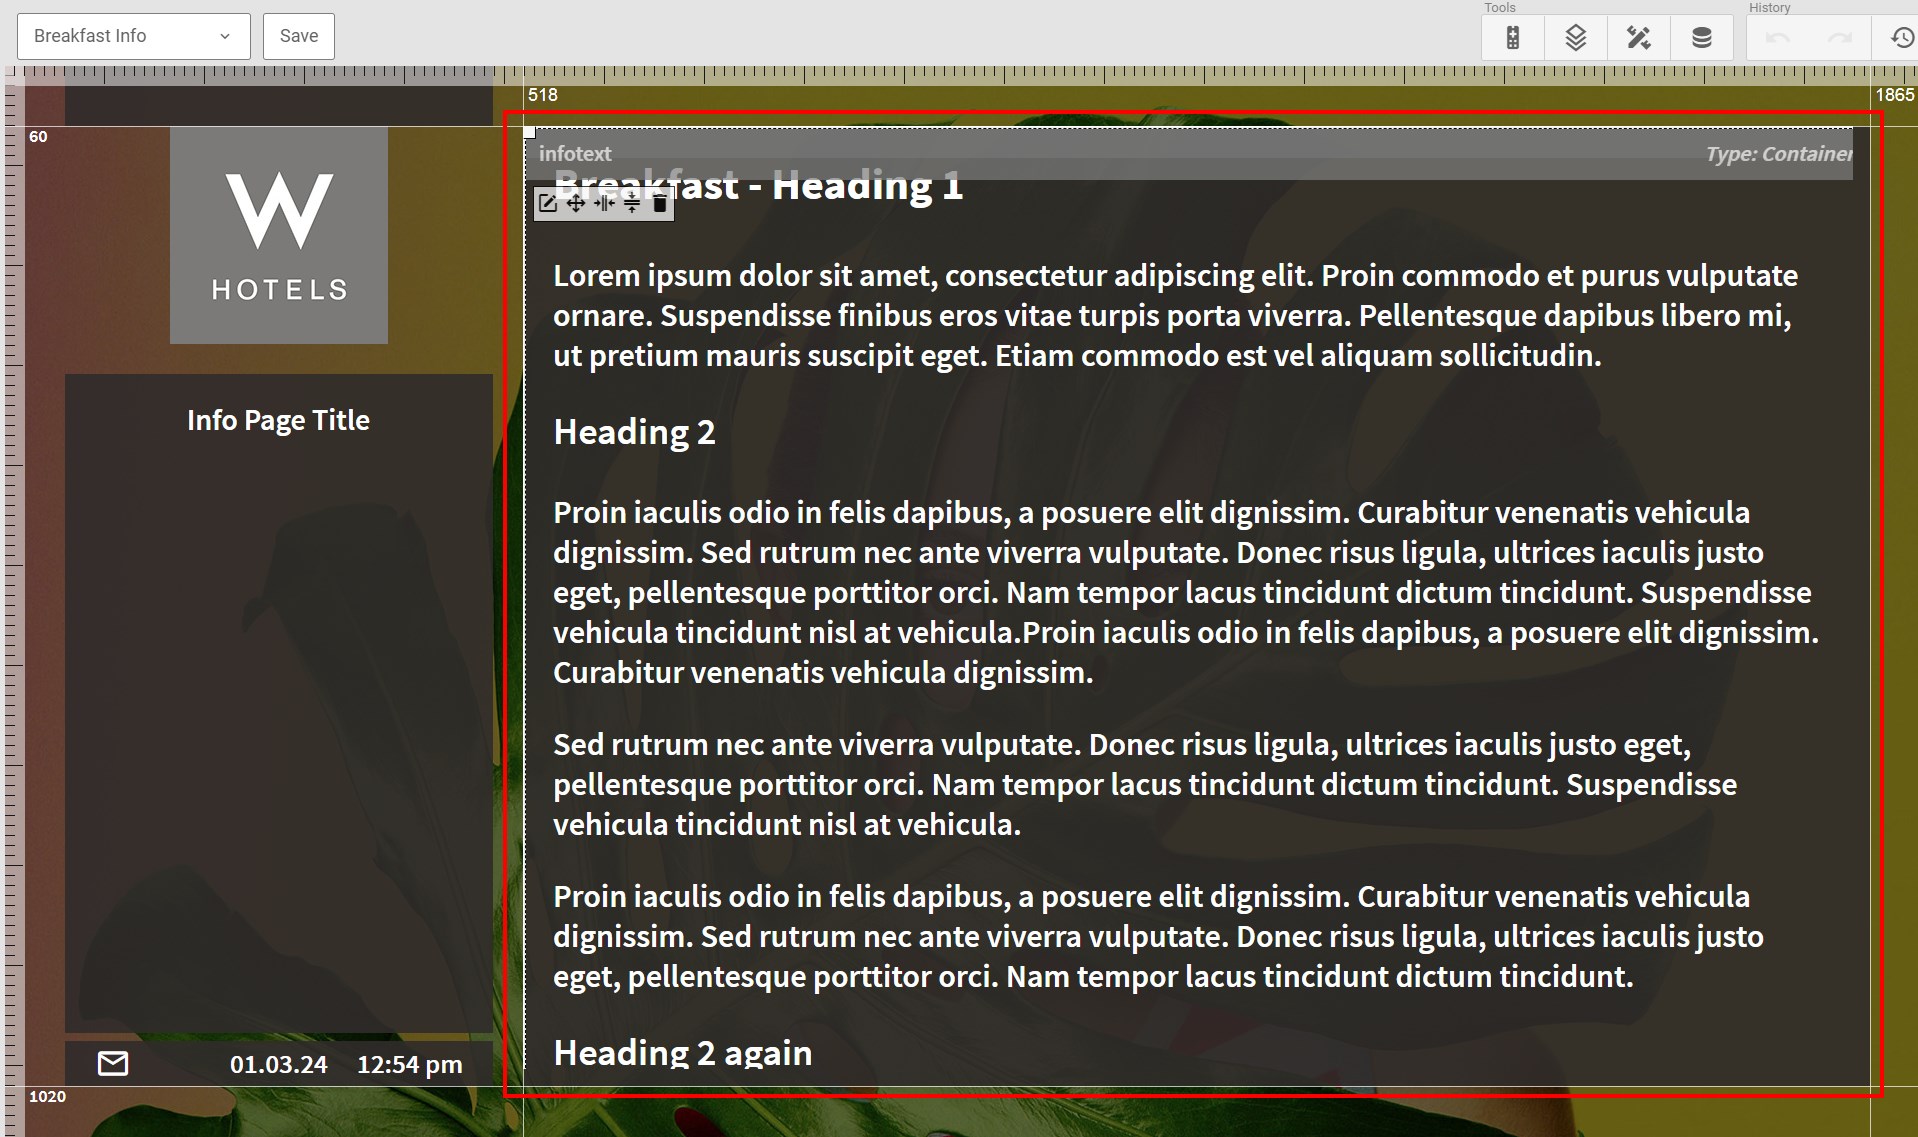
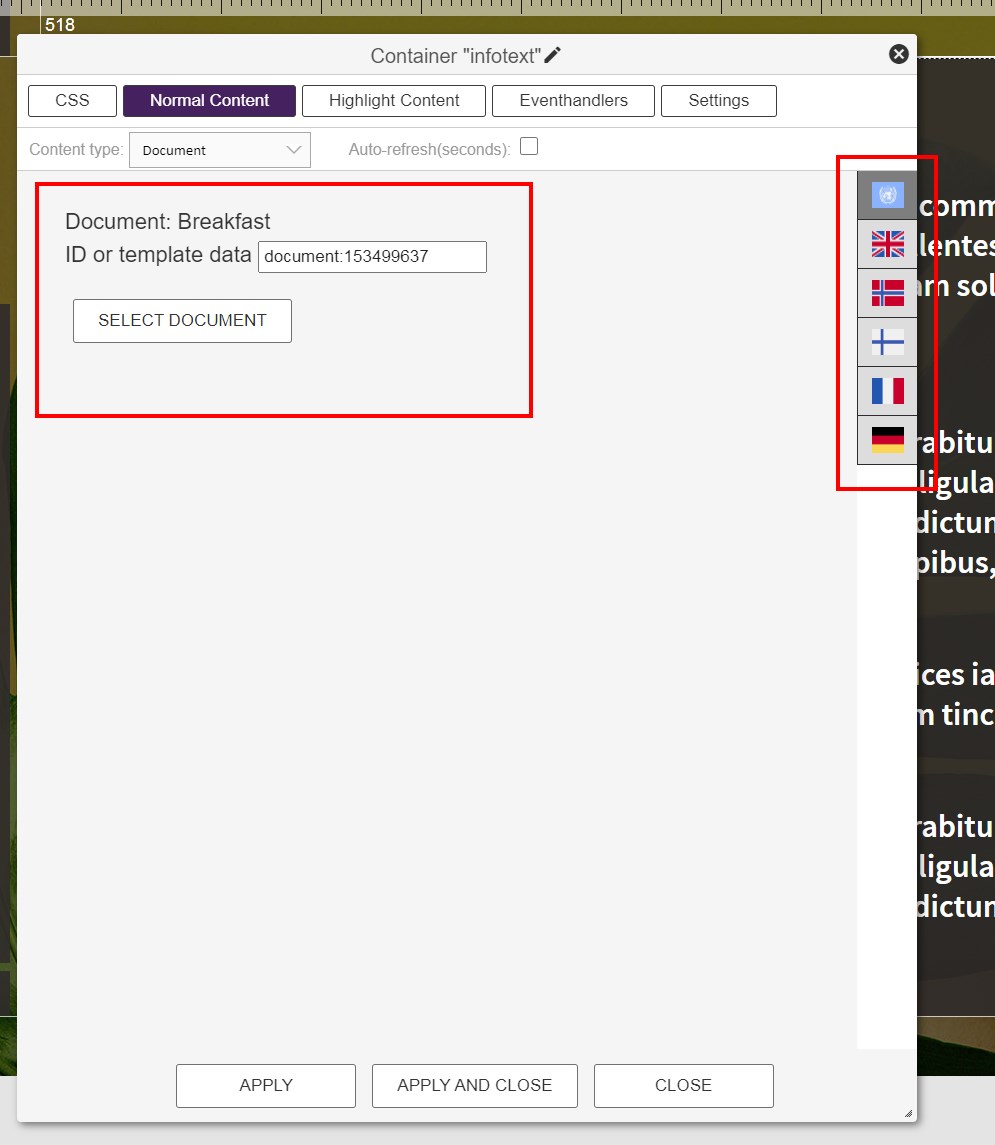
To link the new document to the new info page, click the "infotext" item on the new info page. In the Normal Content pane, link to to correct document. If you want to have different languages on your new info page, link separate documents, using the flags in the right.
¶ Add the Info Page title
Click the Info Page Title element and adjust the Normal Content to reflect the name of the new Info Page. If you want to use different languages, use the flags on the right:
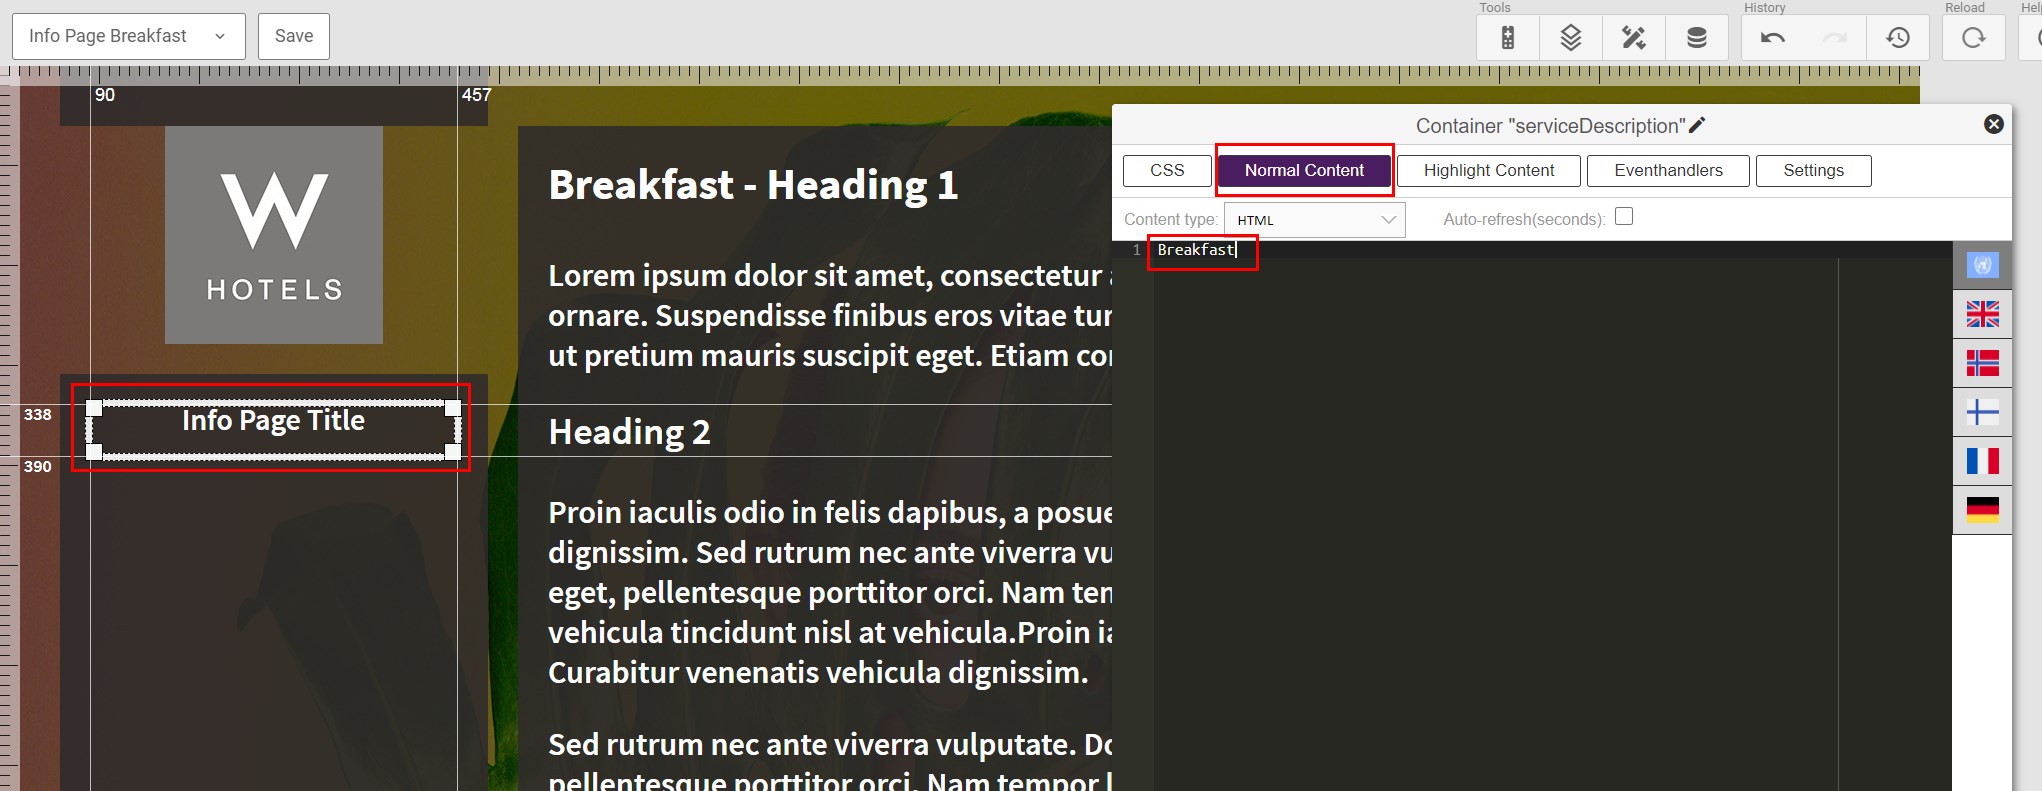
Remember to save your changes.
¶ Link the new Info Page to the Hotel Info sub menu
To link the new Info Page to the Hotel Info sub menu, click the "datasource" button in the menu editor:
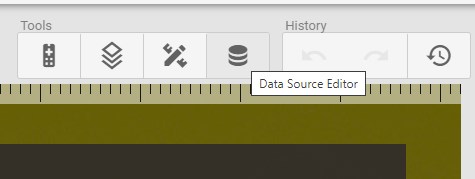
Then open the "Hotel Info" data source and select "Add" as shown below:
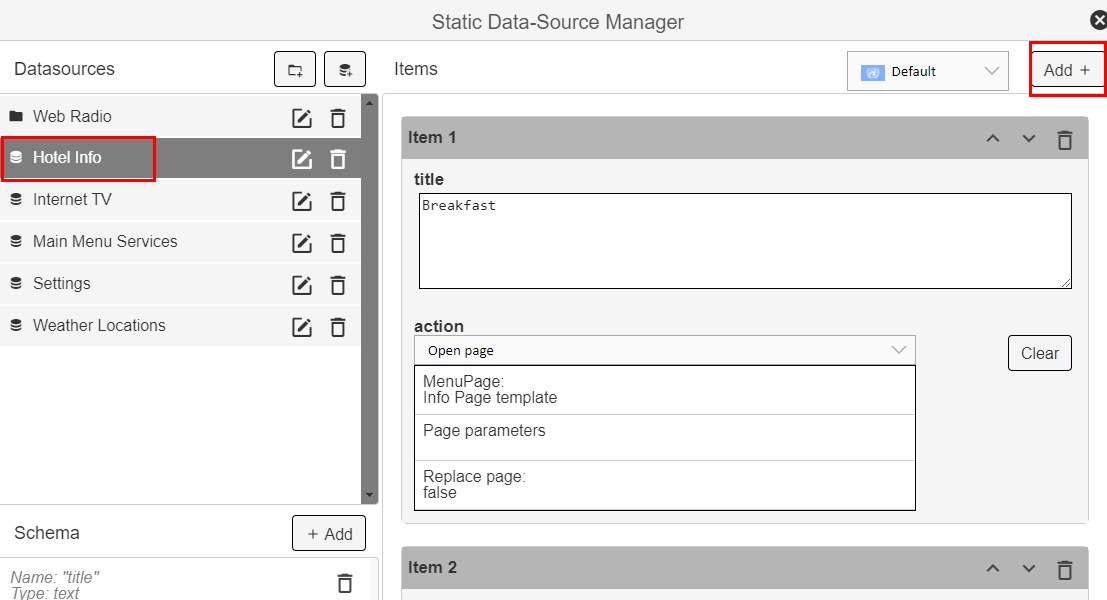
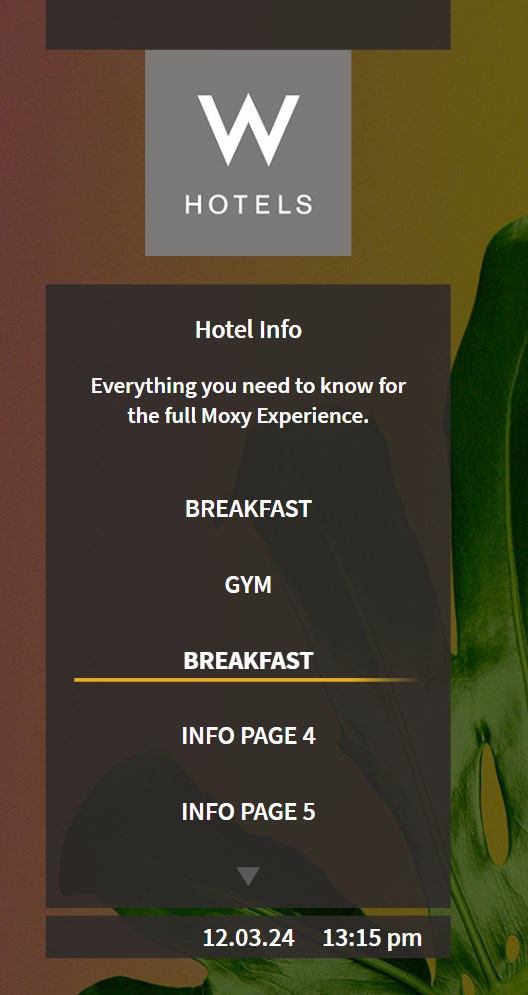
A new Item in the Hotel info datasource has now been created. The next step is to add the Info Page title and the action (Open page - Info Page Breakfast) as shown:
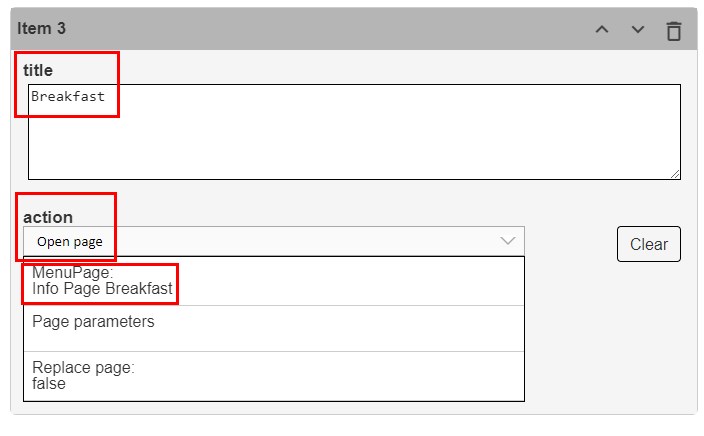
Now your new Info page should automatically be shown in the Hotel Info sub menu.
¶ Configure weather locations
Weather locations are configured inside the data source called Weather Locations. Each item contains the name, the latitude and the longitude of the location. Adjust as needed.

¶ Configure Flight locations
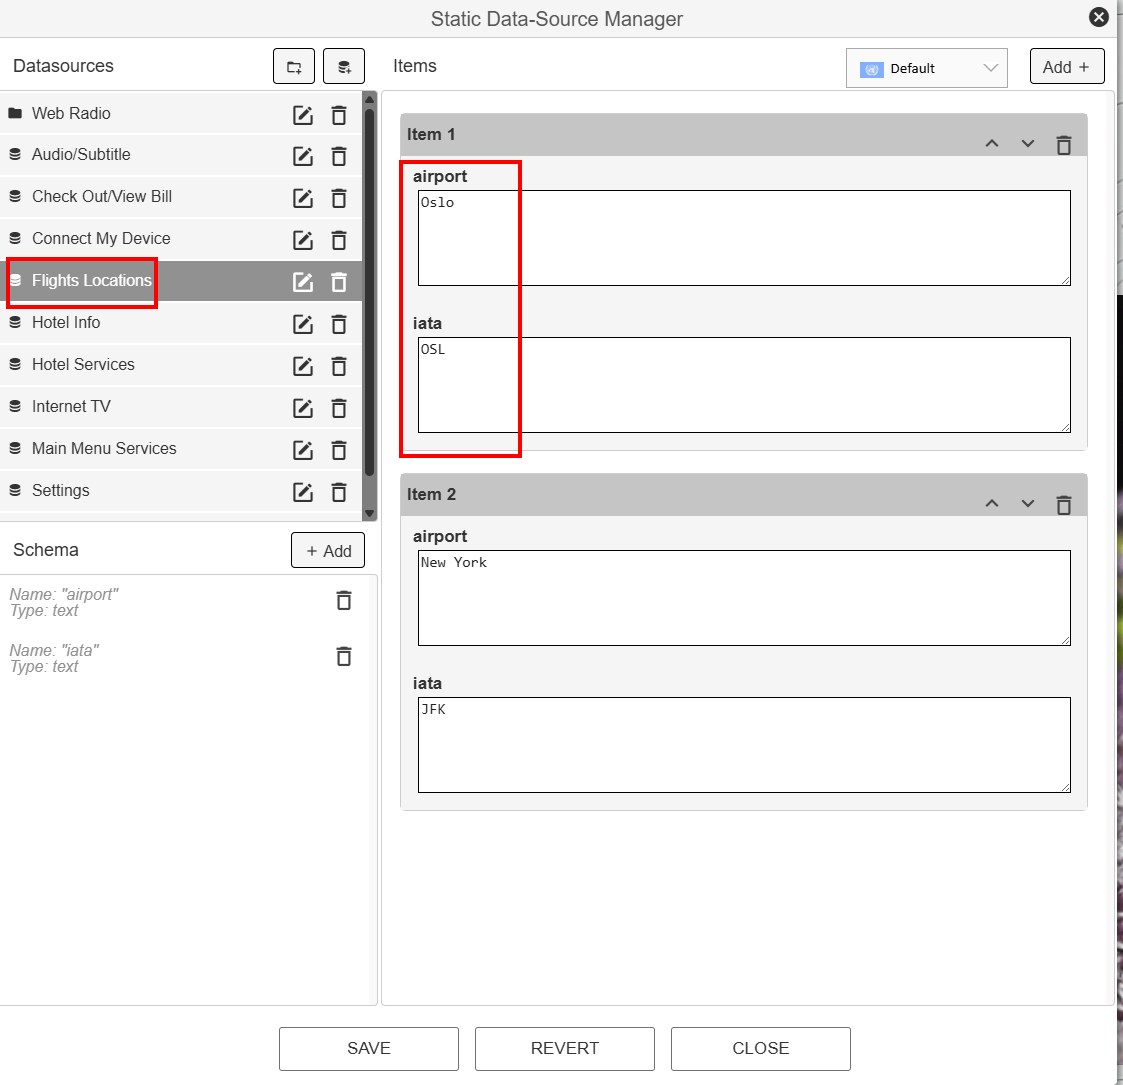
Flight locations are configured inside the data source called Flight Locations. Each item contains the name of the airport and the IATA code. Adjust as needed.
¶ Set up the Web Radio service
The Web Radio service is configured by a set of data sources.
First, set up one data source for each category you want:
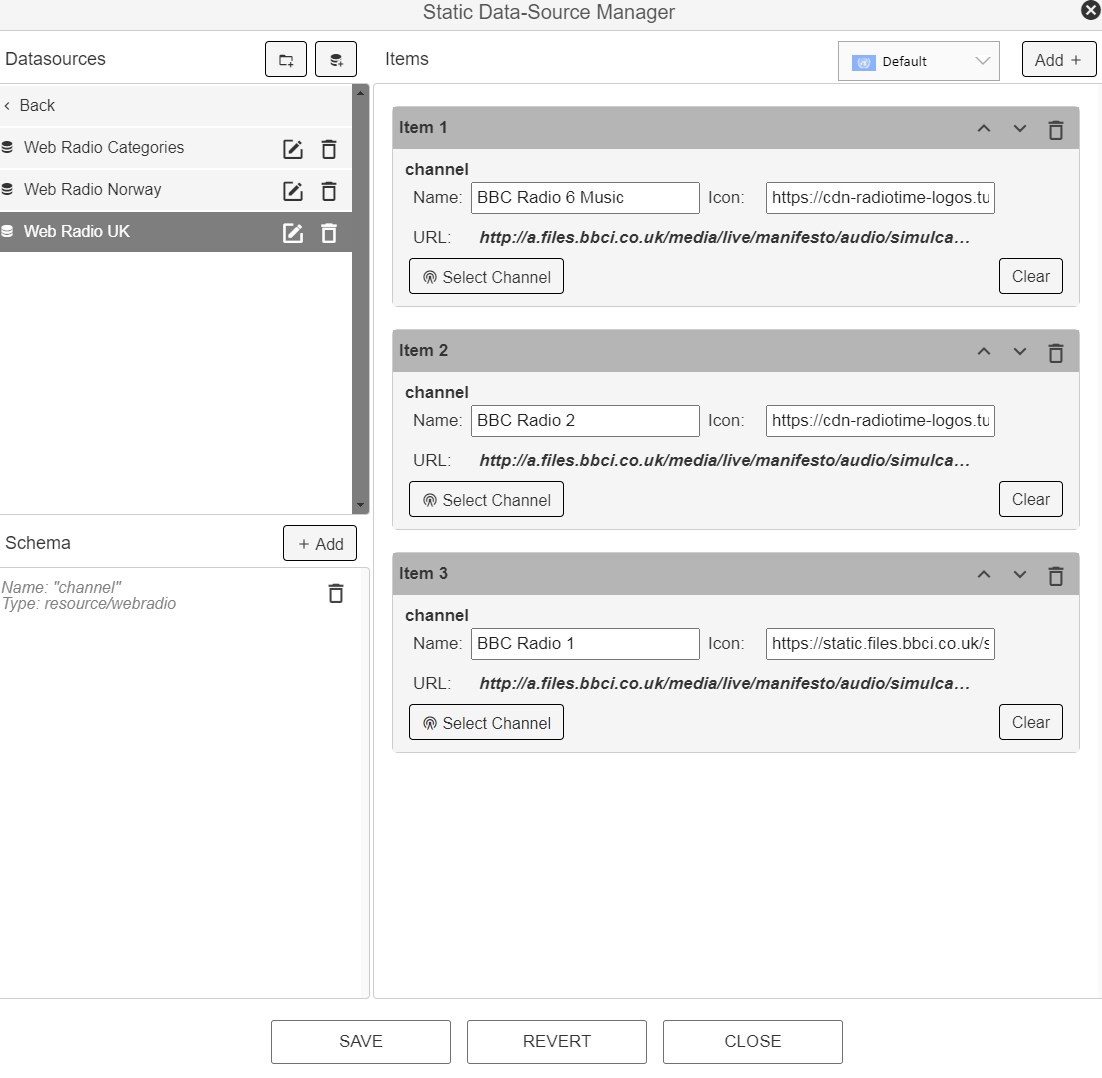
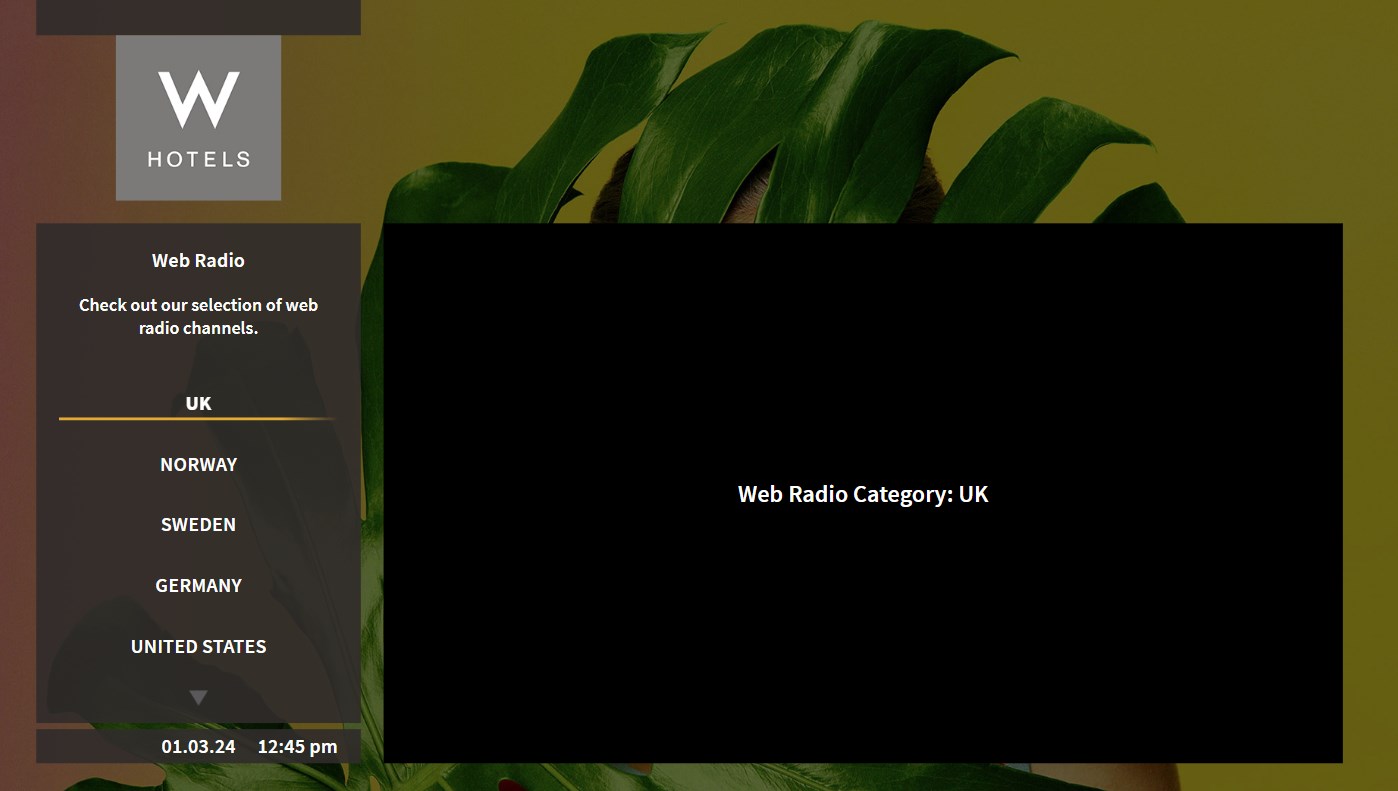
Default in the Marriott GRE1 Theme there are set up 2 category pages: Web Radio Norway and Web Radio UK. These can be renamed and used again.
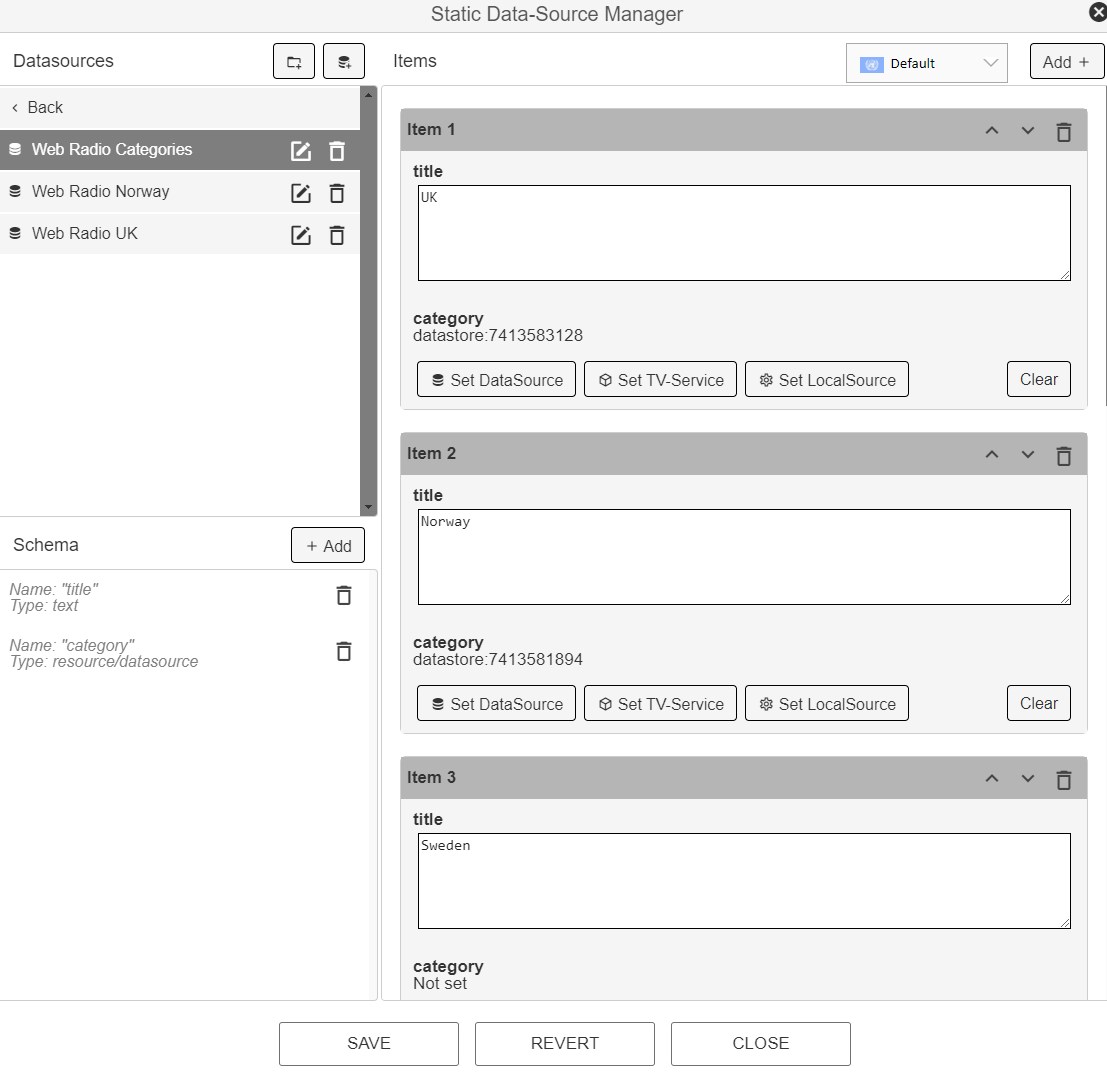
When all category data sources are set up, there is a data source called Web Radio Categories that links all the categories together. Each item in this data source contains a title and a link to the corresponding category/data source:
¶ Configure the Wake Up service
¶ Set the correct video source
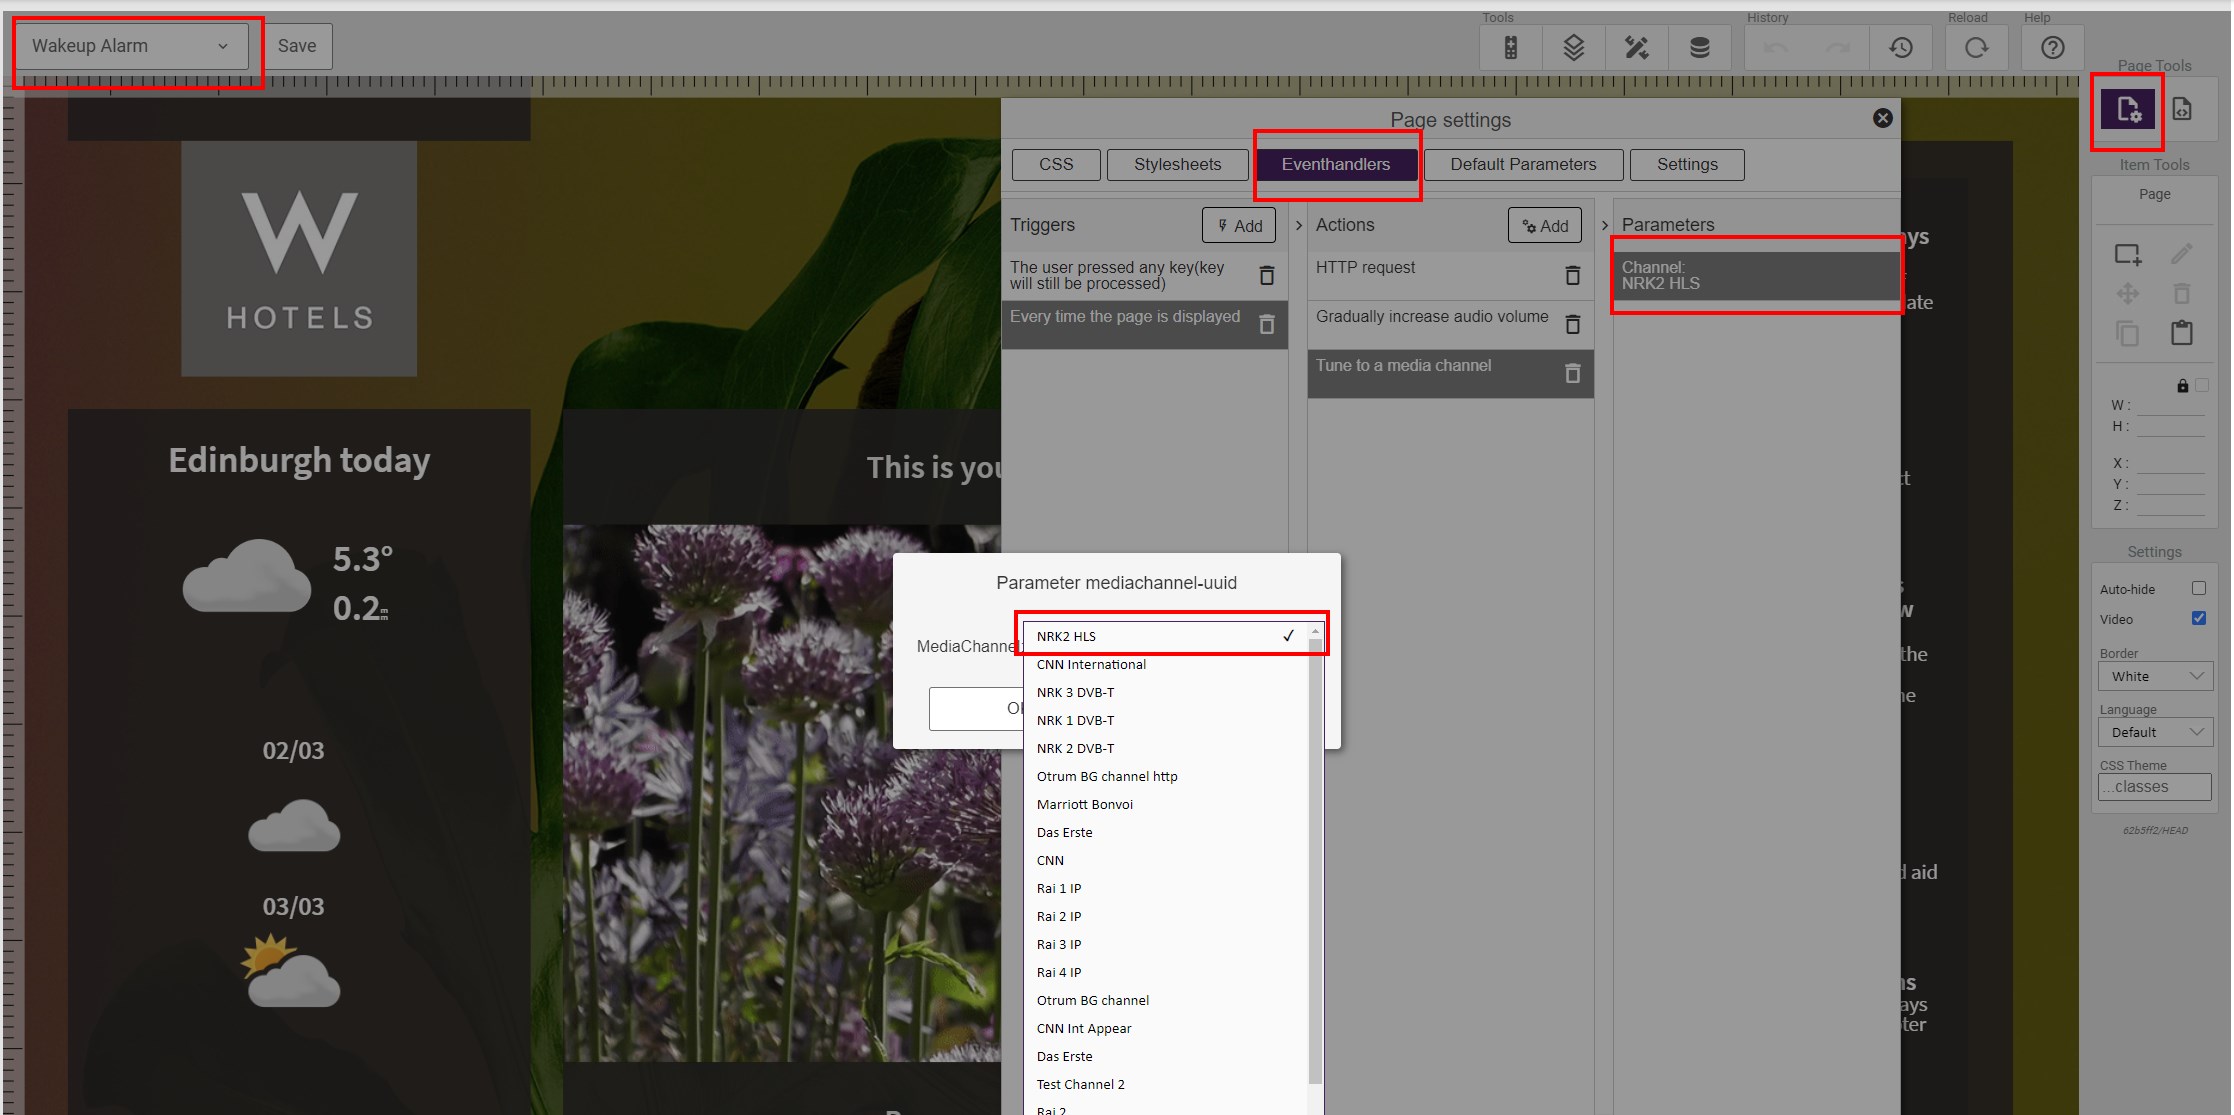
You need to set up the correct video source for the "Wakeup Alarm" page.
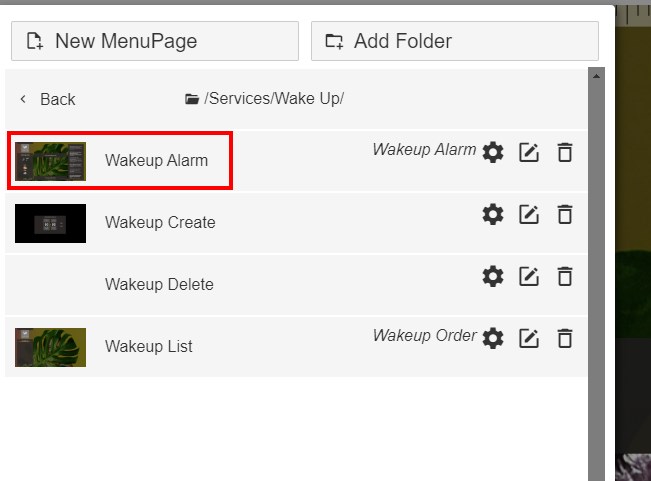
On the "Wakeup Alarm" Page you open the Page Settings, enter the Eventhandlers pane and change the media channel as shown below:
¶ Set up the correct RSS feed
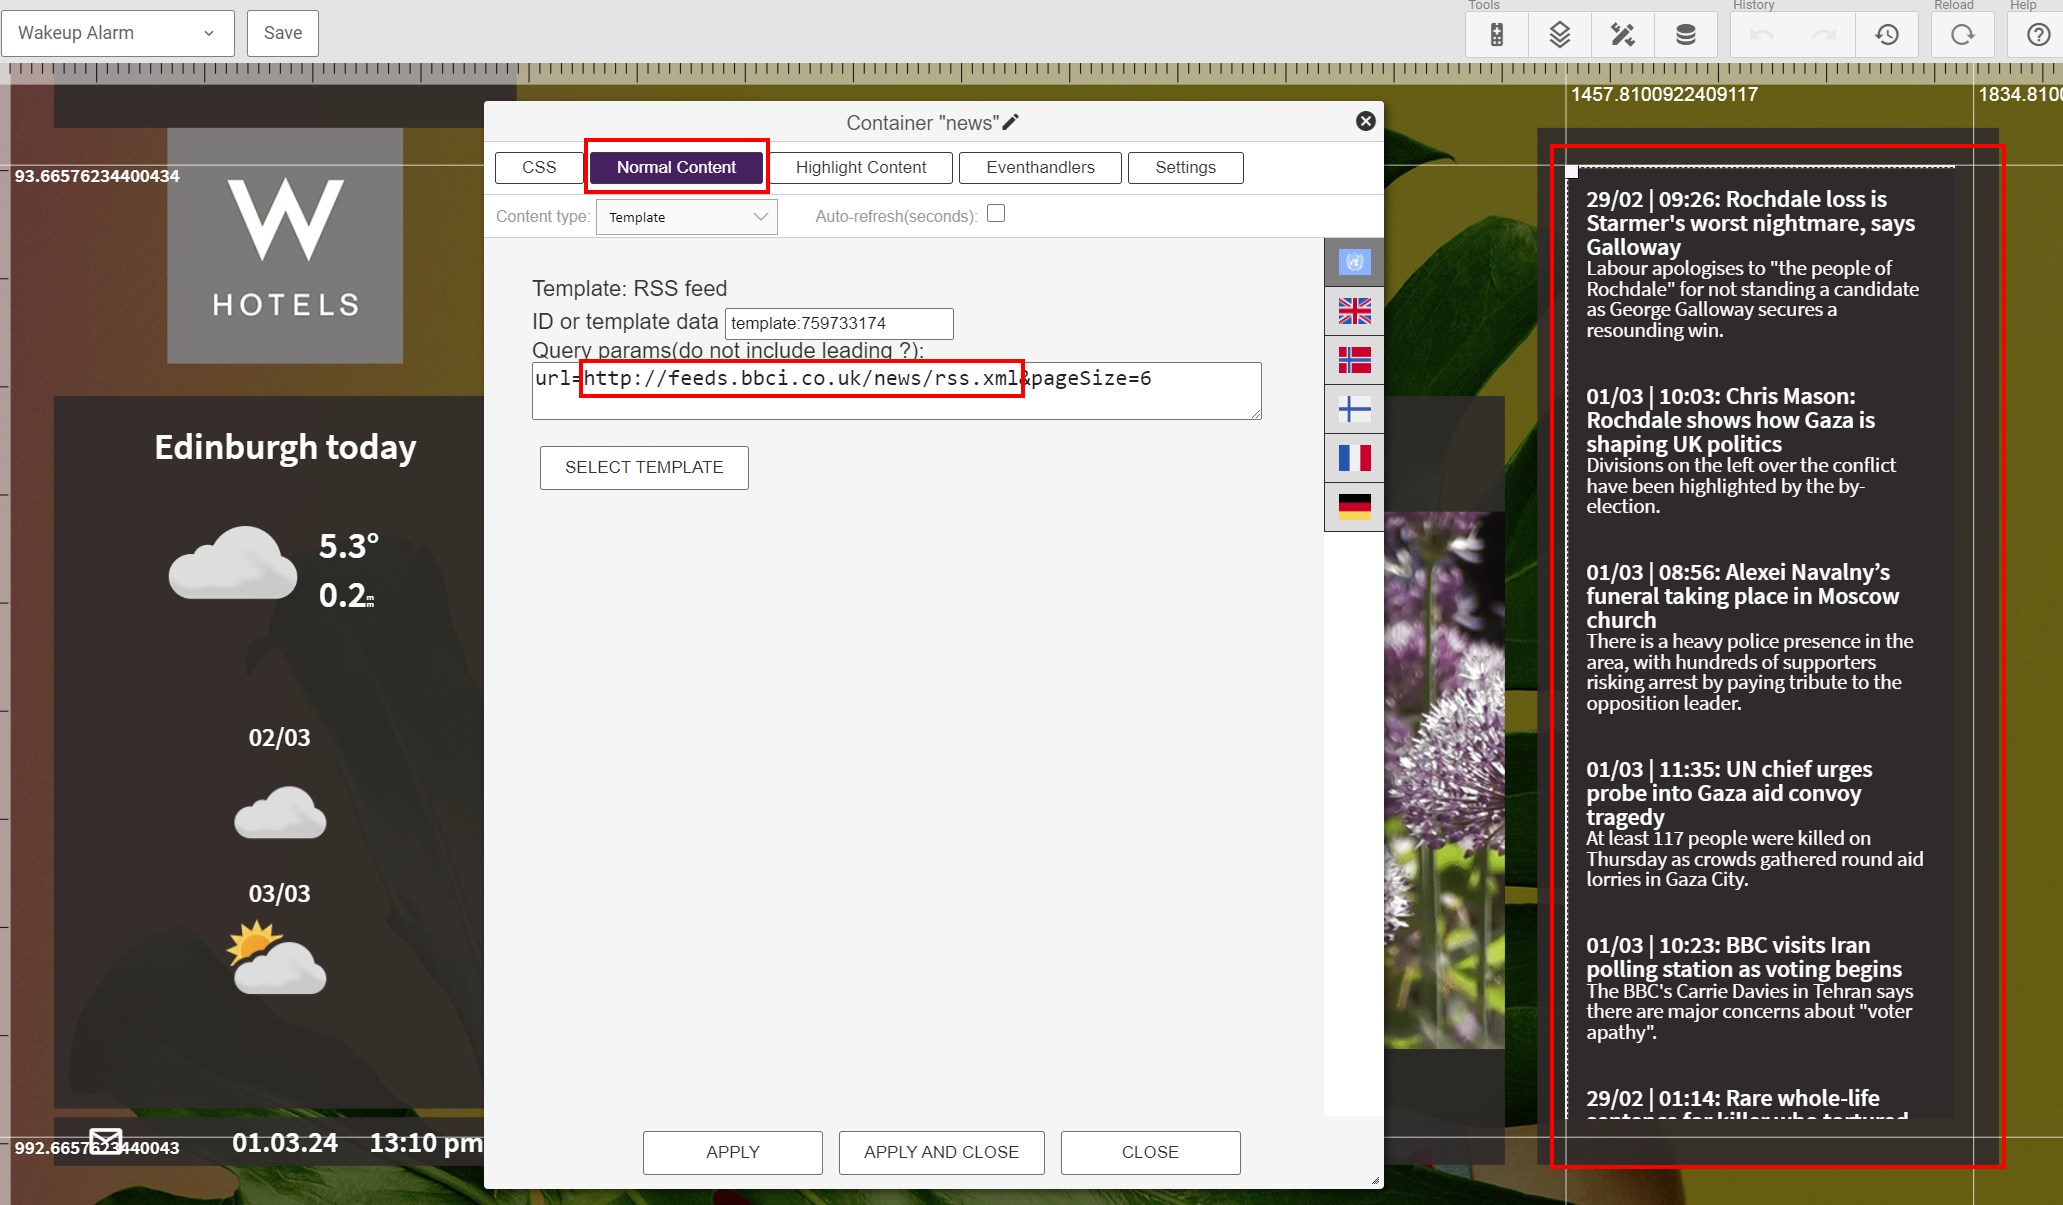
On "Wakeup Alarm", click the news element, select the "Normal Content" pane and change the url as shown below:
¶ Set up the correct weather location
There are 2 weather elements on "Wakeup Alarm" Page. One for the weather today and one for the coming days.
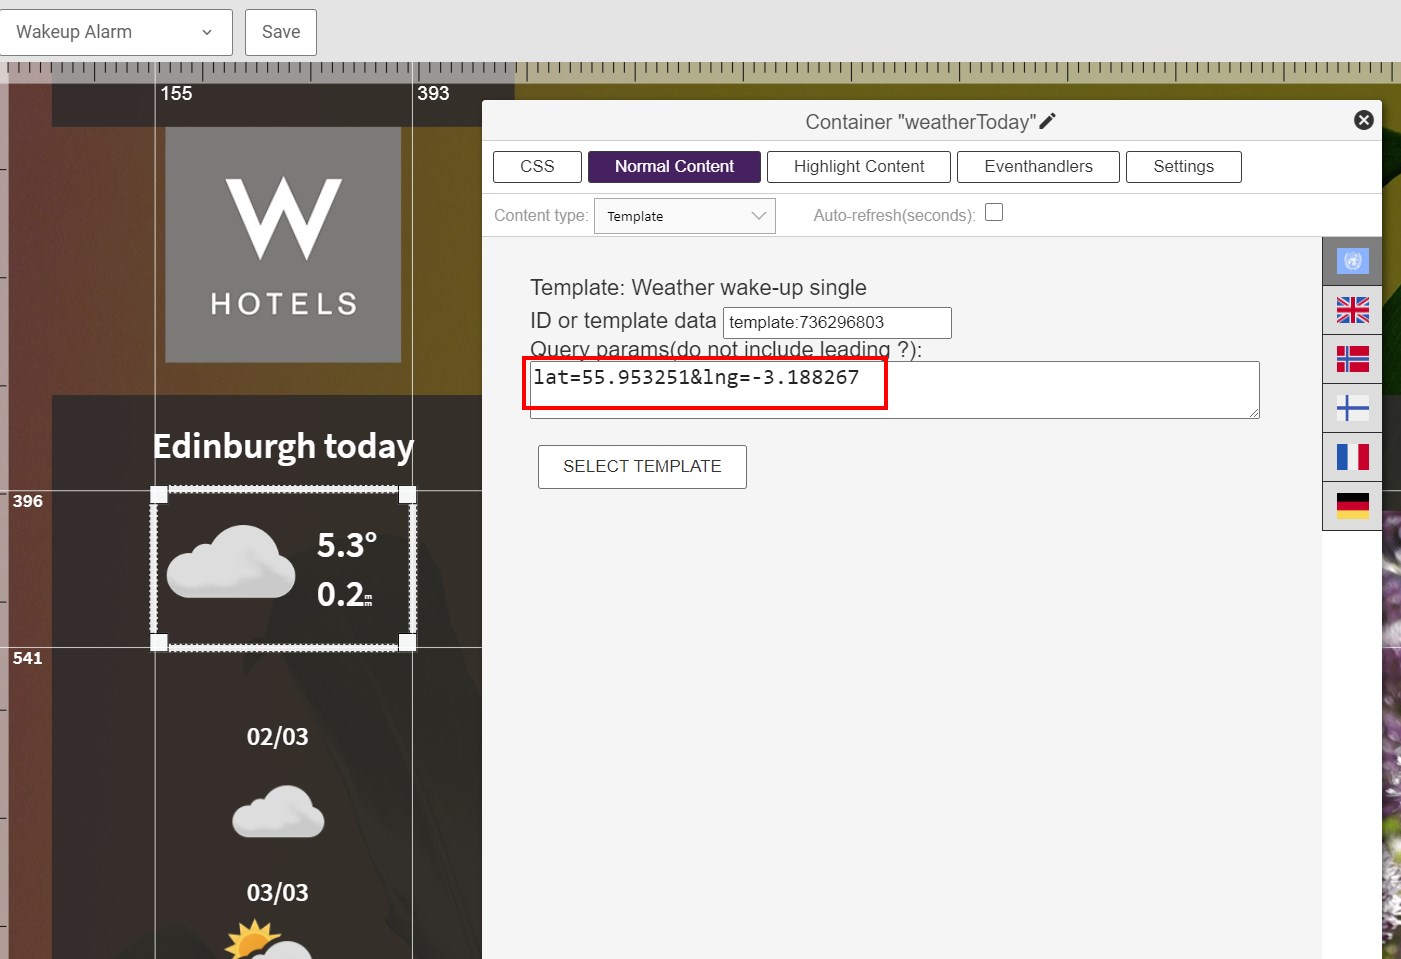
To set the correct location, click each of the elements, and change the latitude and longitude in the Normal Content pane on both elements:
¶ Define the welcome message
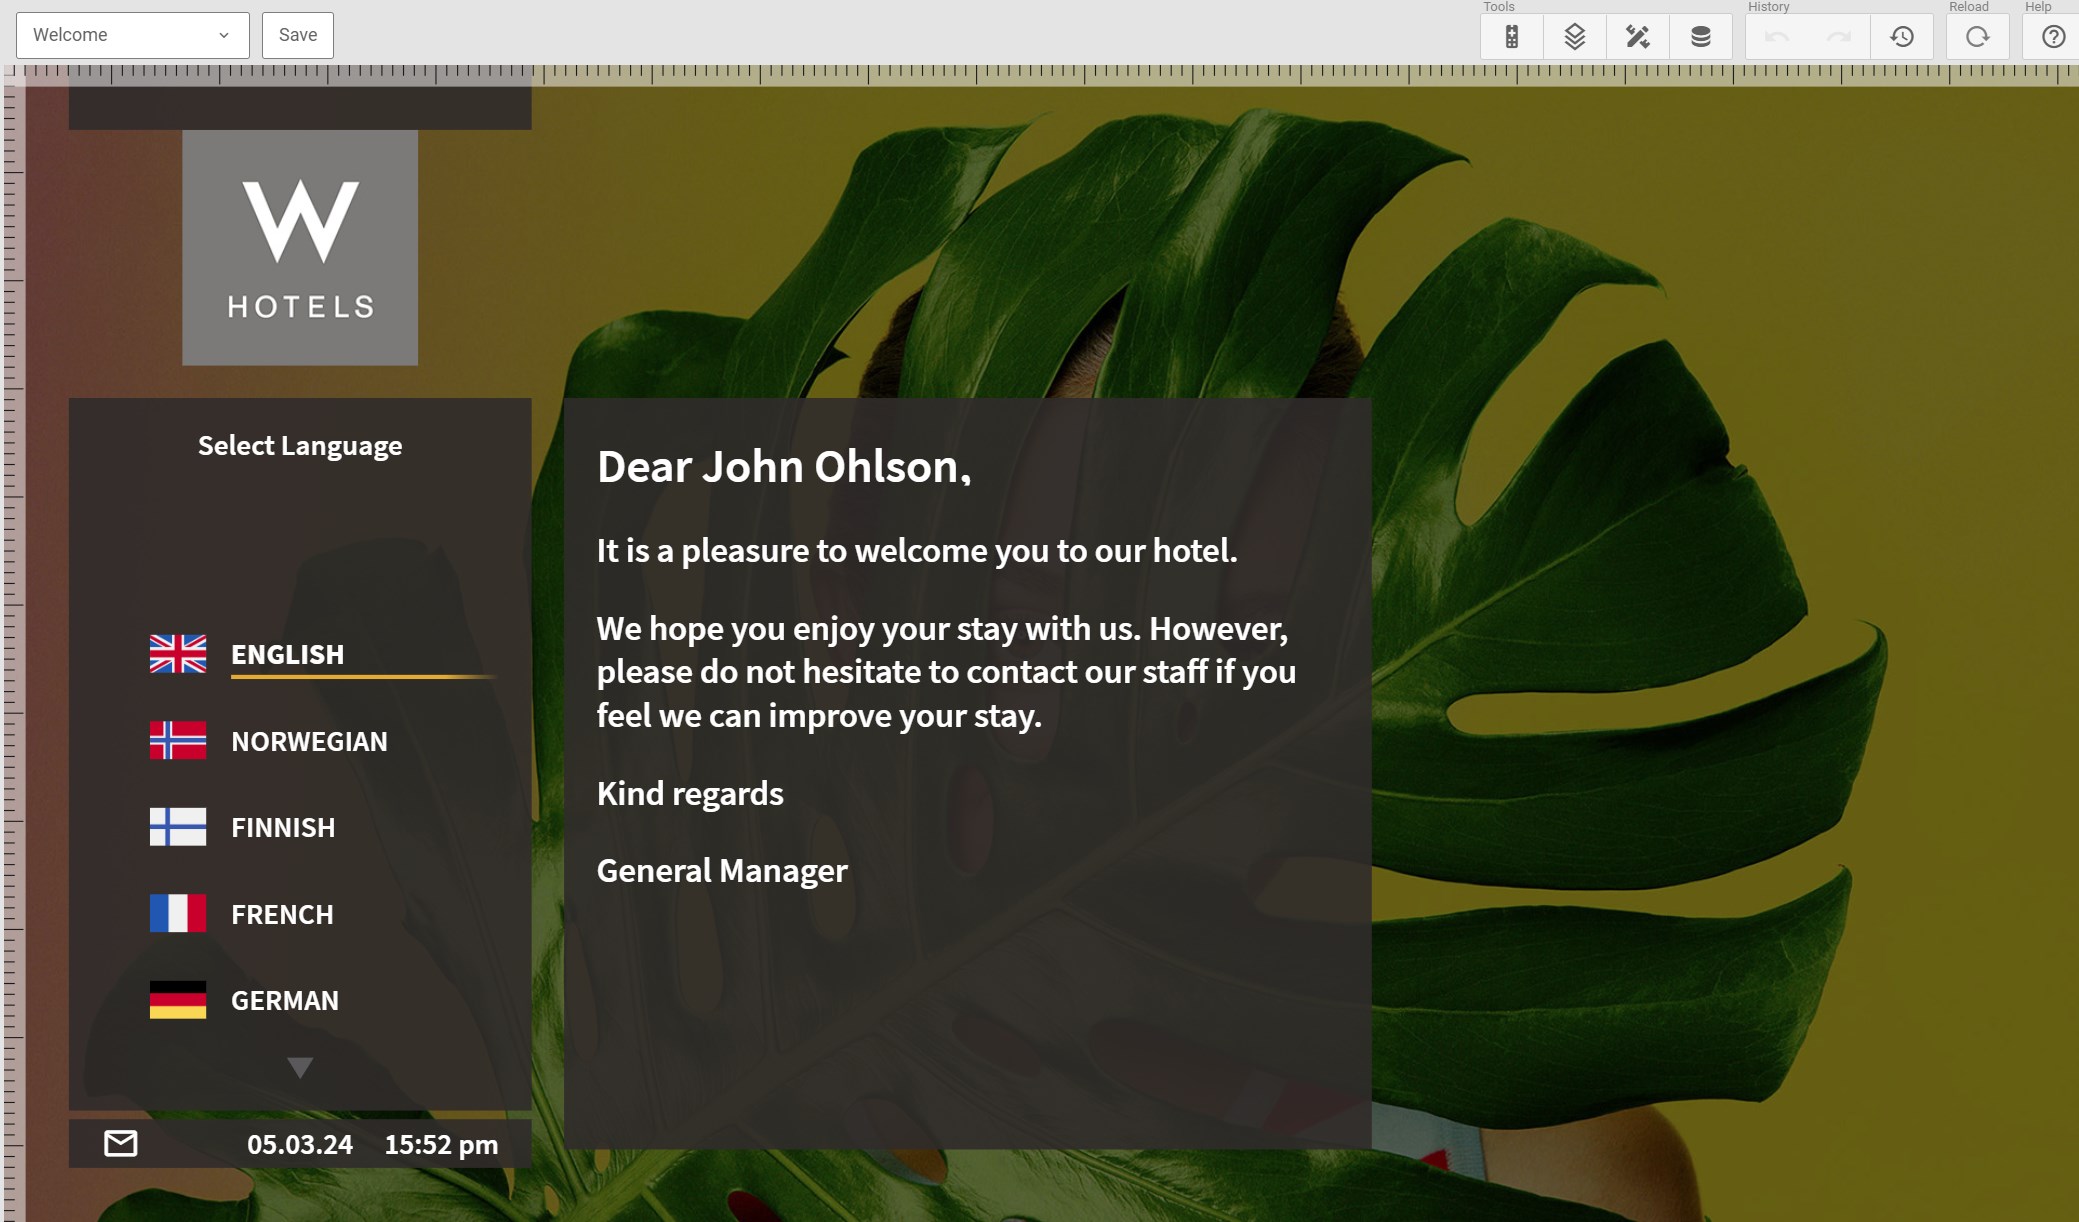
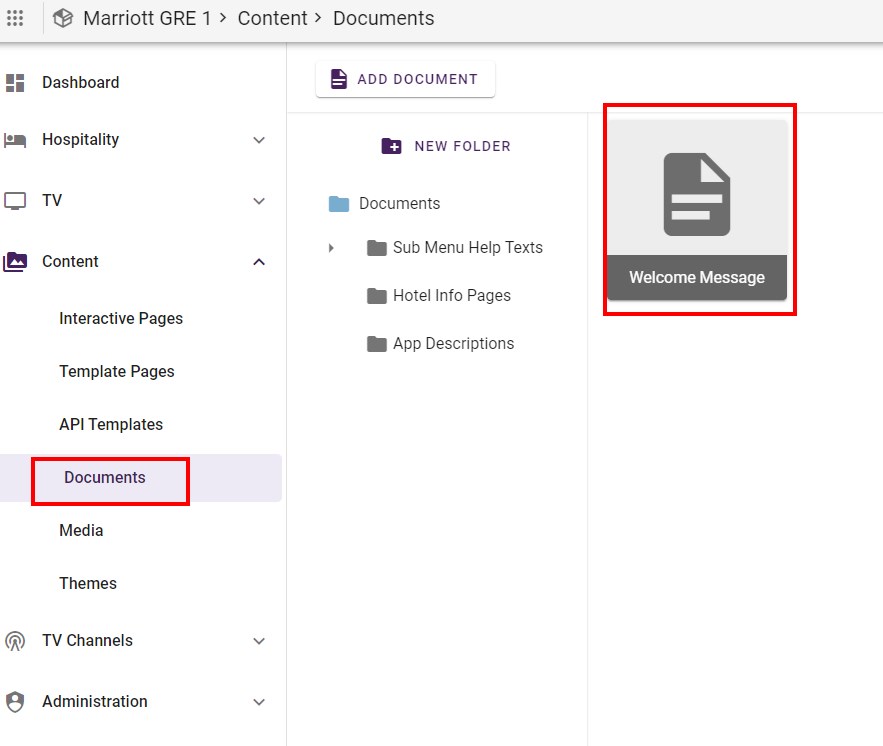
To edit the welcome message, adjust the content in the document called "Welcome Message" at the root level of the document section:
Use the "Paragraph" formatting style.