¶ Customization Guideline for the Hilton GRE theme
This guide provide you with some help on how you can modify the Hilton Theme for your specific need.
¶ About the theme
The Hilton GRE theme applies all hotels in the Hilton mother brand unless something else is specified.
¶ Import the theme
Start by importing the theme to your site.

¶ Customize the background images
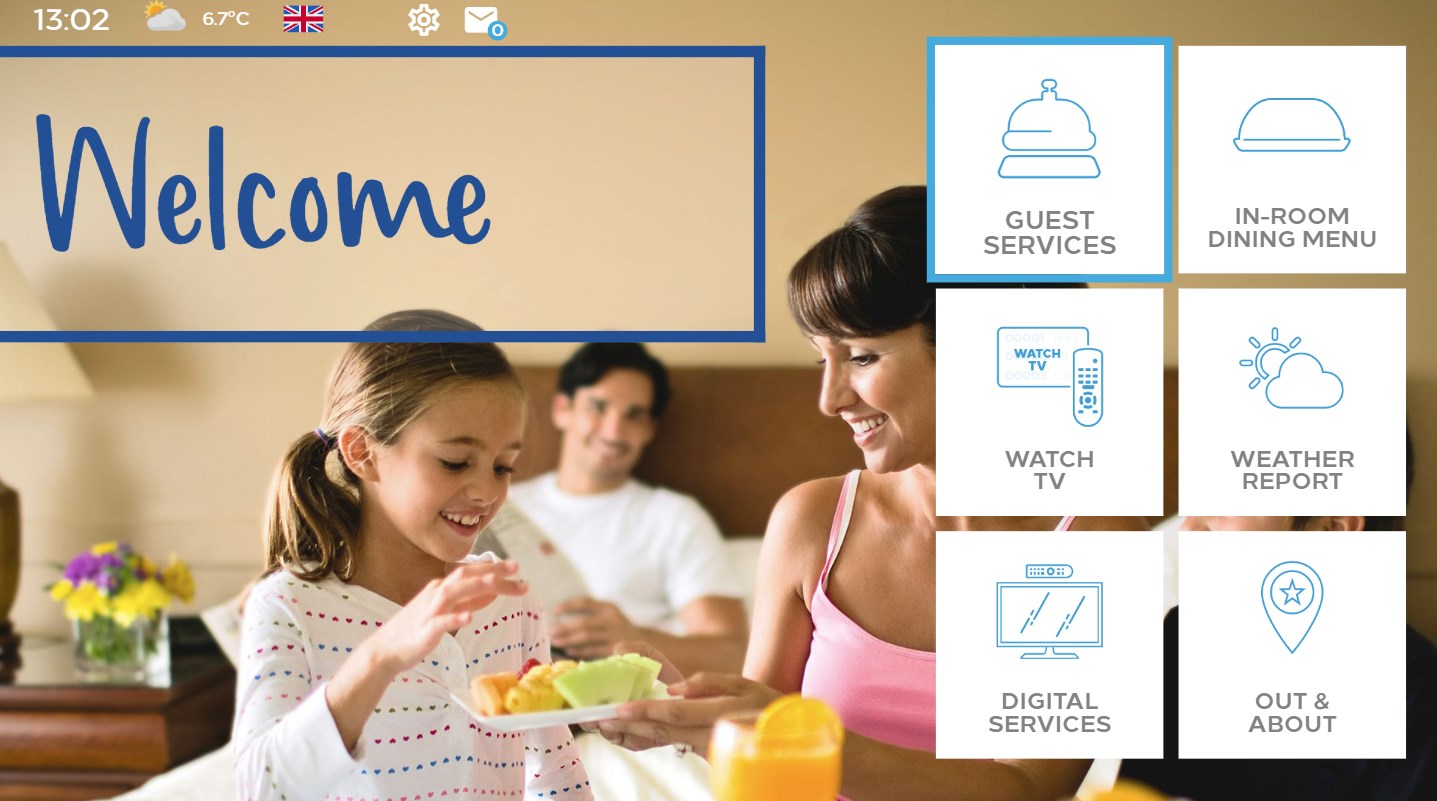
To change the background image on the Main Menu or on the sub pages Digital Services, Guest Services and In-Room Dining menu, first open the Page Settings of the page in question:
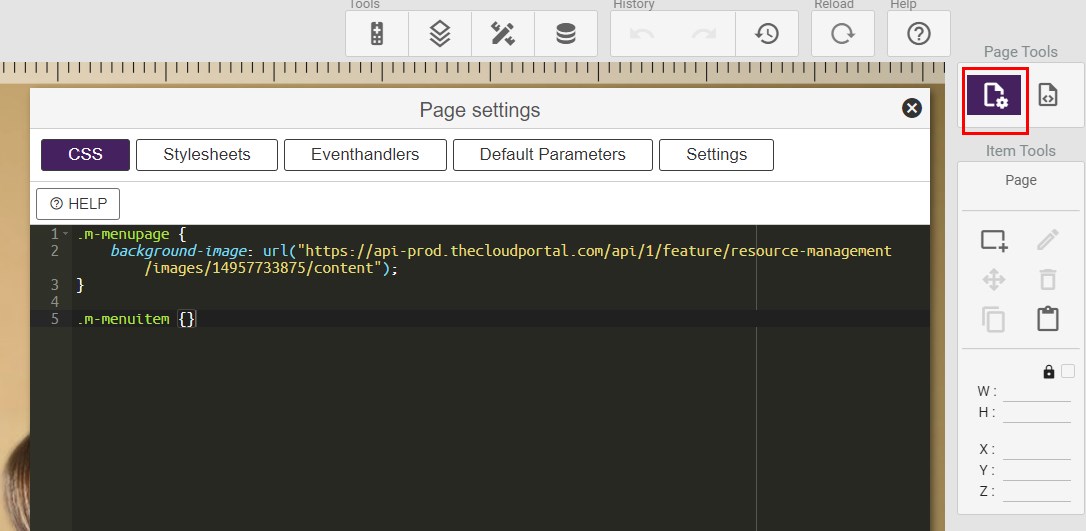
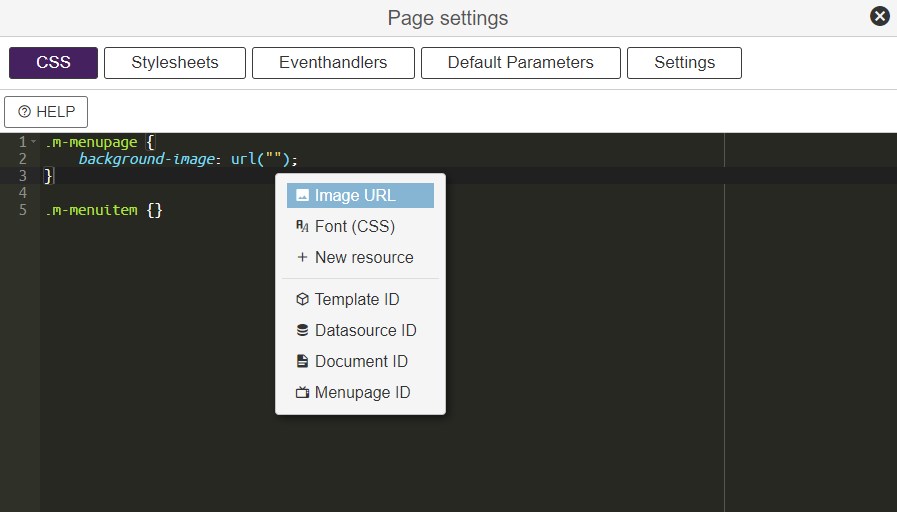
Then, delete the current url and insert the url to the new image. This can be done by right-clicking within the quotation marks and selecting the new image:
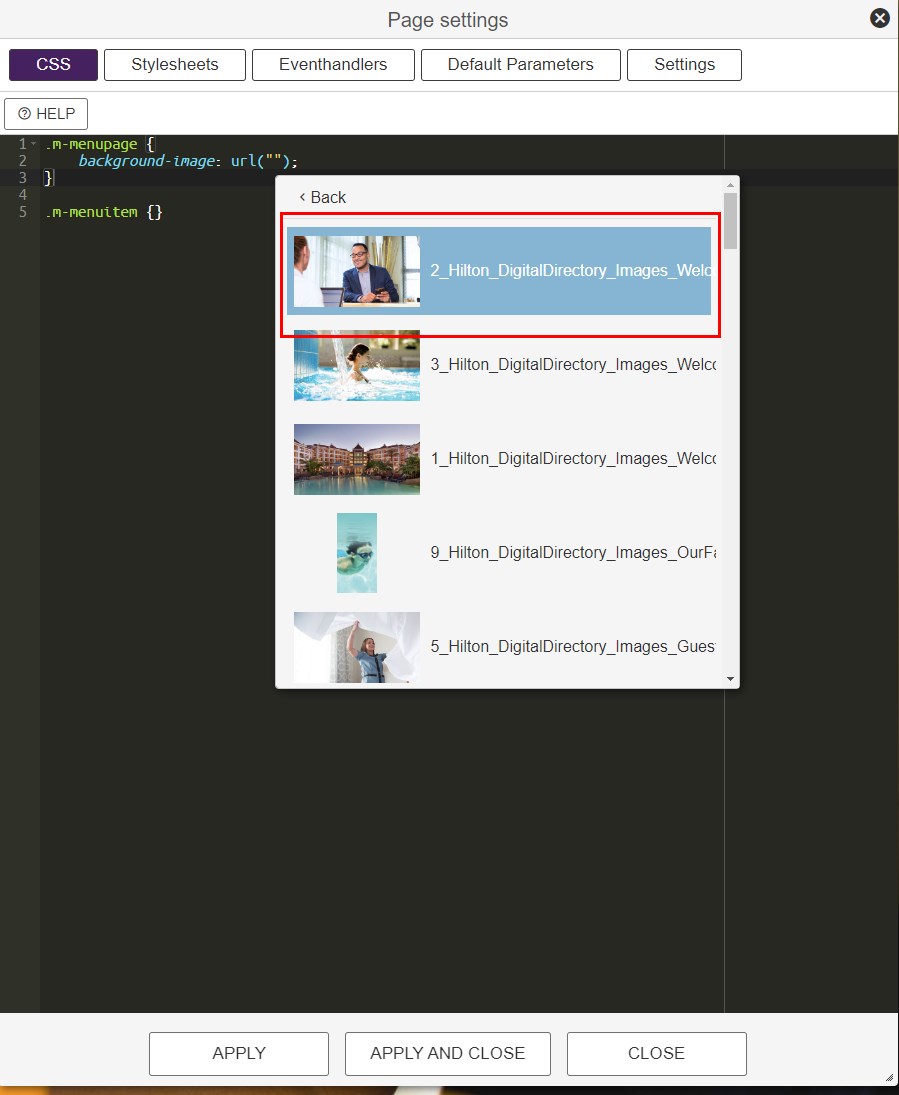
Finally press "Apply and Close" and save the page.
¶ Add or remove menu tiles
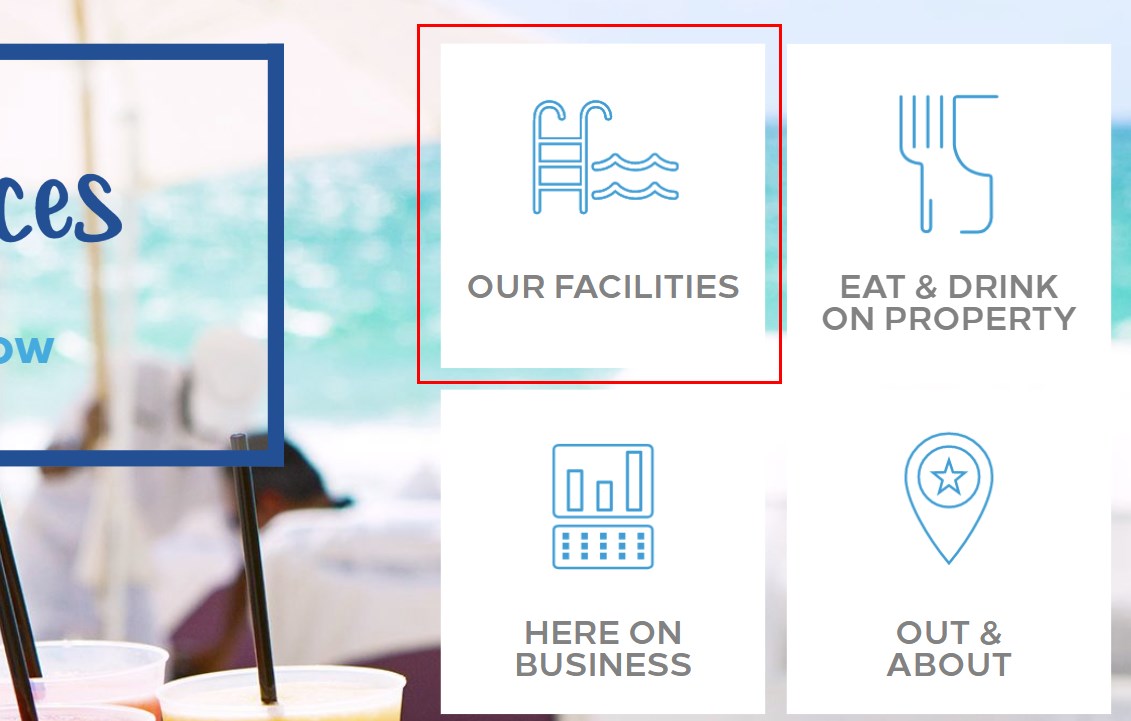
The tiles in the main and sub menus can be customized, as described below.
¶ Remove a menu tile
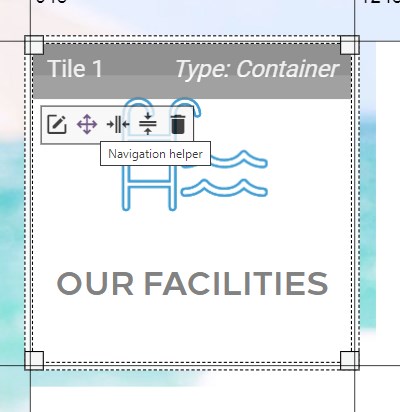
To remove a tile, simply select the tile and press delete:
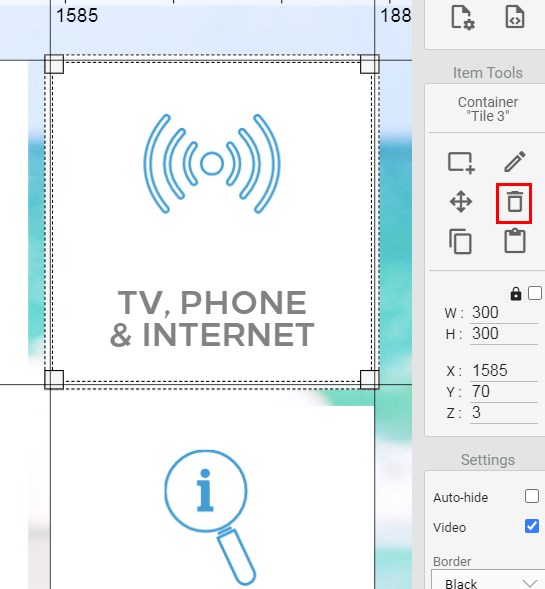
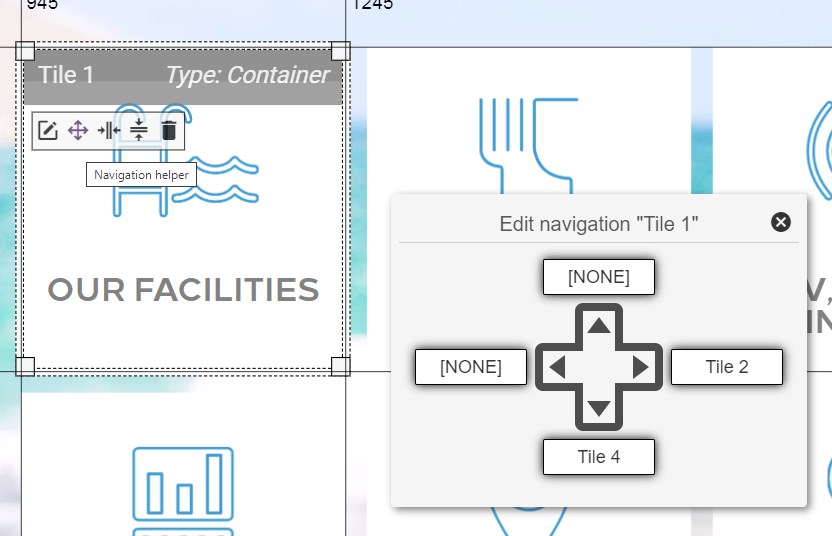
If needed, also remember to update the navigation between the rest of the tiles. There is a navigation helper available on each tile.
Finally, save the page.
¶ Add a menu tile
To add a new menu tile, copy and paste from an existing one:

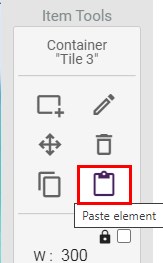
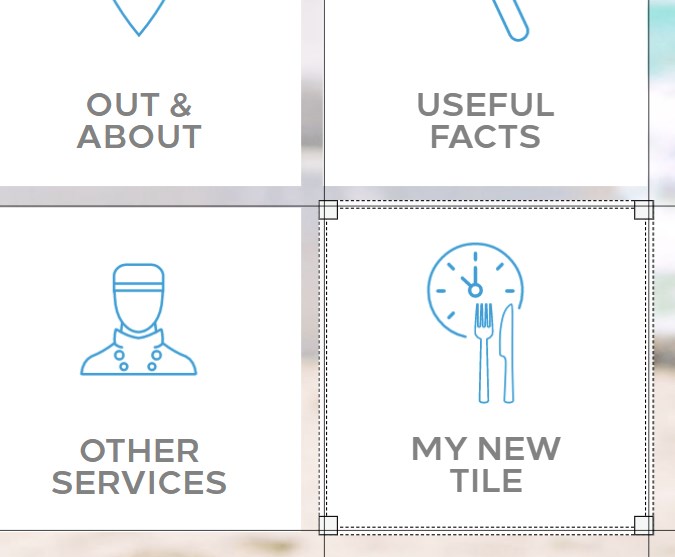
Now place the new tile at the correct location within the grid.
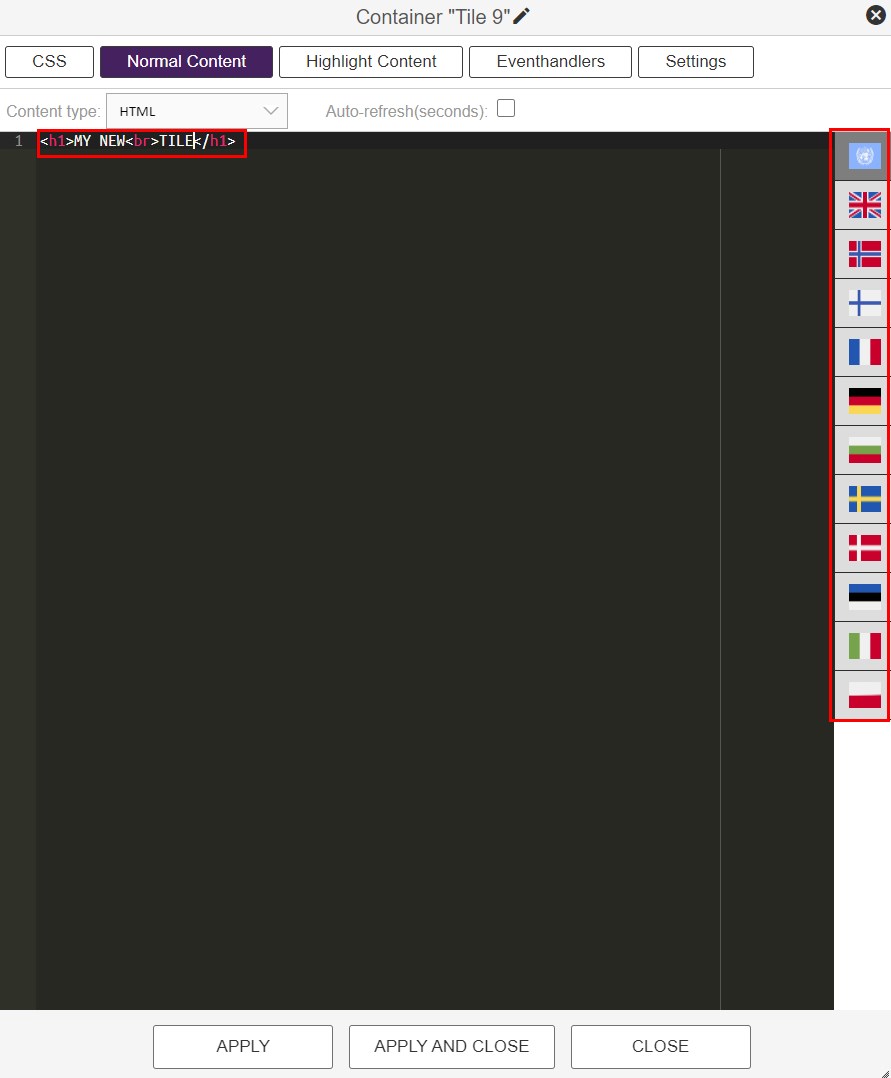
To set a new name on the tile, double-click it, and enter the new name within the "Normal Content" section. If you want to add different text based on language, use the flags on the right and enter the translated text here.
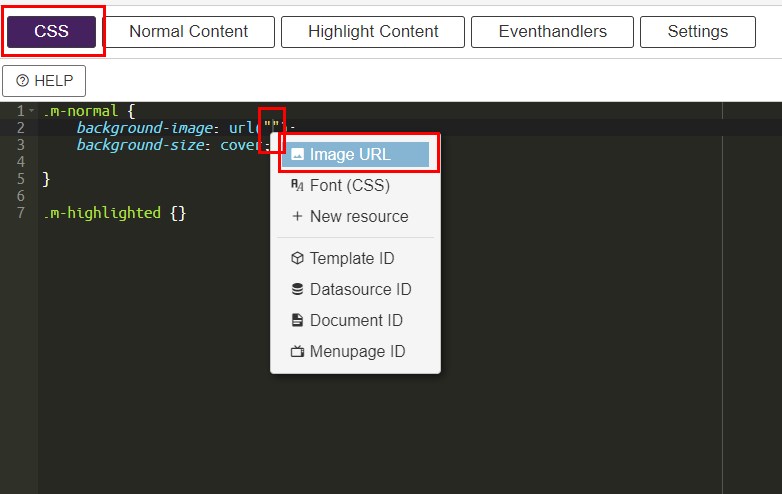
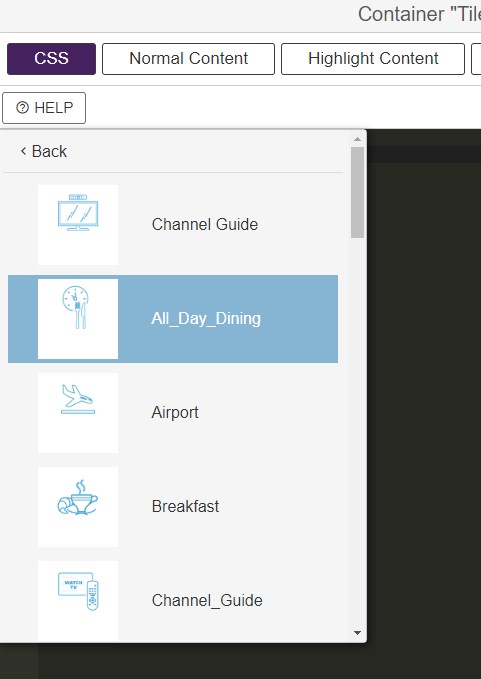
To change the icon, enter the CSS section. Delete the existing url and add the url to the new image. This can be done by right-clicking within the quotation marks and selecting the new icon:
Press "Apply and Close".
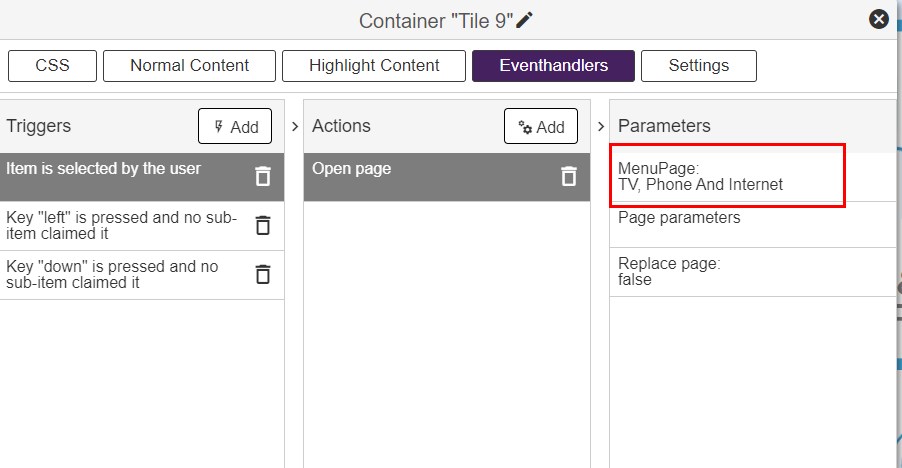
The next step is to define which page the new tile should link to. This is done in the Eventhandlers section. Change to the correct page as shown below:
If needed, also remember to update the navigation between the rest of the tiles. There is a navigation helper available on each tile.


Finally, save the page.
¶ Set up a new info page
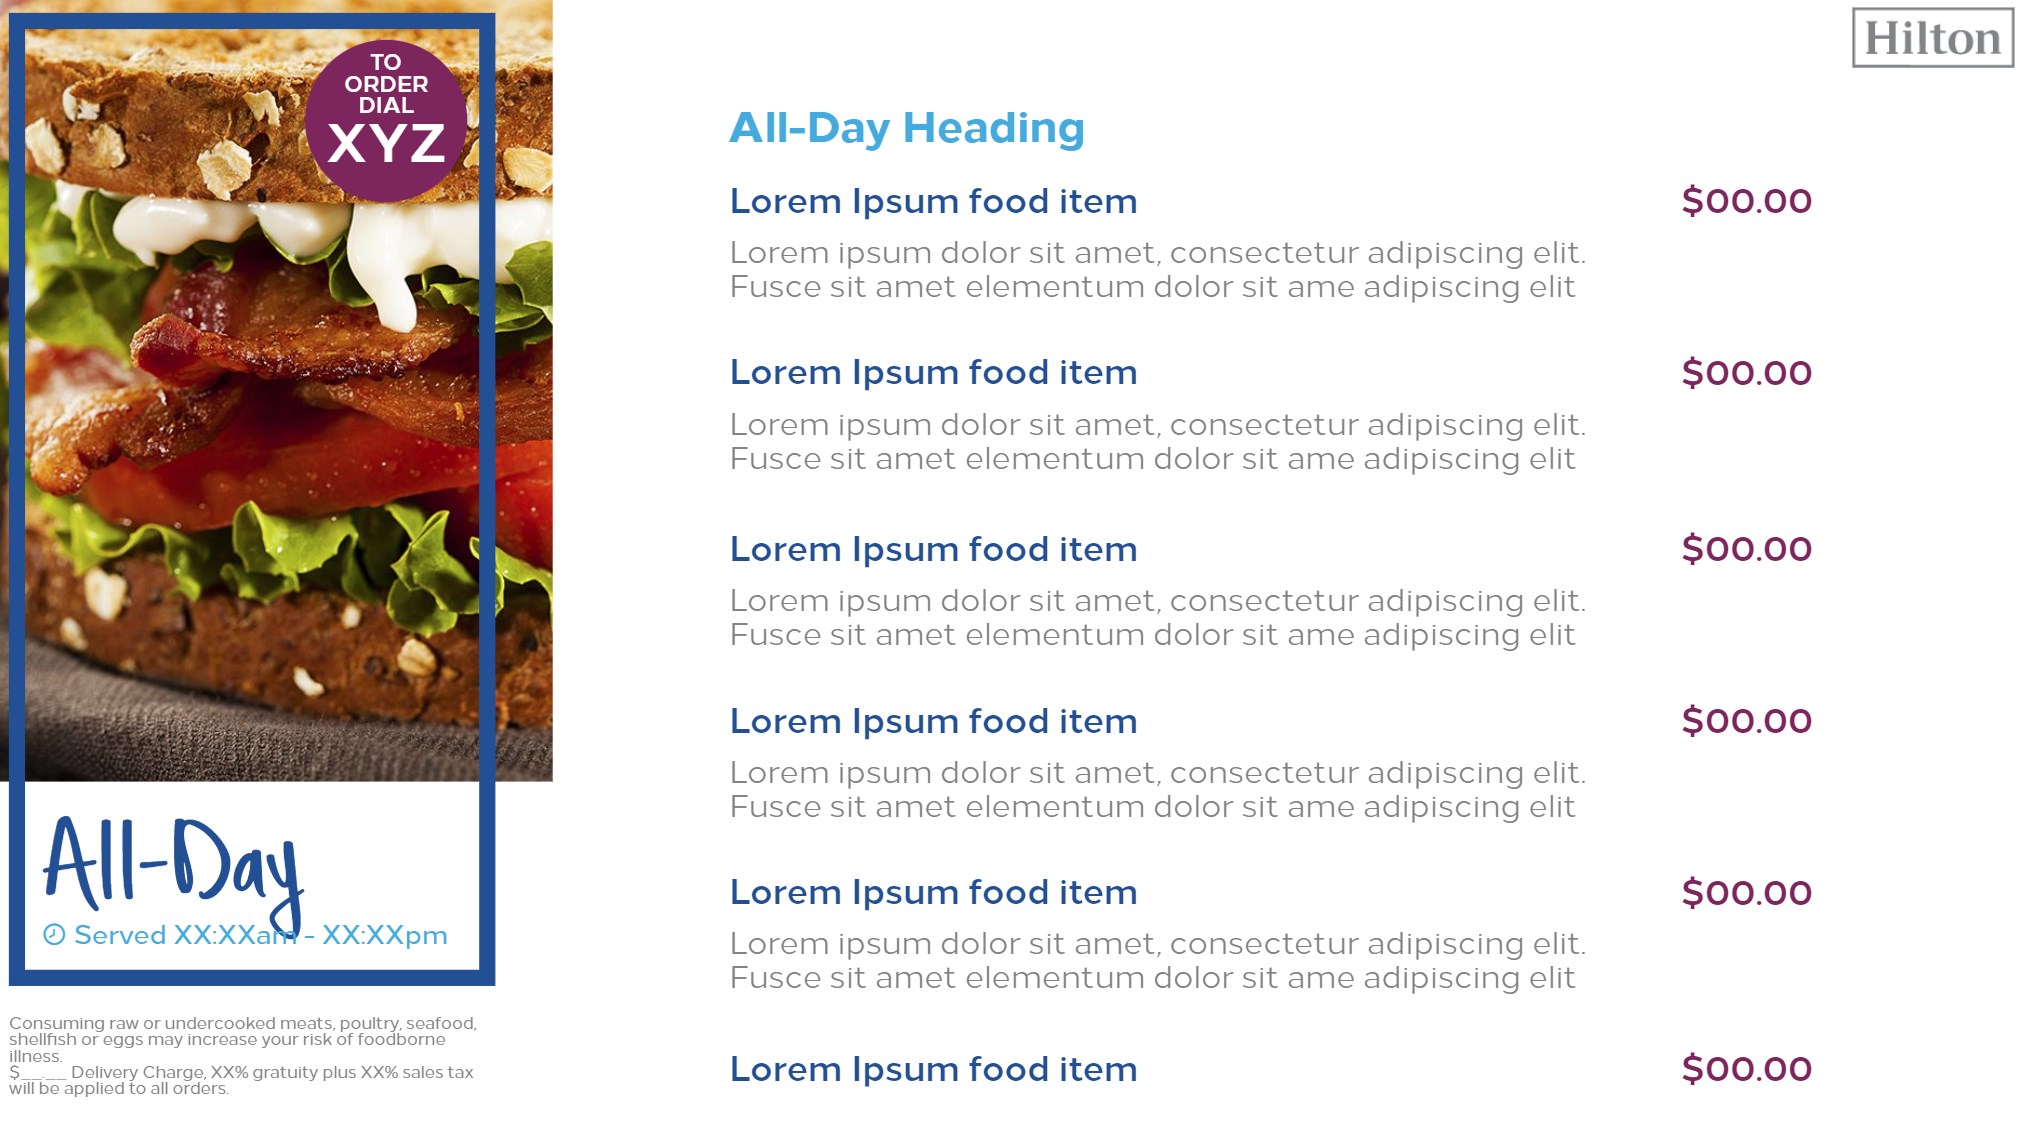
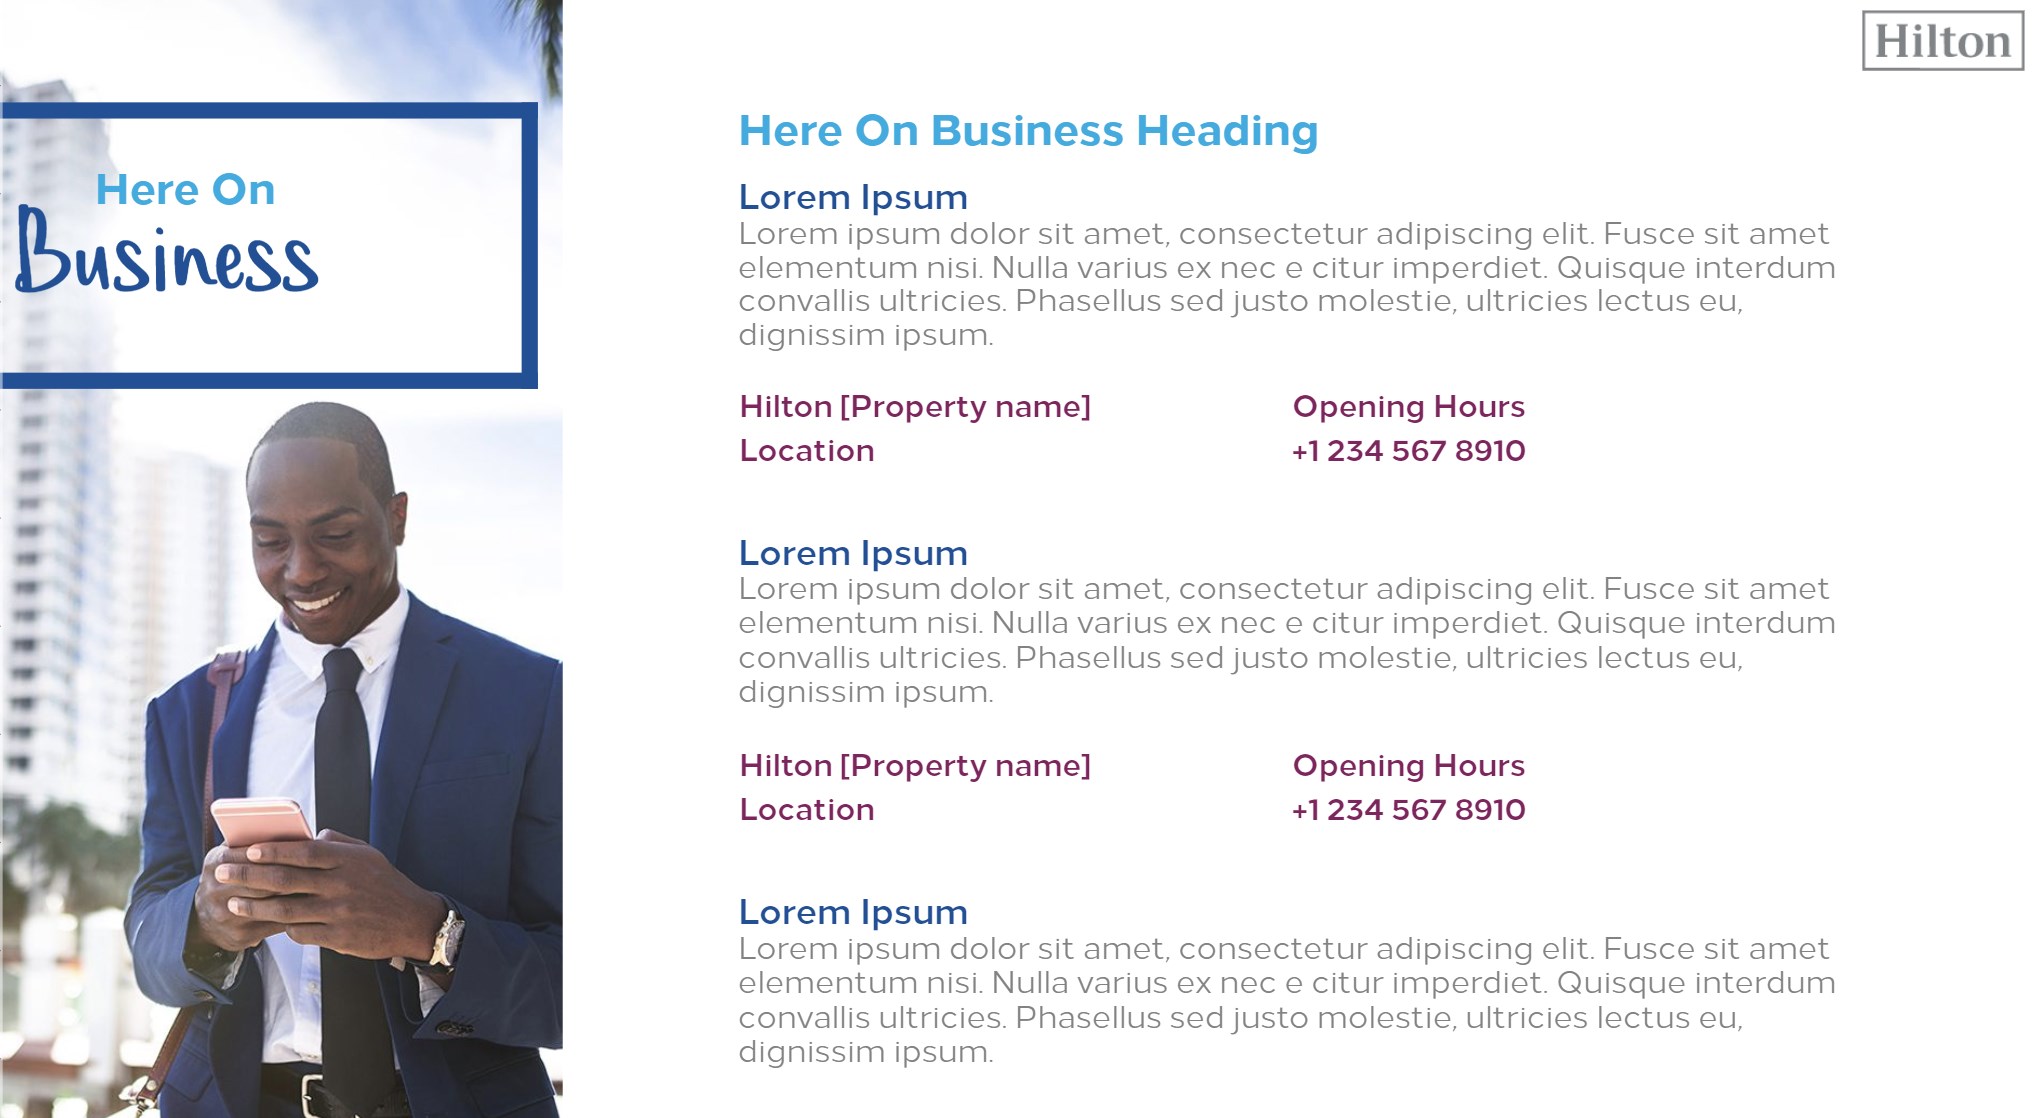
There are 2 major types of info pages in the Hilton theme: Menu pages and Hotel Info pages.
Page of Menu type:
Page of Hotel Info type:
¶ Make a copy of an info page
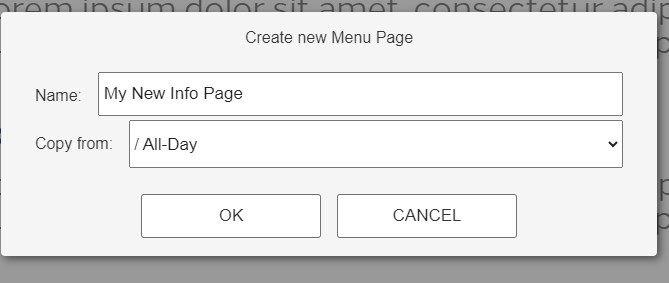
To set up a new info page, start by creating a new page from a copy of one of the existiong ones that have a similar style to the one you intend to create:
¶ Add a new document
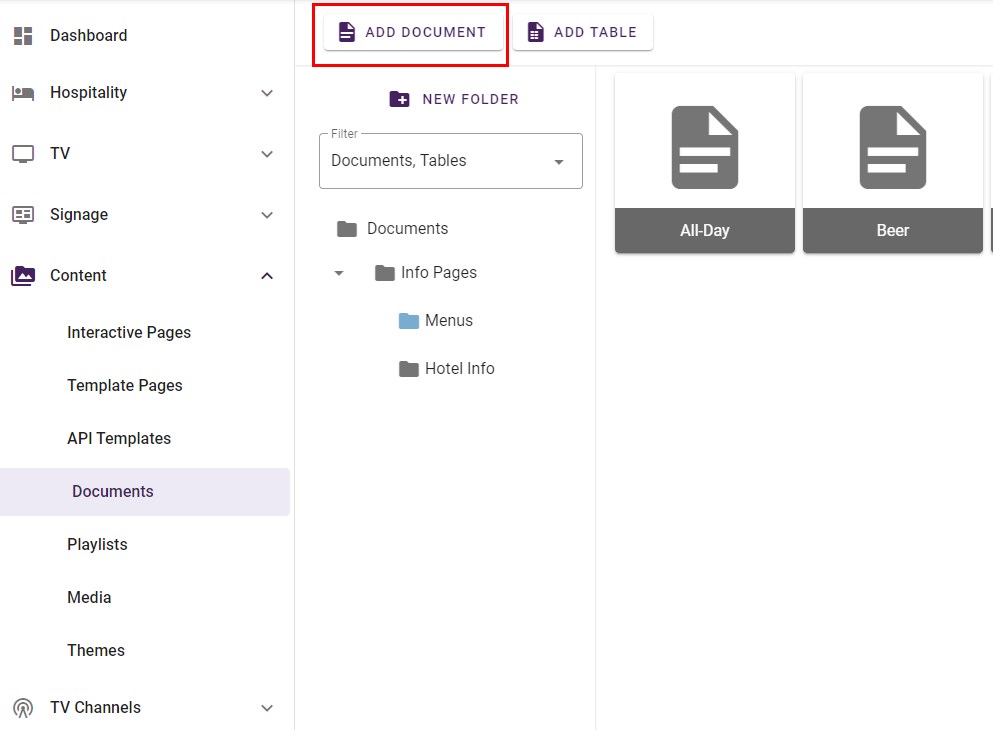
Info pages in the Hilton theme are based on Documents. To add a new document, click "Add document" in the Documents section under Content. Make sure you have selected the correct folder for the document first, so that the document is located correctly.
Give the document a name and press Create:
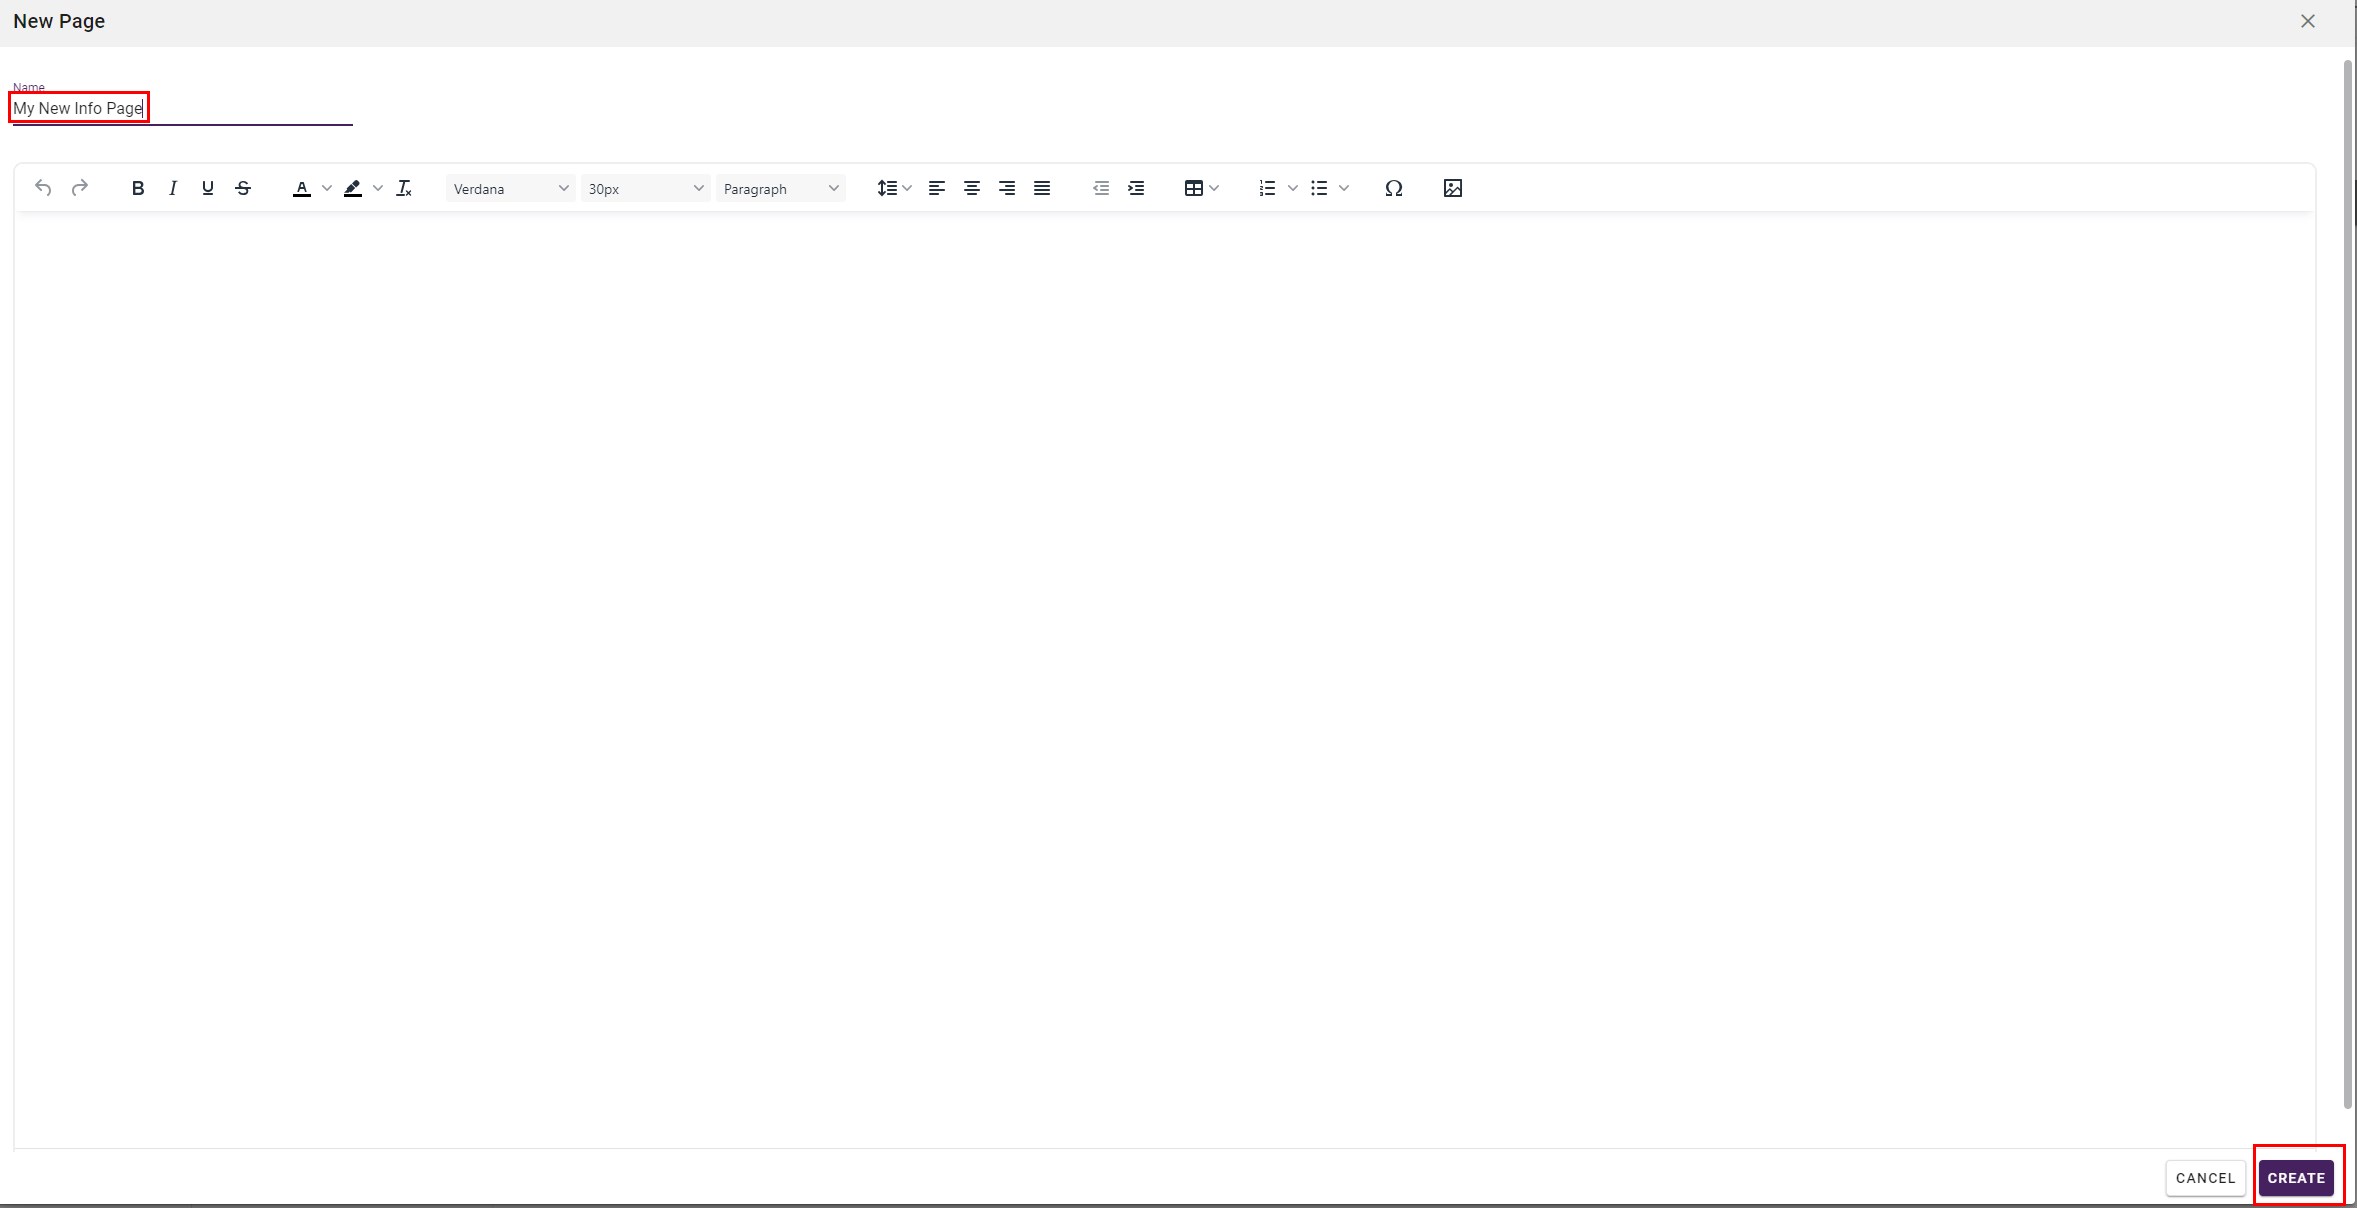
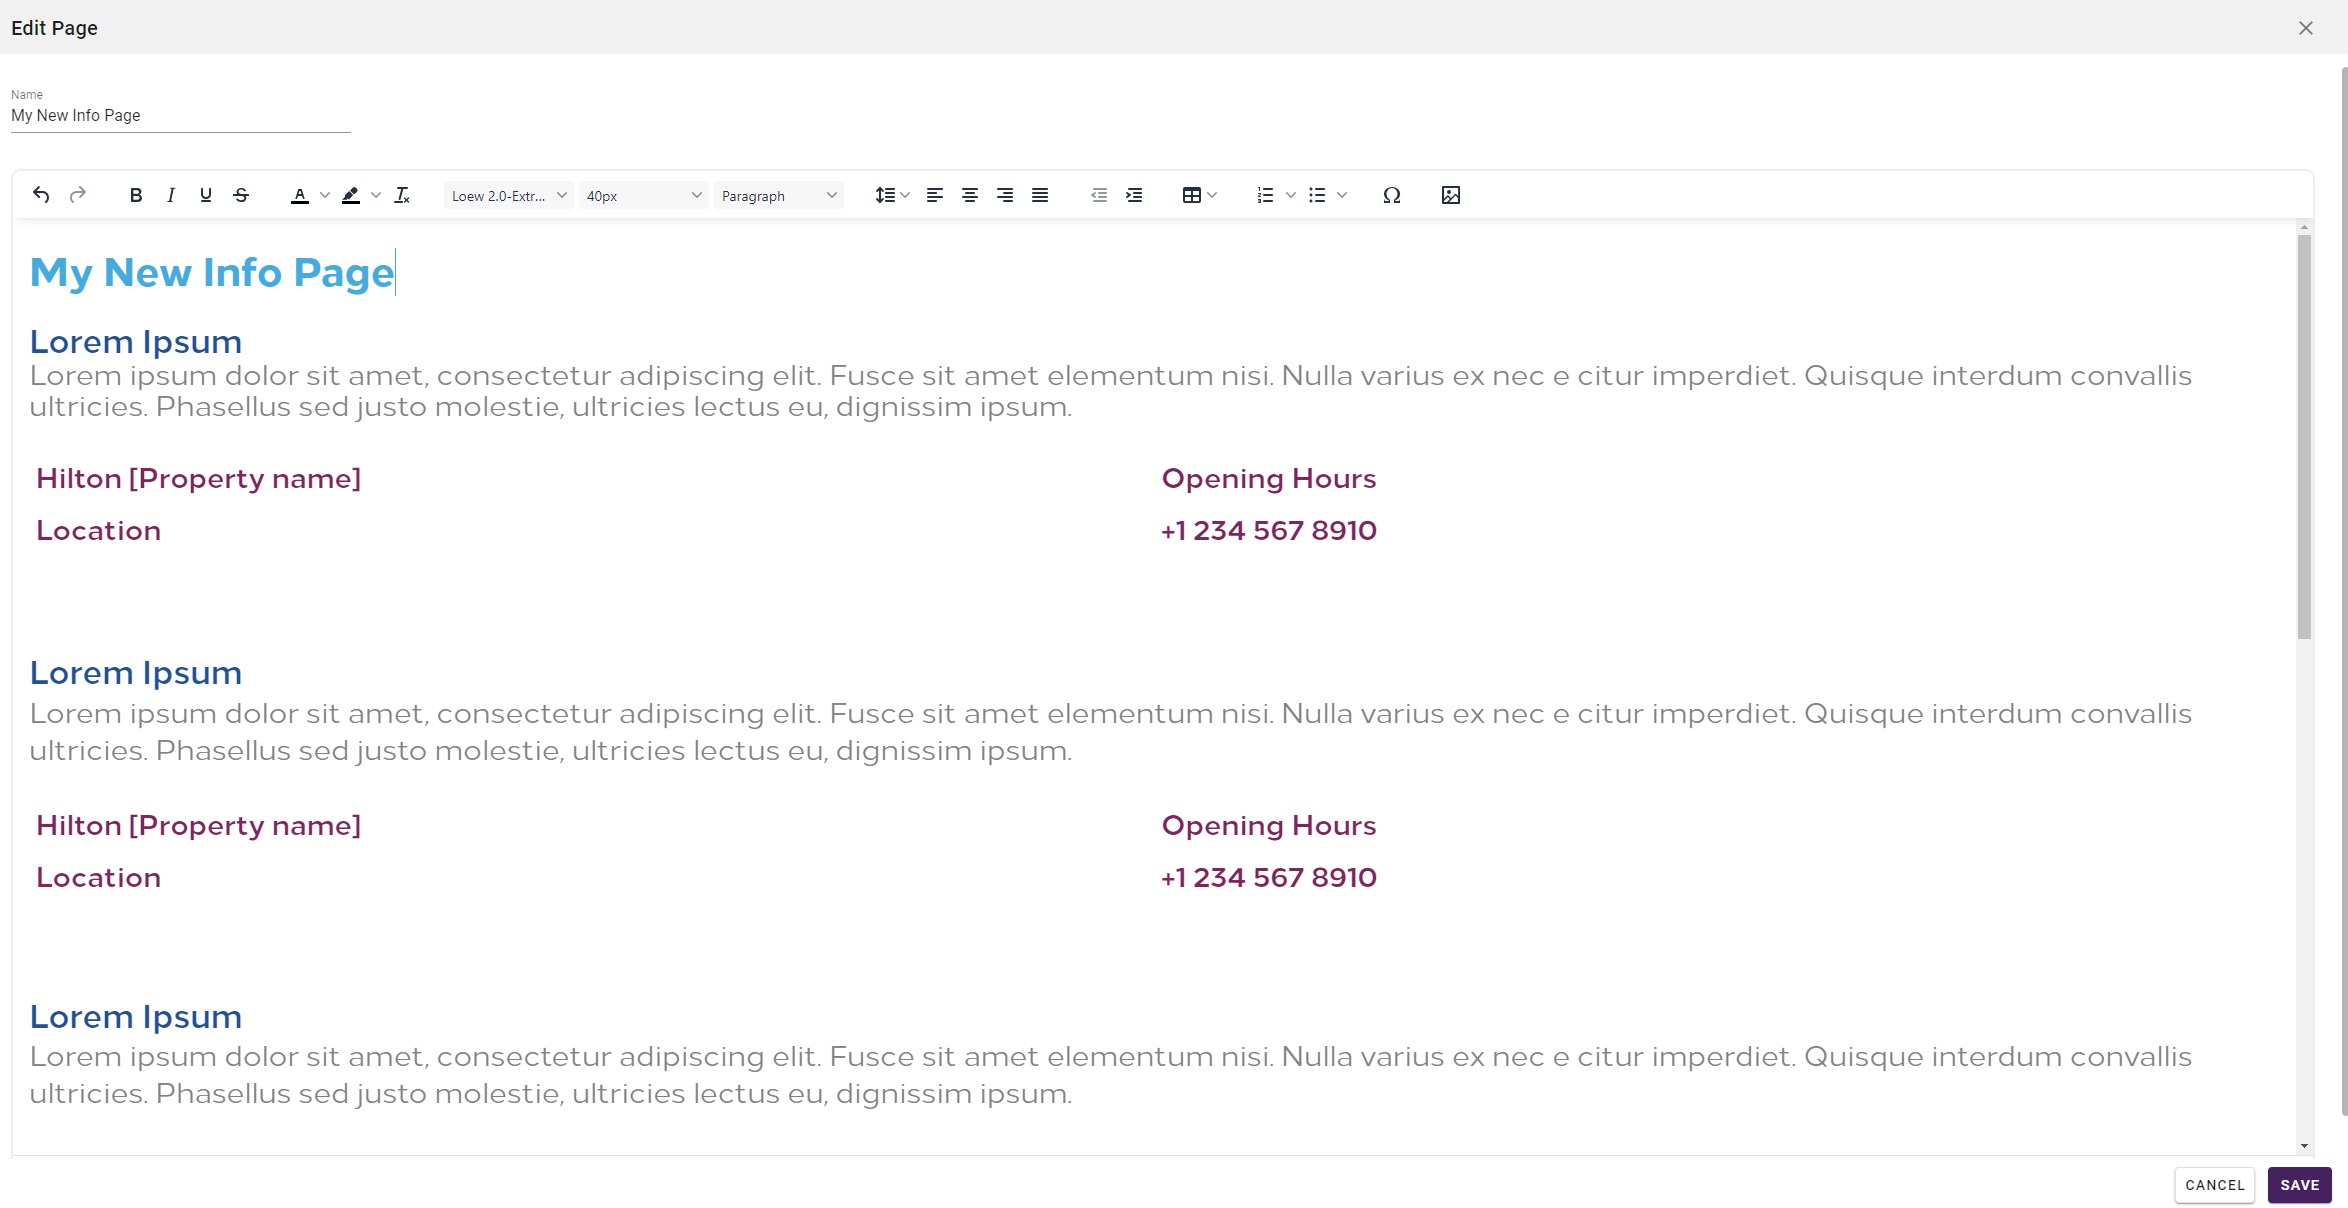
Now you can copy and paste the content of another document which has the formatting you are looking for. Edit the document as you wish and save it.
¶ Link the new document to the info page
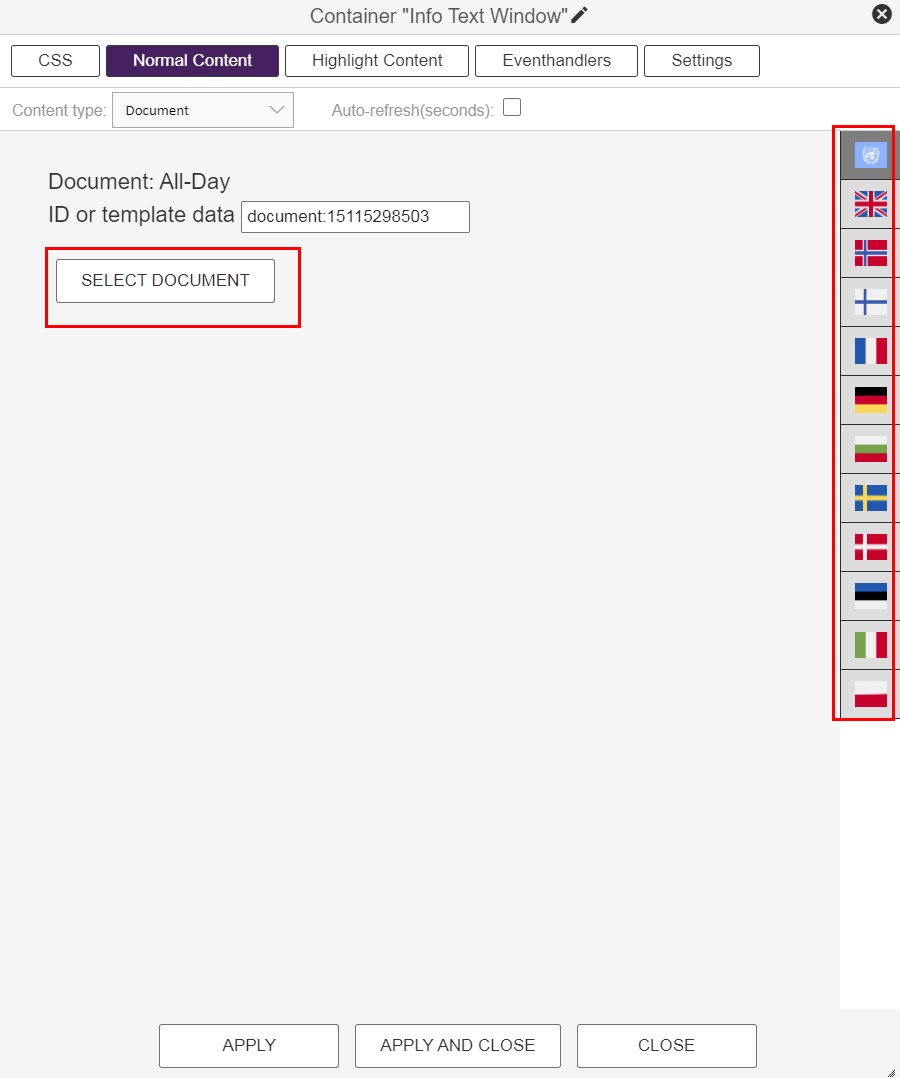
To link the new document to the new info page, click the "Info Text Window" item on the new info page. In the Normal Content pane, link to to correct document. If you want to have different languages on your new info page, link separate documents, using the flags in the right.

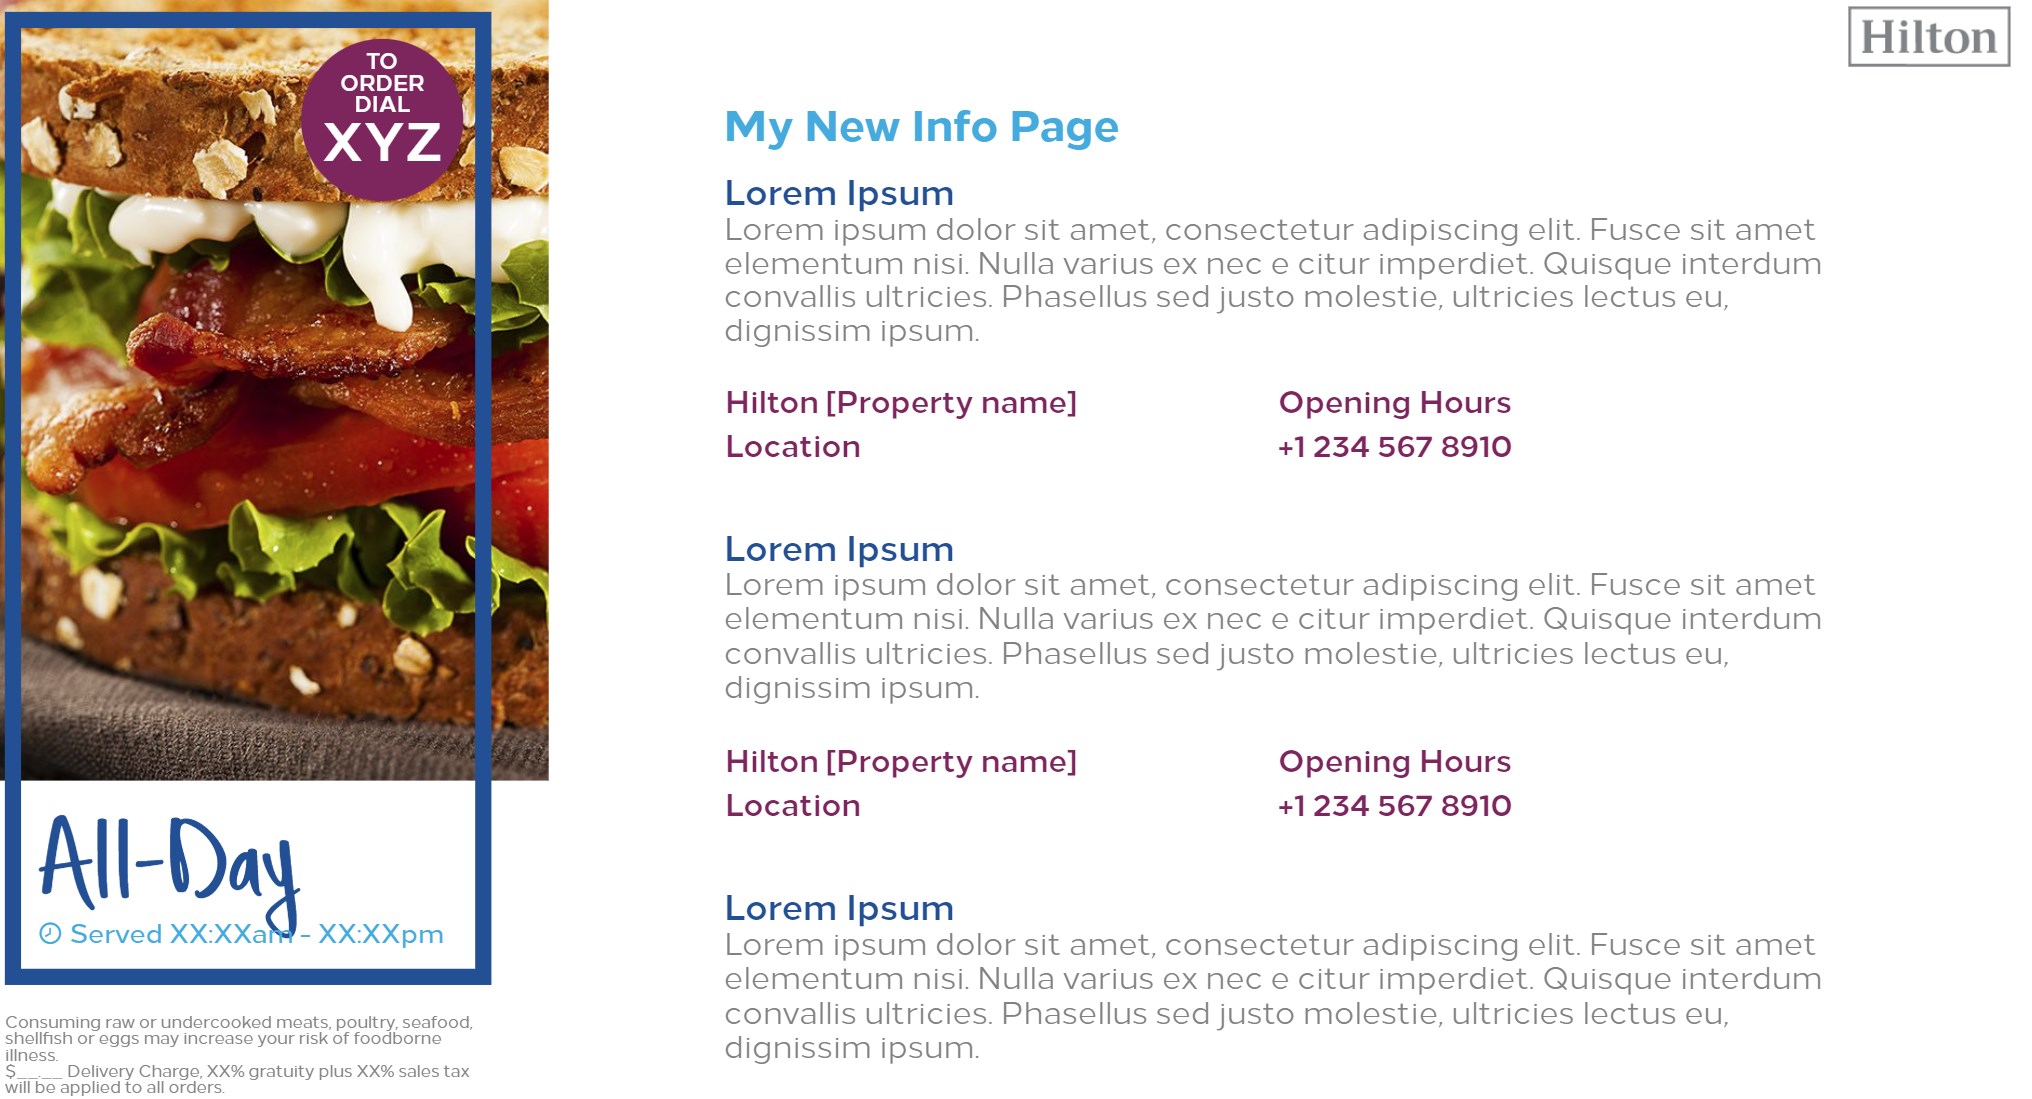
Press "Apply and Close". The content of the new document should now show on the page.
¶ Edit the Info Page title and other text
The other text elements on the info page can be changed by double-clicking them. Update the Normal Content section with the new content.
If you want to use different languages, use the flags on the right:
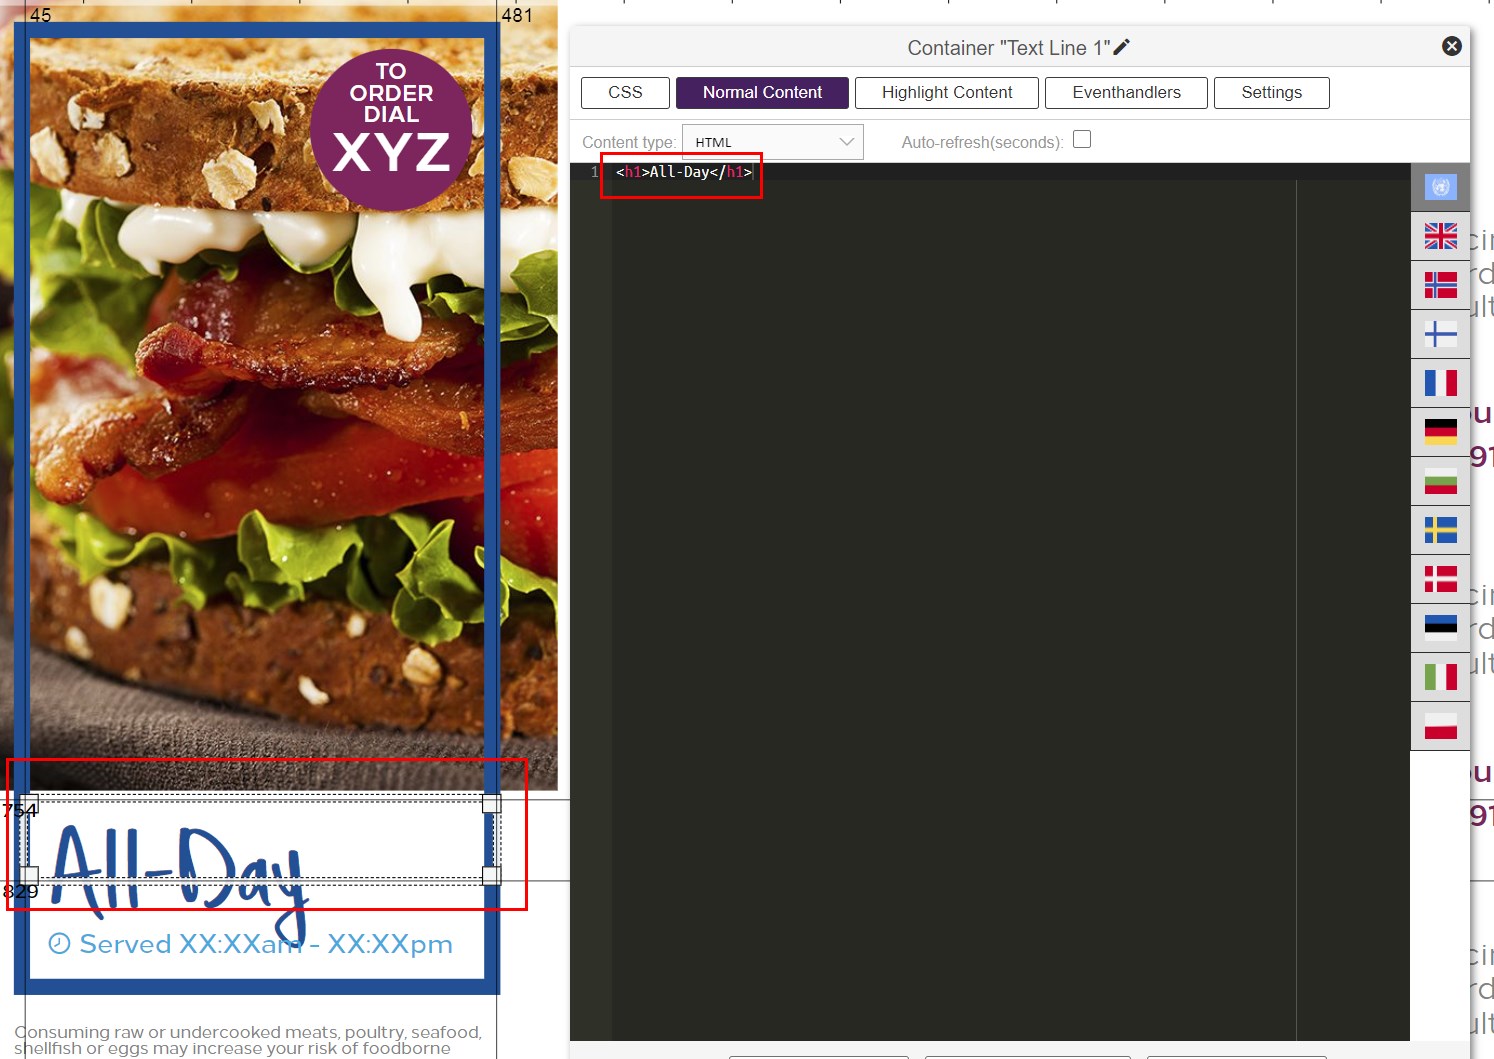
Press "Apply and Close" and remember to save your changes.
¶ Link the new Info Page to the sub menu
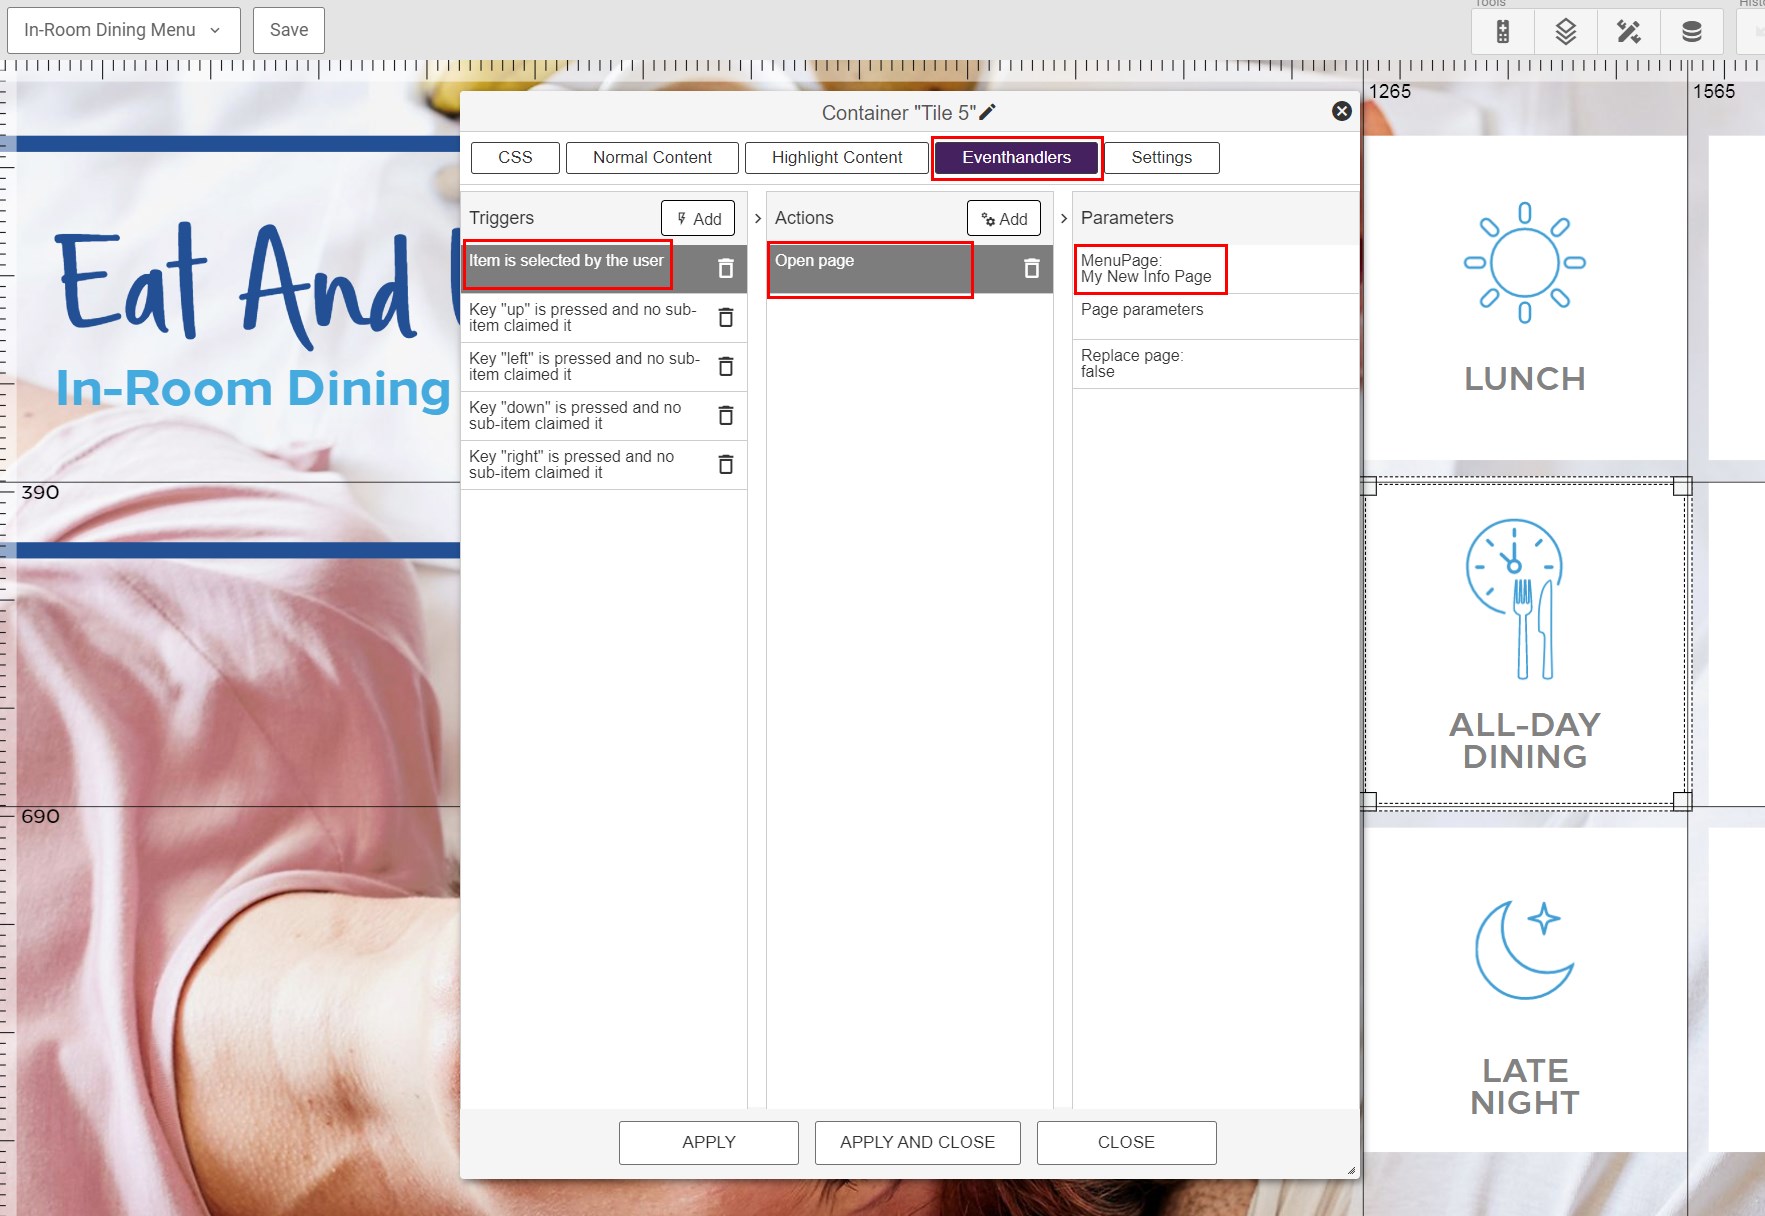
To link the new Info Page to the sub menu, double click the actual tile button on the Sub Menu in question and go to the "Eventhandlers" section.
On the trigger "Item is selected by the user", there is an action called "Open page". Here you can add a link to the new info page in the Parameter column:
¶ Define weather locations
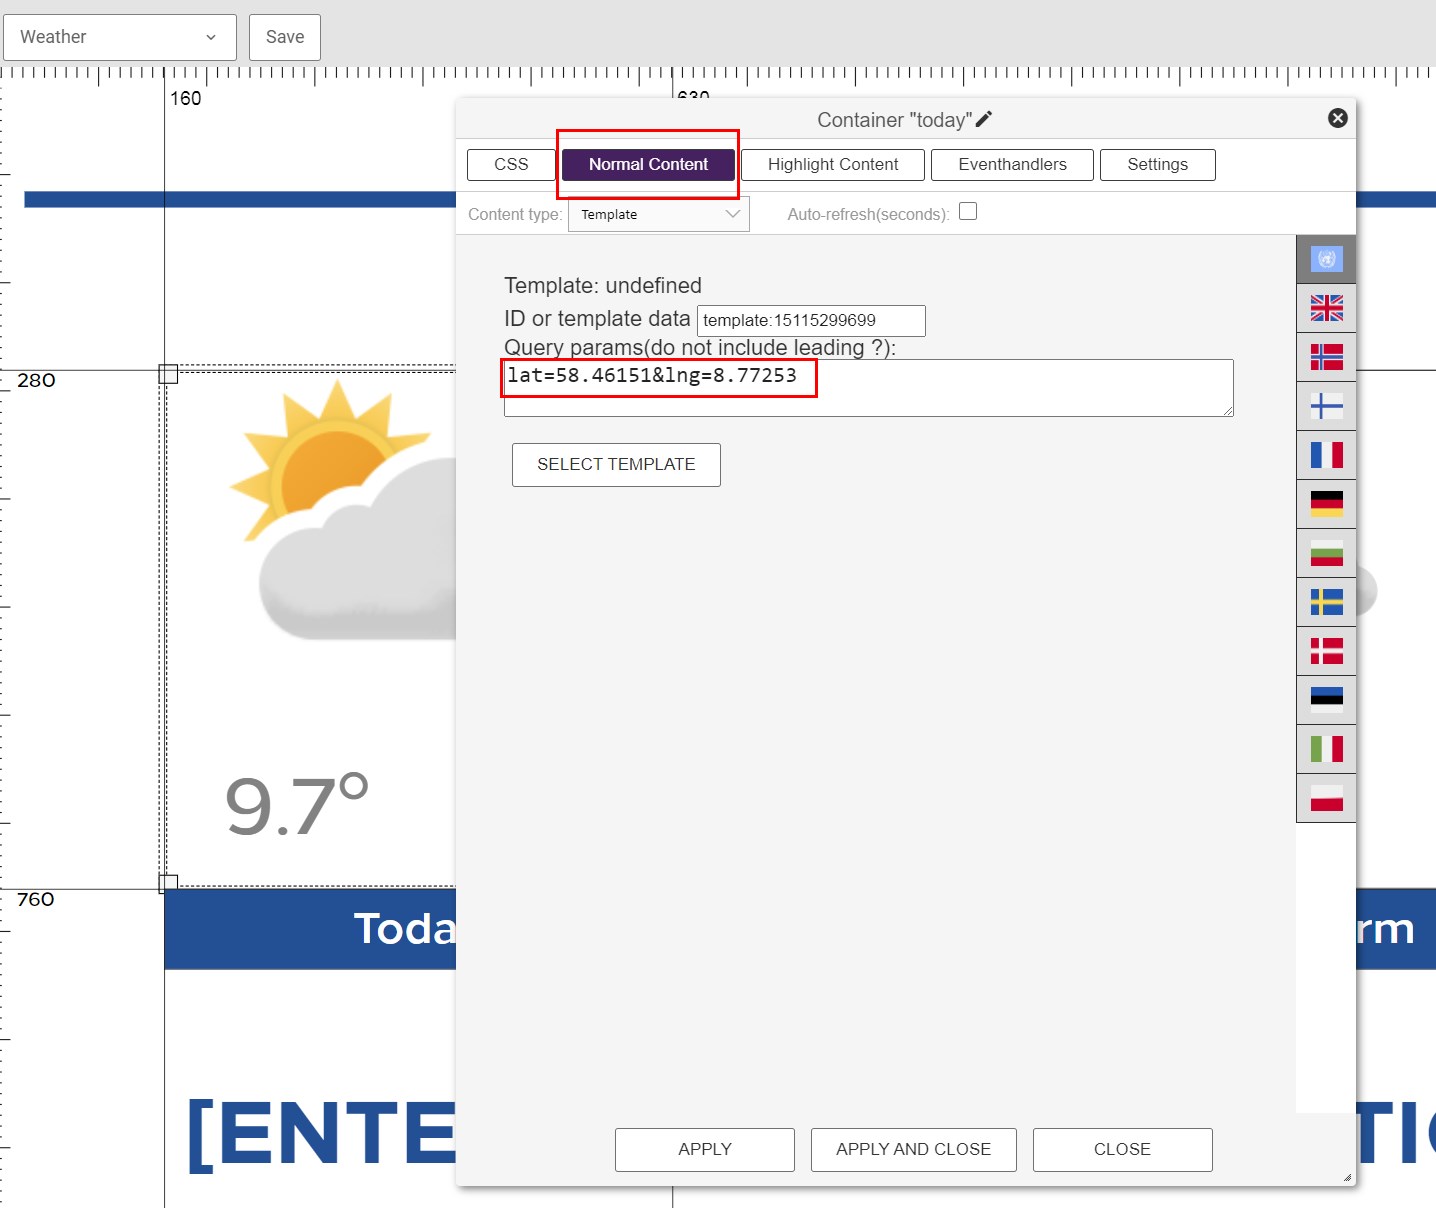
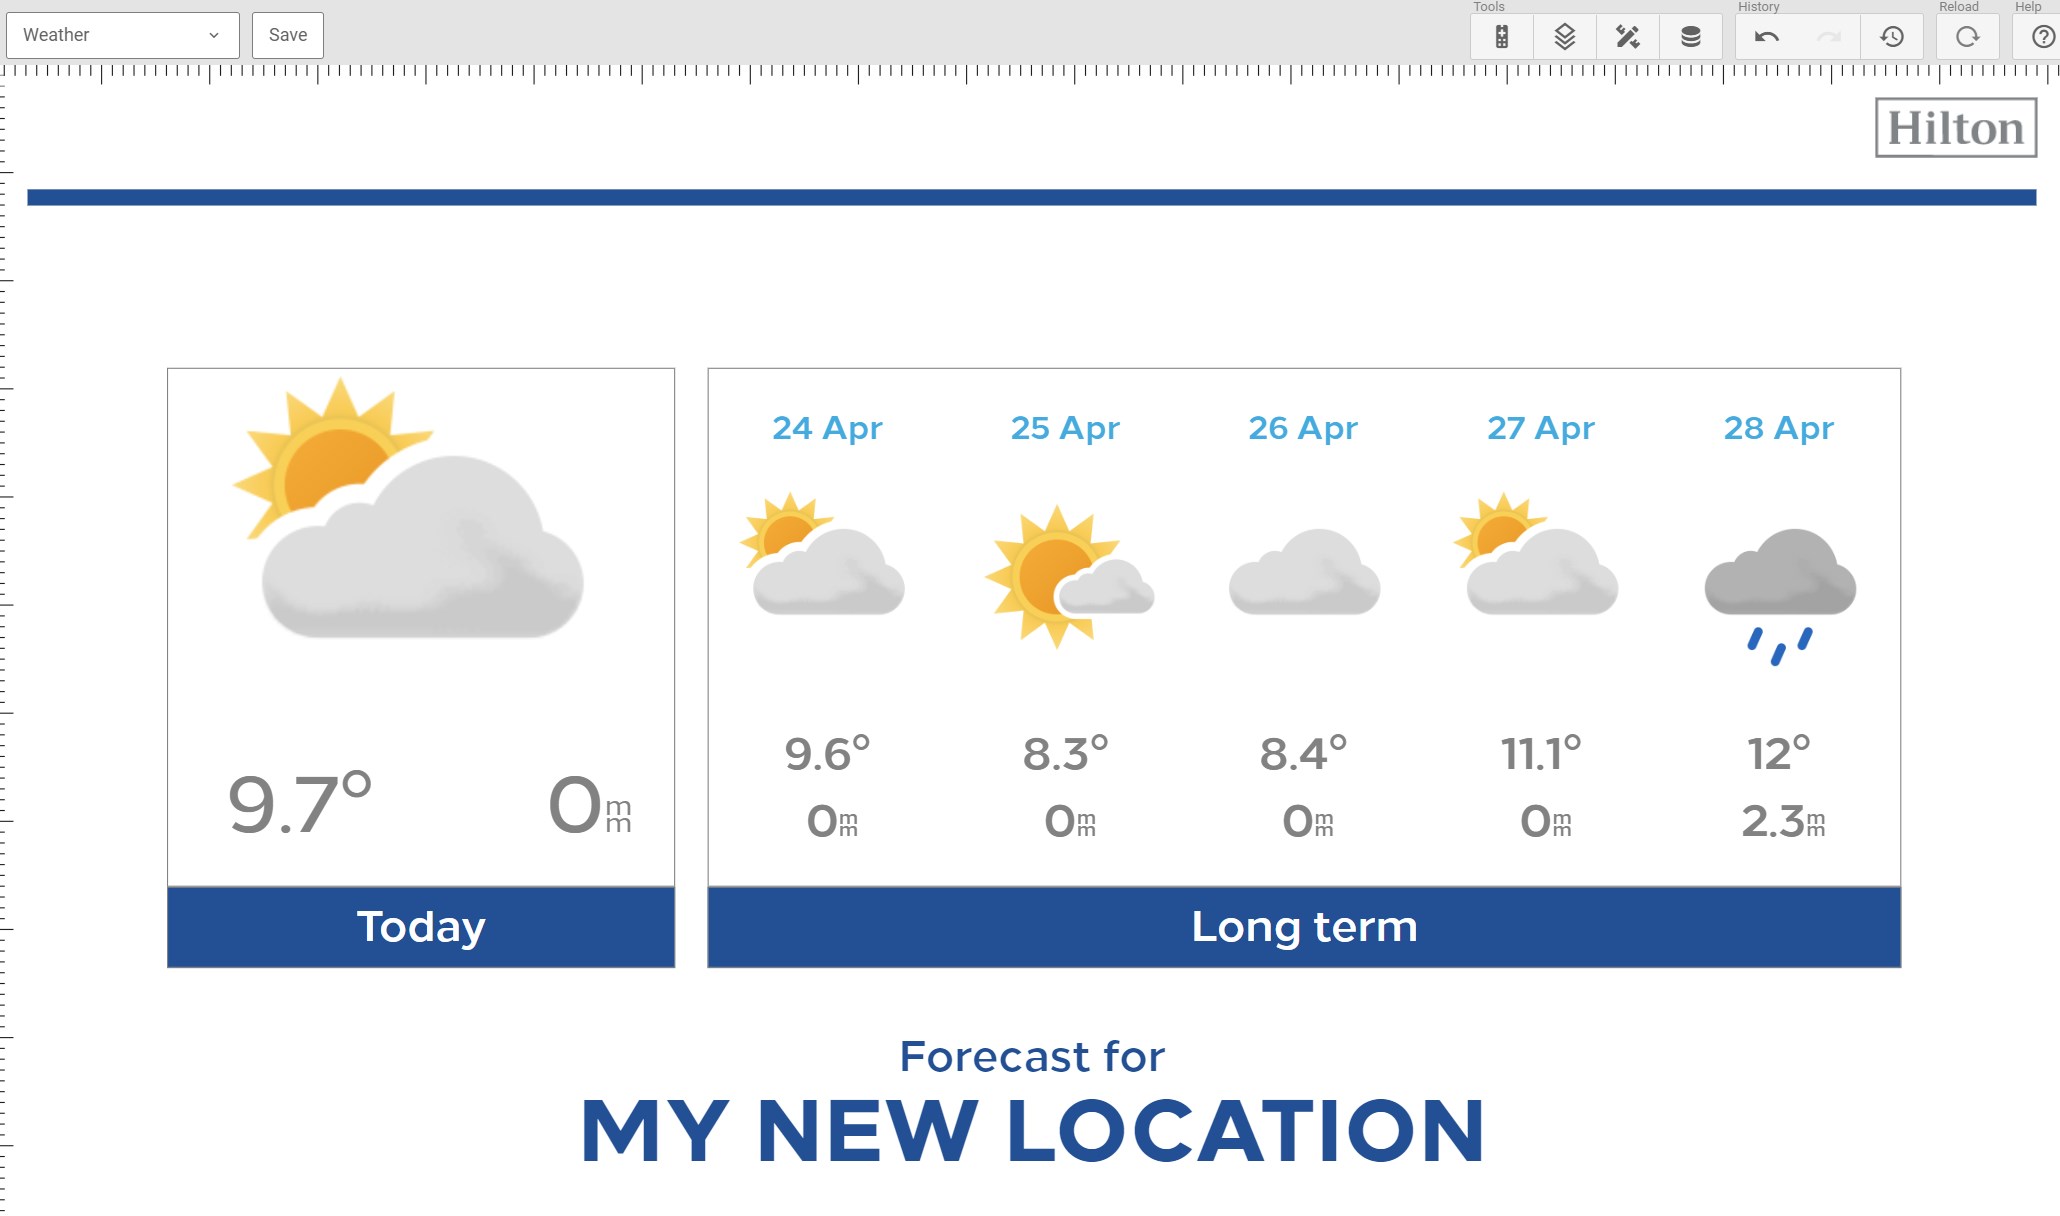
The Weather location are defined directly on the Weather page.
Double click each of the two weather elements, and go to the "Normal Content" section. Add the latitude and longitude for the new location, as seen below:
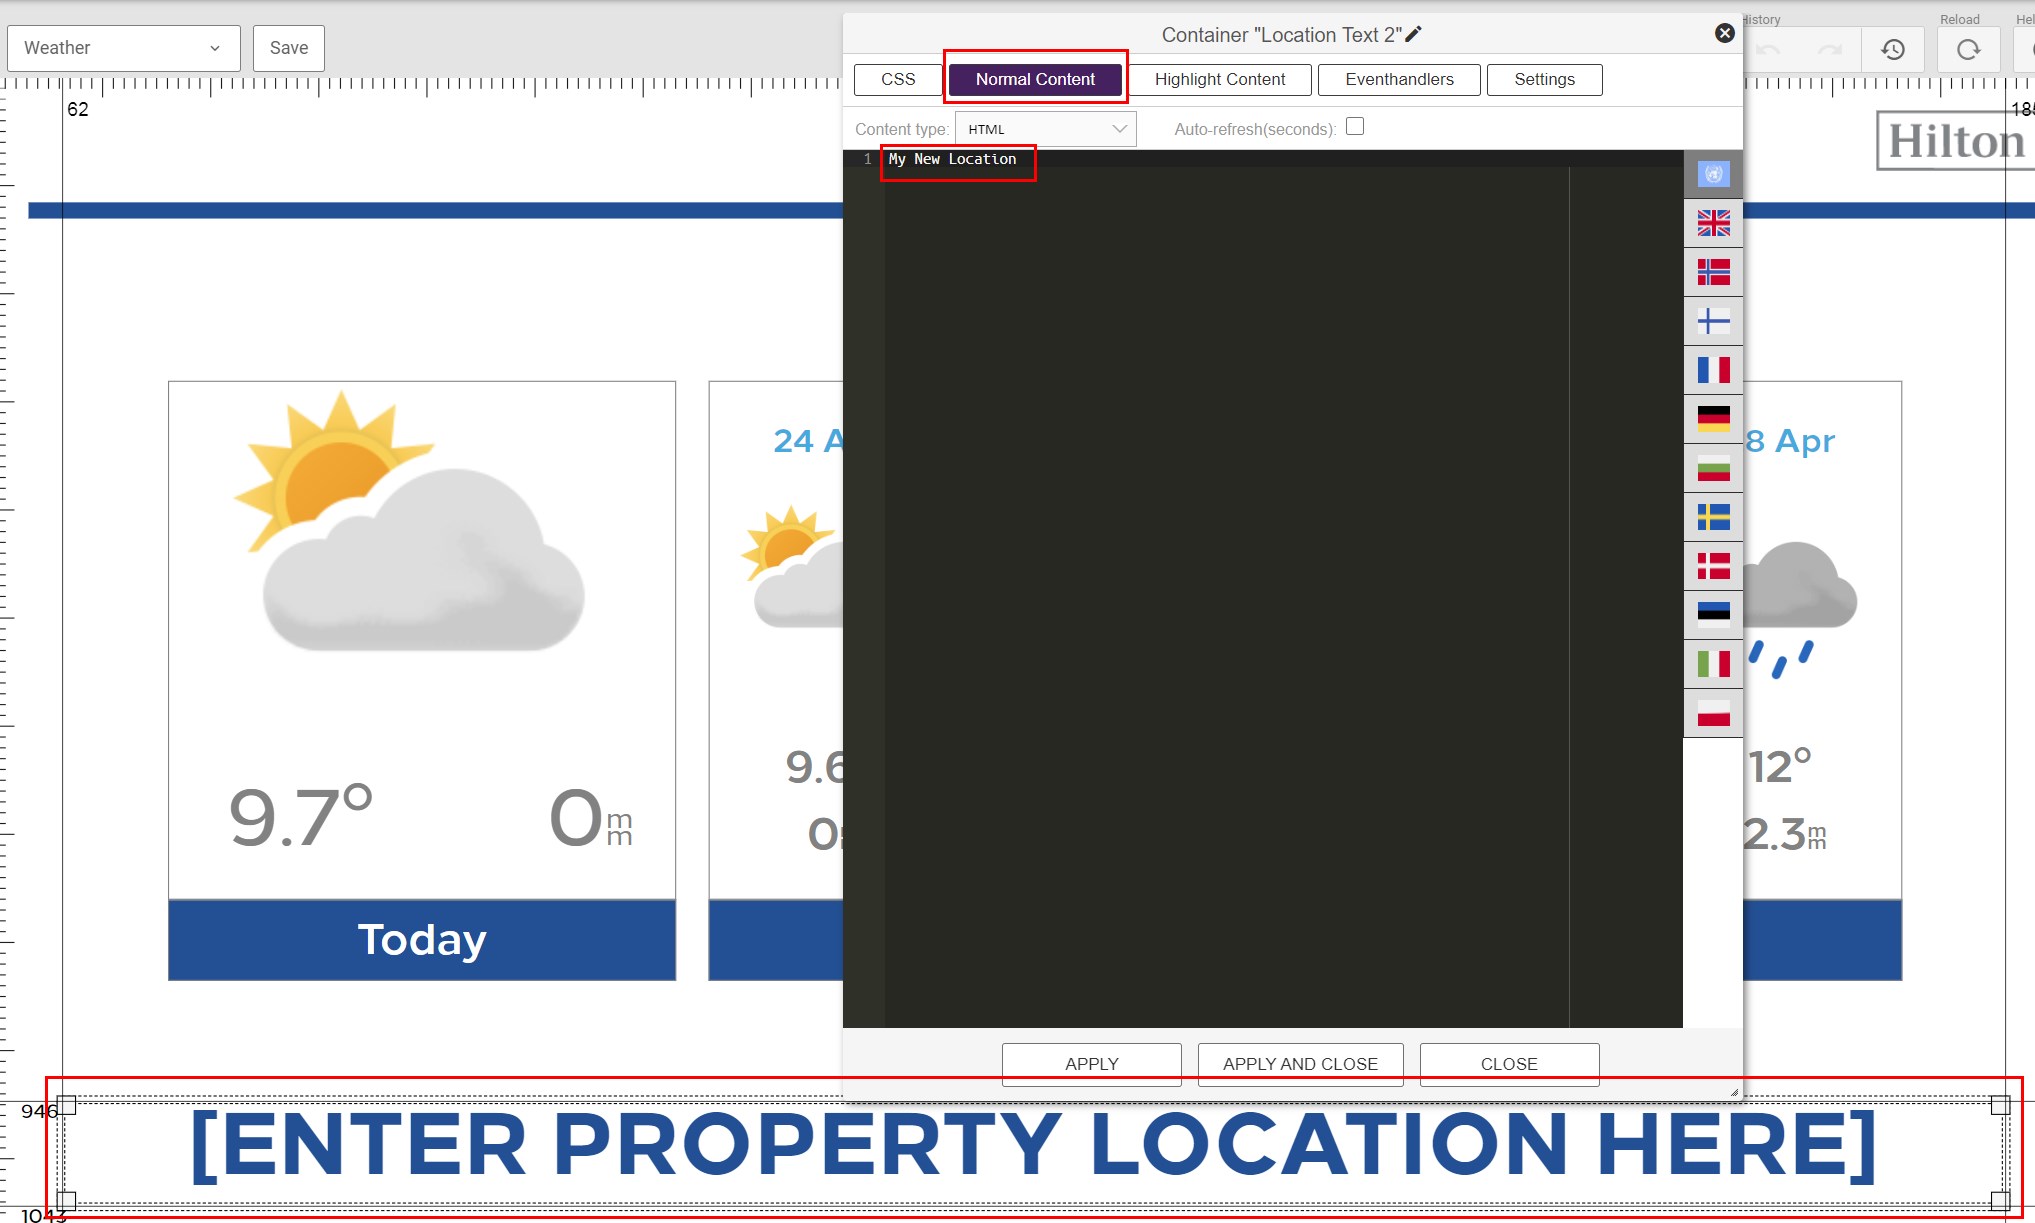
To add the name of the new location, double click the name element and go to the "Normal Content" section. Update the text with the name of the new location.
¶ Set up the Web Radio service
The Web Radio service is configured by a set of data sources. The data sources can be found by clicking the data source button in the editor:

First, set up one data source for each category you want and add the correct channels:
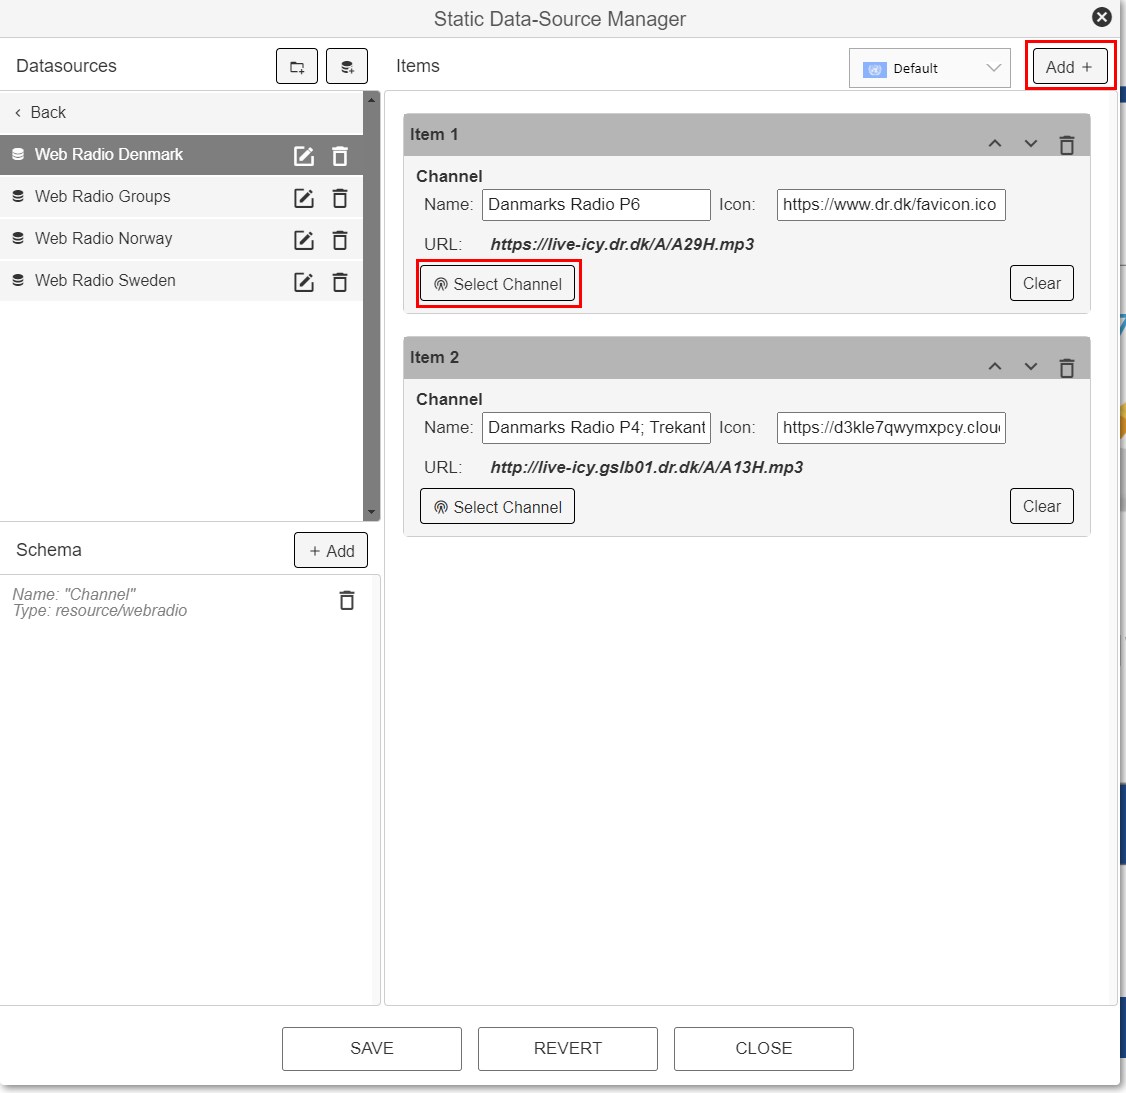
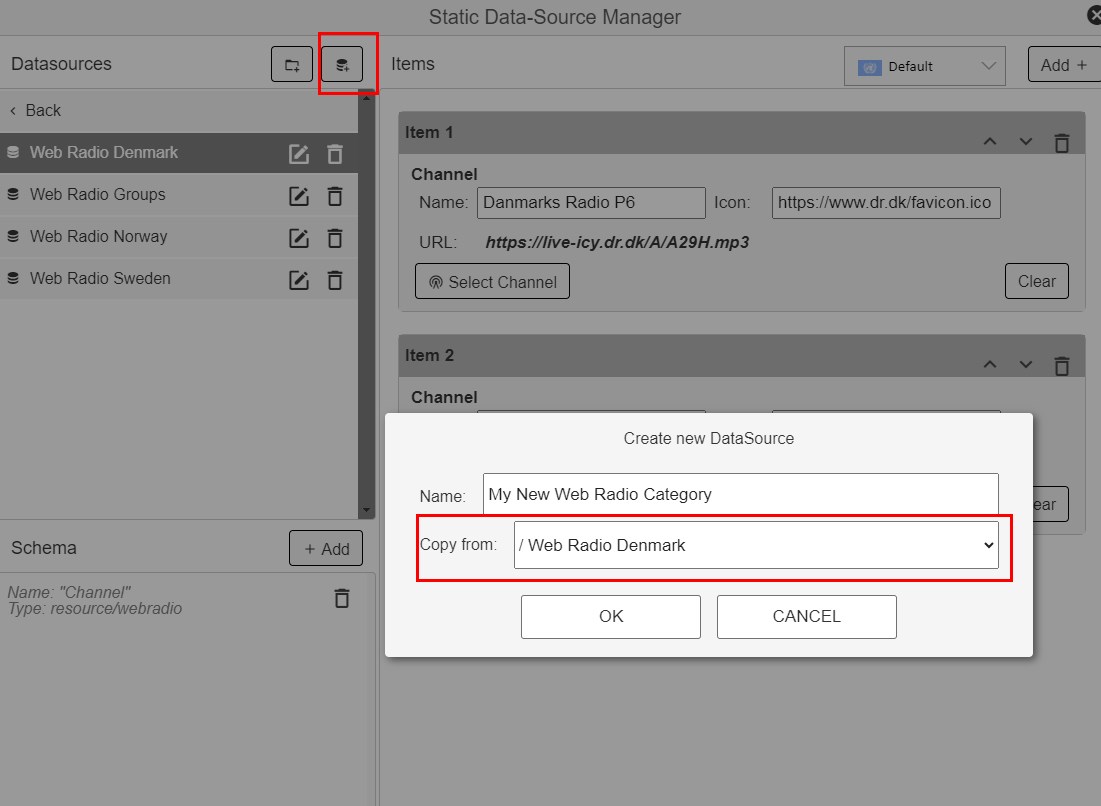
Default in the Hilton Theme there are set up 3 categories: Web Radio Norway, Web Radio Sweden and Web Radio Denmark. These can be renamed and used again. You can also create new ones by basing them on one of the current ones:
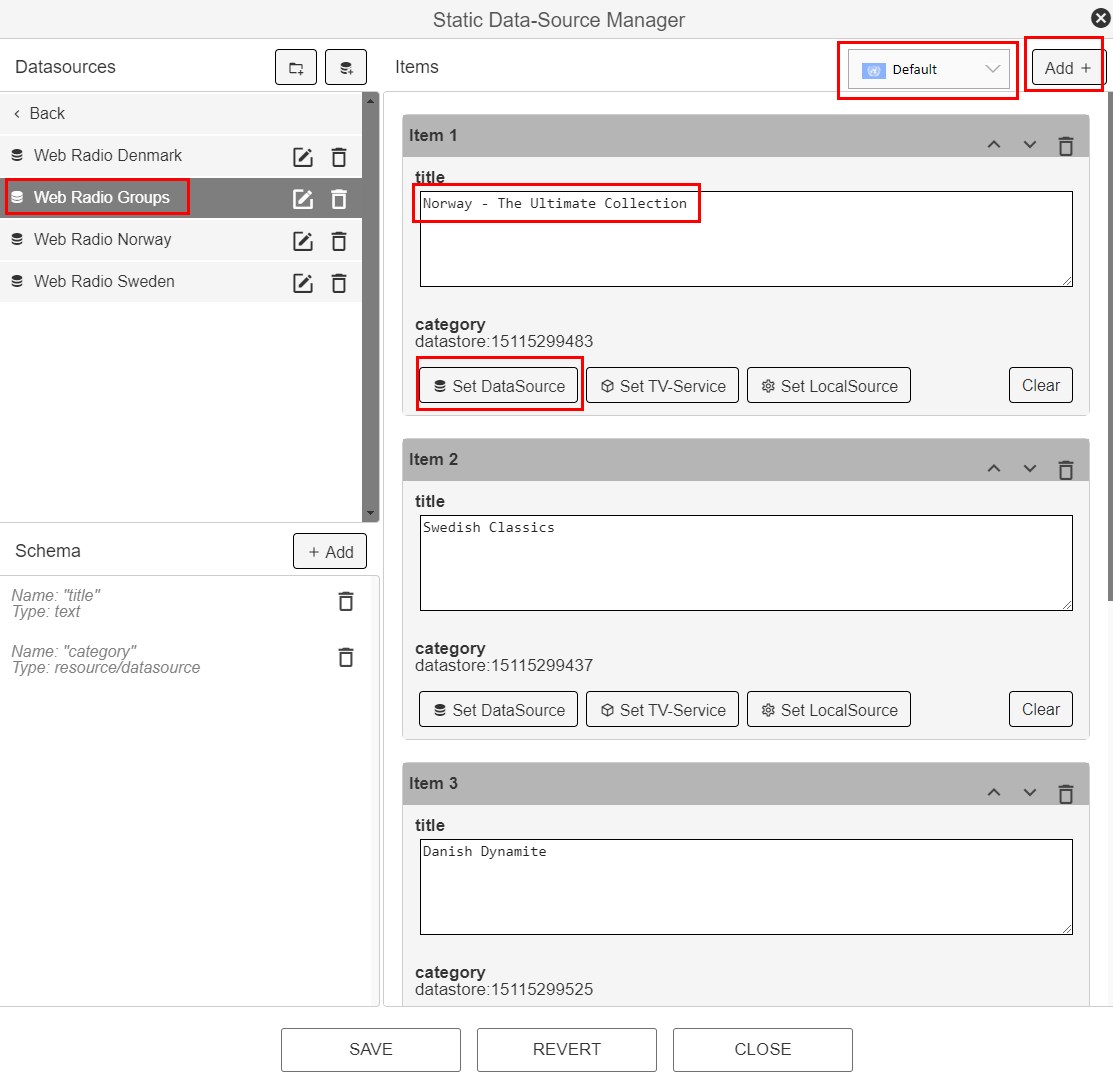
When all category data sources are set up, there is a data source called Web Radio Groups that links all the categories together. Each item in this data source contains a title and a link to the corresponding category/data source.
Use the "Add" + "Set DataSource" buttons to add a new category.
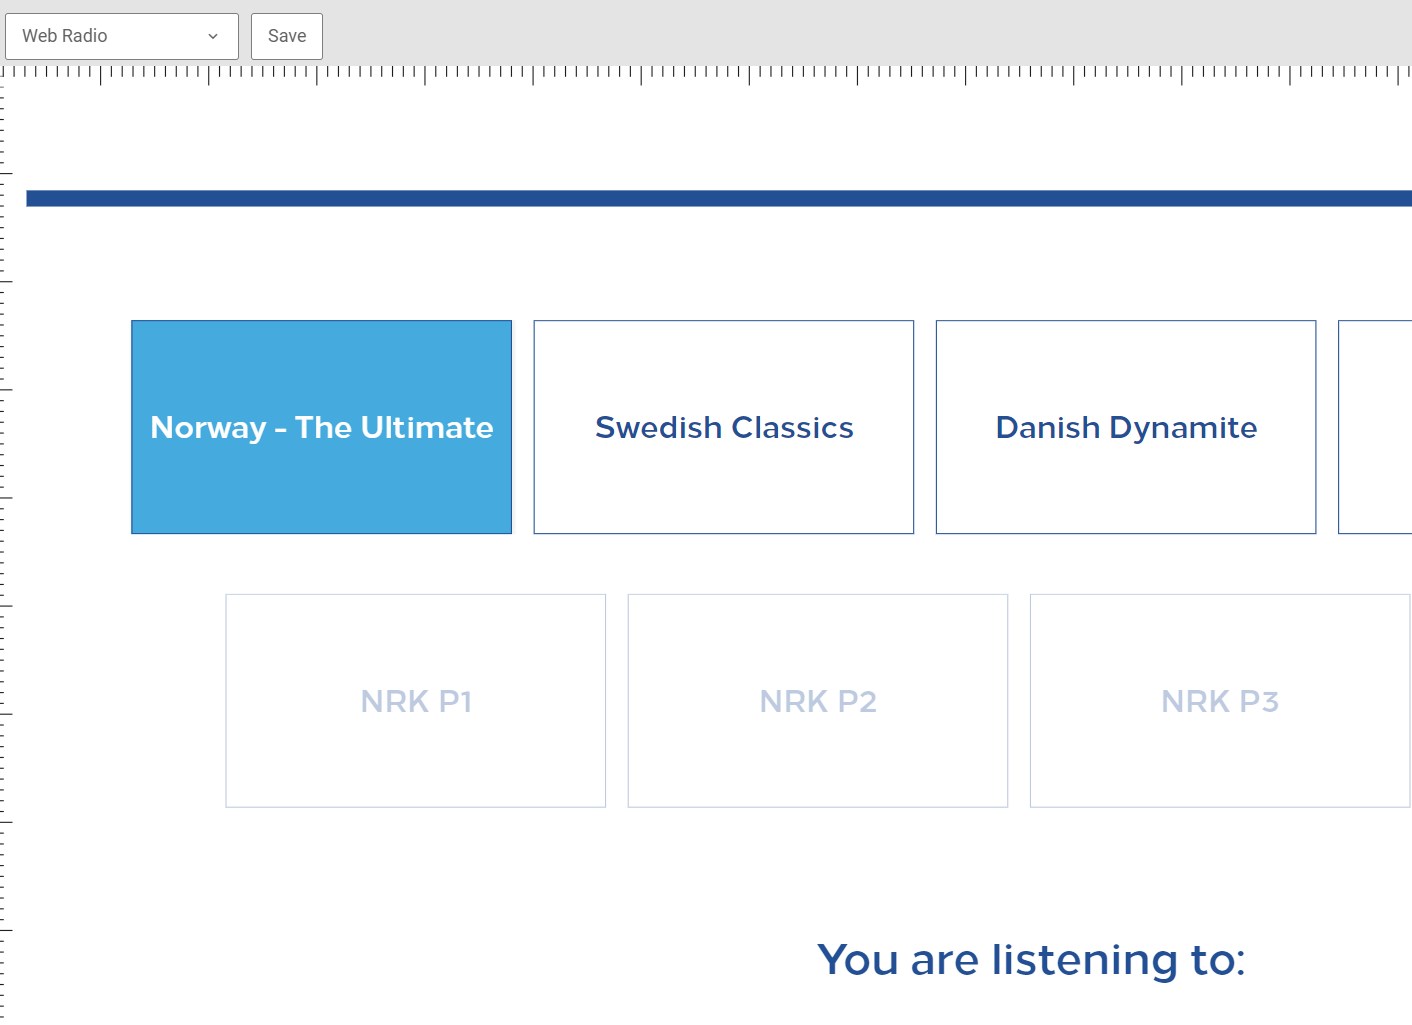
In the "title" field you can enter the name that will be the visible name of the category on the screen.
You can also use the flag dropdown to define different names of the categories per language.
